Project Type
Instructions
Date: February 12 2021
Customer: Thermor Ltd
Job Number: TH6151
Item Number: BD353
Designer: Alex Vranjesevic
Revision: C
Artwork is not to be amended or scaled. If any changes
are required please send through Thermor oce with
instructions, and we will amend here and resend artwork
through. PLEASE RETURN WITH SIGNATURE
Contact: Graphic’s Department
graphics@thermor-ins.com
Colour Breakdown
Reason For Project:
New Item:
New Branding:
Design Update:
N/A: X
UPC (For Reference Only)
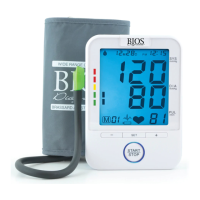
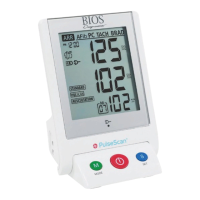
1. Take 2 measurements in the morning (ideally after going to the bathroom and before eating
or drinking).
2. Take 2 measurements in the evening approximately 10-12 hours after the morning
measurements, and ideally not immediately after the evening meal, 2 hours after a meal is
recommended.
3. Repeat these 4 measurements per day for 7 days consecutively.
NOTE 1: Missing measurements will cause ERR to appear on the display. Continue
with the sequence of measurements and discuss with your doctor when you review
the data.
NOTE 2: The machine only recognizes AM and PM readings each day. It does not
exclude AM and PM measurements only a few hours apart. Each measurement has
a time stamp. Discard any measurements that were not at least 6 hours apart with
your doctor.
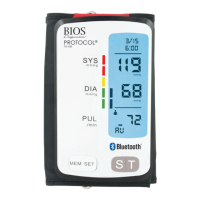
3.5 General Mode
In General Mode, a user can take blood pressure measurements outside of
the Protocol Software (7D Mode).
1. When the monitor is OFF, press the SET button, 7D Mode will appear
on the monitor. Press the MEM button to switch between 7D Mode and
General Mode. Press SET to confirm.
2. Next, select the user. Press SET to confirm, then press START/STOP button to power off
the monitor.
3. To start your measurement, see section 3.6 Measuring Your Blood Pressure.
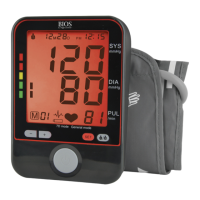
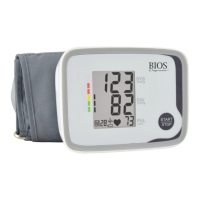
3.6 Measuring Your Blood Pressure
After the cuff has been appropriately positioned, and the correct mode has been selected, the
measurement can begin:
1. Press the START/STOP button until all the symbols appear on the screen. You will see
“bt” flashing on the display. At this time you can connect the App with the monitor (see
section 3.8) or press the START/STOP button again and the monitor will continue with a
measurement. You will hear 2 short beeps and after “ ” will flash for 2 seconds. The pump
then begins to inflate the cuff. The increasing pressure in the cuff is shown on the display.
2. After the suitable pressure has been reached, the pump stops and the cuff gradually
deflates. The cuff pressure will then be displayed. In case the initial inflation is not