Project Type
Instructions
Date: February 12 2021
Customer: Thermor Ltd
Job Number: TH6151
Item Number: BD353
Designer: Alex Vranjesevic
Revision: C
Artwork is not to be amended or scaled. If any changes
are required please send through Thermor oce with
instructions, and we will amend here and resend artwork
through. PLEASE RETURN WITH SIGNATURE
Contact: Graphic’s Department
graphics@thermor-ins.com
Colour Breakdown
Reason For Project:
New Item:
New Branding:
Design Update:
N/A: X
UPC (For Reference Only)
clear the memory. After this, press the MEM button, the symbols “ ” and “ ” will appear
on the screen. This means that the memory has successfully cleared.
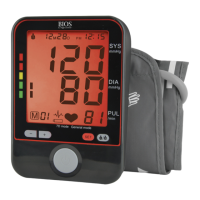
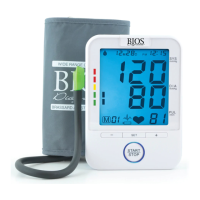
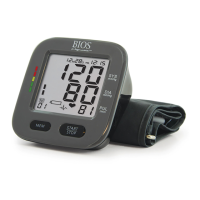
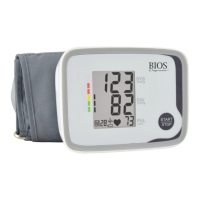
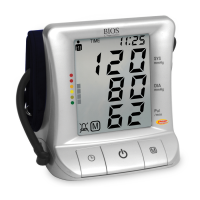
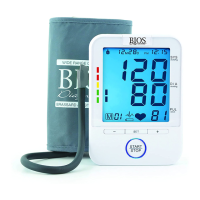
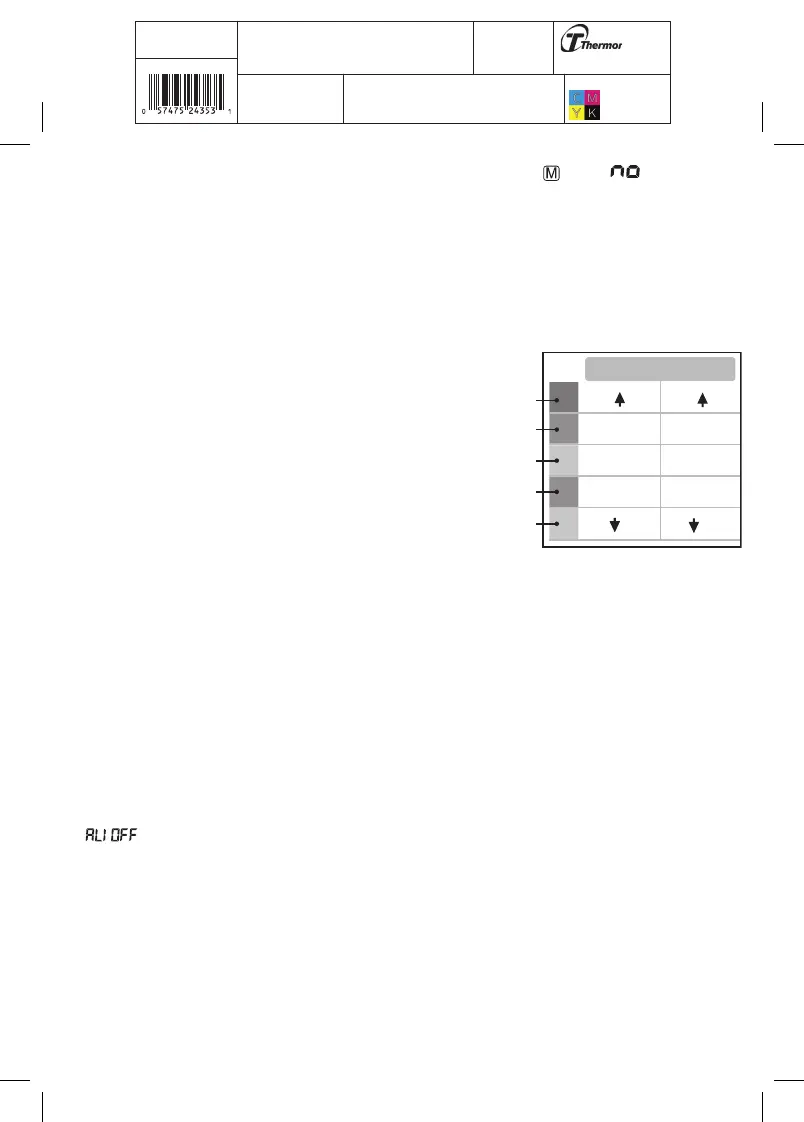
3.11 Blood Pressure Assessment Indicator
The bars on the left hand side of the display show you the range within which the indicated
blood pressure values lies. Depending on the height of the bar, the readout value is either
within the normal (green), borderline (yellow) or
danger (red) range.
The classification is based on standards adopted by
Hypertension Canada.
The indicator bar rises according to your measurement.
• If your measurement has only one or two bars, your
measurement is in the green zone, or “Normal”.
• If your measurement has three bars, it is in the
yellow zone, or “High Normal”.
• If your measurement has four bars, it is in the
red zone “High Blood Pressure with Self / Home
Monitoring”.
• If your measurement has five bars, it is in the red zone or “Moderate to Severe
Hypertension”.
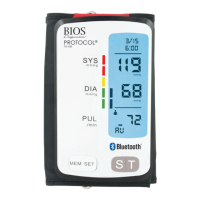
3.12 Setting the Alarm
This blood pressure monitor allows you to set two alarm times at which an alarm signal
will then be triggered. This can be a useful aid, for instance as a reminder to take your
measurements for the Protocol Software (7D Mode) or to remind you to take medication.
1. To set the alarm, while the monitor is OFF, press the SET button 9 times, you will see
“ ” and OFF will flash, press the MEM button to change the alarm to “ON”. Press the
SET button to confirm.
2. The HOUR digits will flash, press the MEM button to change the digits, press SET to confirm.
3. Next the MINUTE digits will flash, press the MEM button to change the digits. Press the
SET button to confirm.
4. Once Alarm 1 is set, you can follow the same steps above to set Alarm 2.
SYS
145
135-145
95
85-95
81-84
70-80
70
121-134
110-120
110
(mmHg)
DIA
Red
Red
Yellow
Green
Green