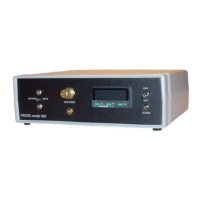
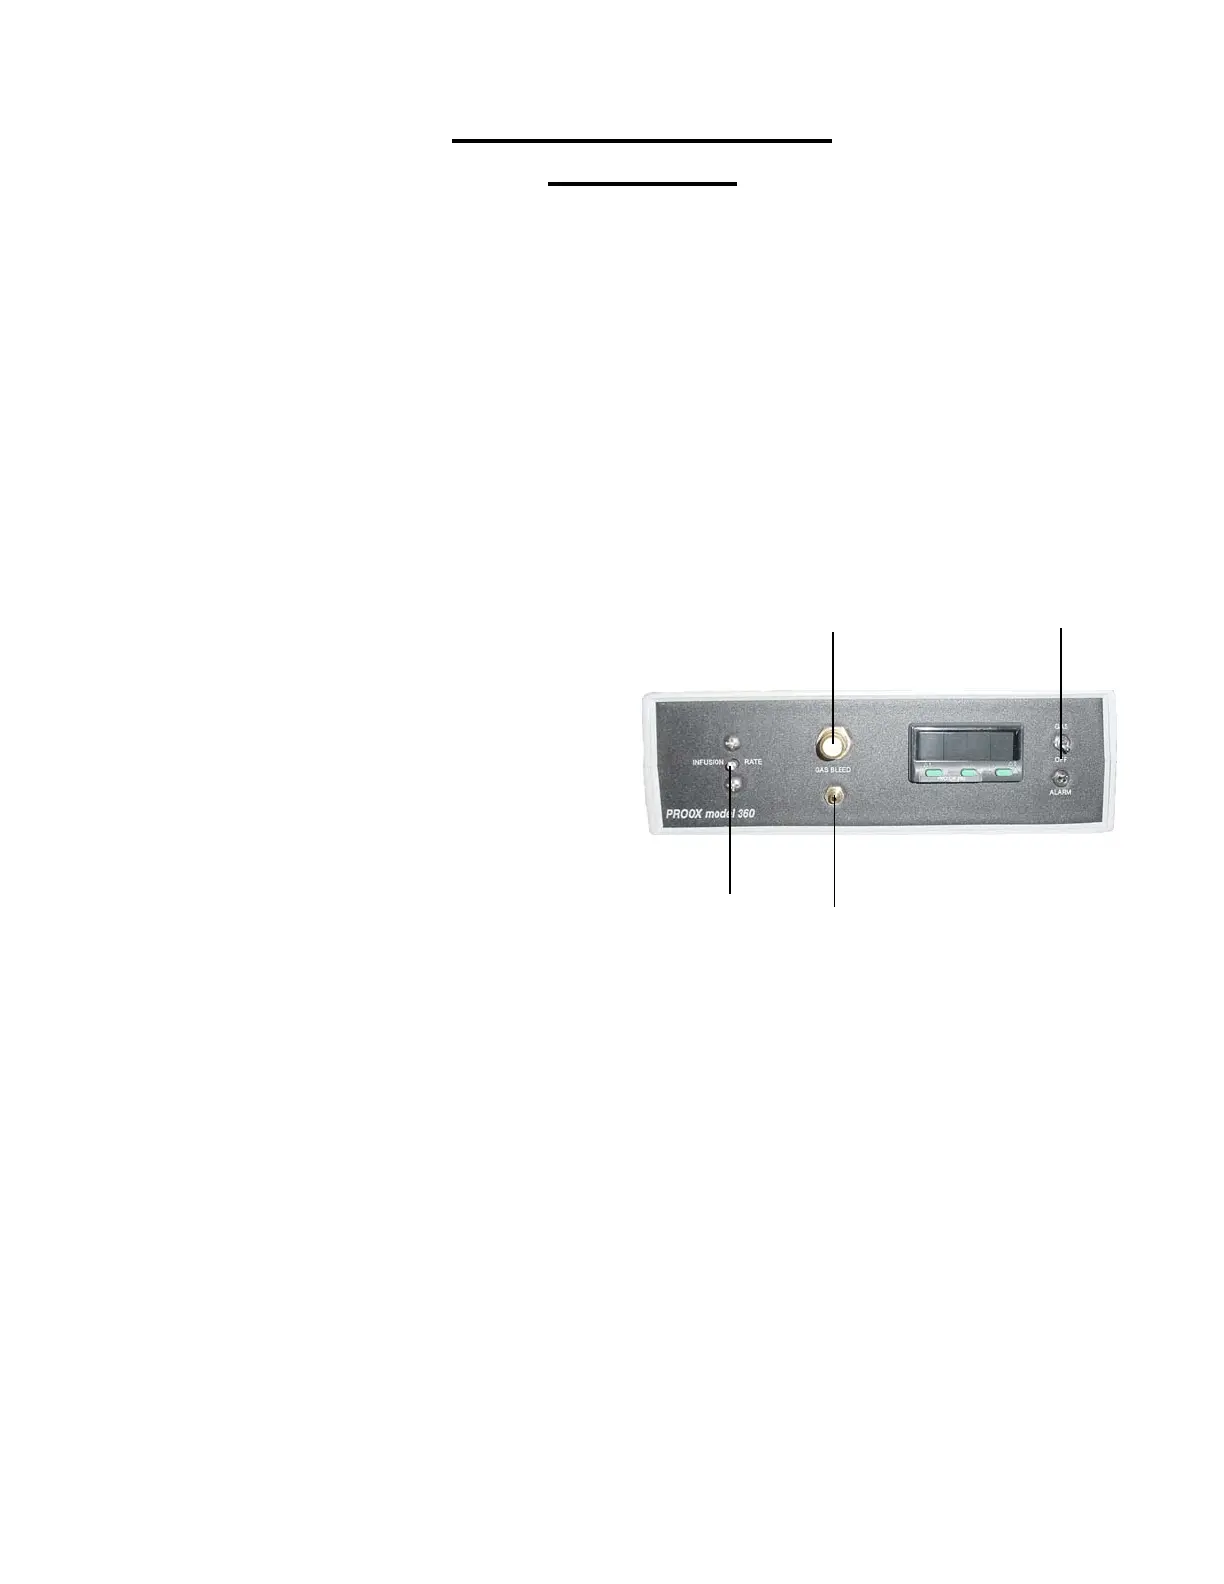
Proox 360 Front Panel
Installation
The following steps will explain how to set up the front of the Proox
360 and prepare it for installation to a chamber.
1. Placing the Unit
Place the unit on a level secure surface
either on the chamber or within ten feet of
the chamber (length of sensor cable). Make
sure you can easily access the front panel.
2. Gas Connected Properly
Anytime a compressed gas supply is
connected you will need to make sure that it
is connected correctly. To make sure that
the gas is connected properly open the
bleed valve by turning the knob on the front
of the Proox 360 counterclockwise. If gas is
heard expelling out the “GAS BLEED” barb
on the front panel then the gas is connected
properly. Once you have confirmed the gas
is connected, close the bleed valve knob.
3. Connecting Calibration Cham-
ber
Attach the calibration chamber by
connecting the 1/8 in. ID tubing to the barb
labeled “GAS BLEED” on the front of the
Proox 360.
4. Infusion Rate Needle Valve
Gives you the ability to adjust the flow
rate. Adjust the needle valve labeled “INFU-
SION RATE” with flat head screwdriver turn
clockwise to decrease flow and turn counter-
clockwise to increase flow. Use this if you
change chamber size.You will need more
power for a bigger chamber and less power
for a smaller chamber.
5. Gas and Alarm Switches
Flip the “GAS” switch up to turn the
valve on and allow the gas to flow to the
chamber. Flip the “ALARM” switch down to
enable the alarm to sound.
7
Proox model 360
version 1.0
2
3
4
5