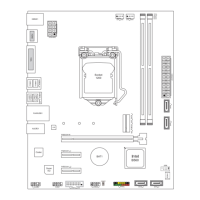
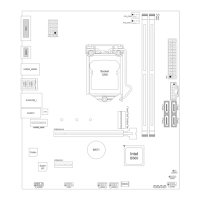
EasyManuals Logo

Biostar H510MX/E 2.0 User Manual

Biostar H510MX/E 2.0
132 pages
To Next Page IconTo Next Page
To Previous Page IconTo Previous Page
Page #11 background imageLoading...
Page #11 background image
Chapter 2: Hardware installaon | 11
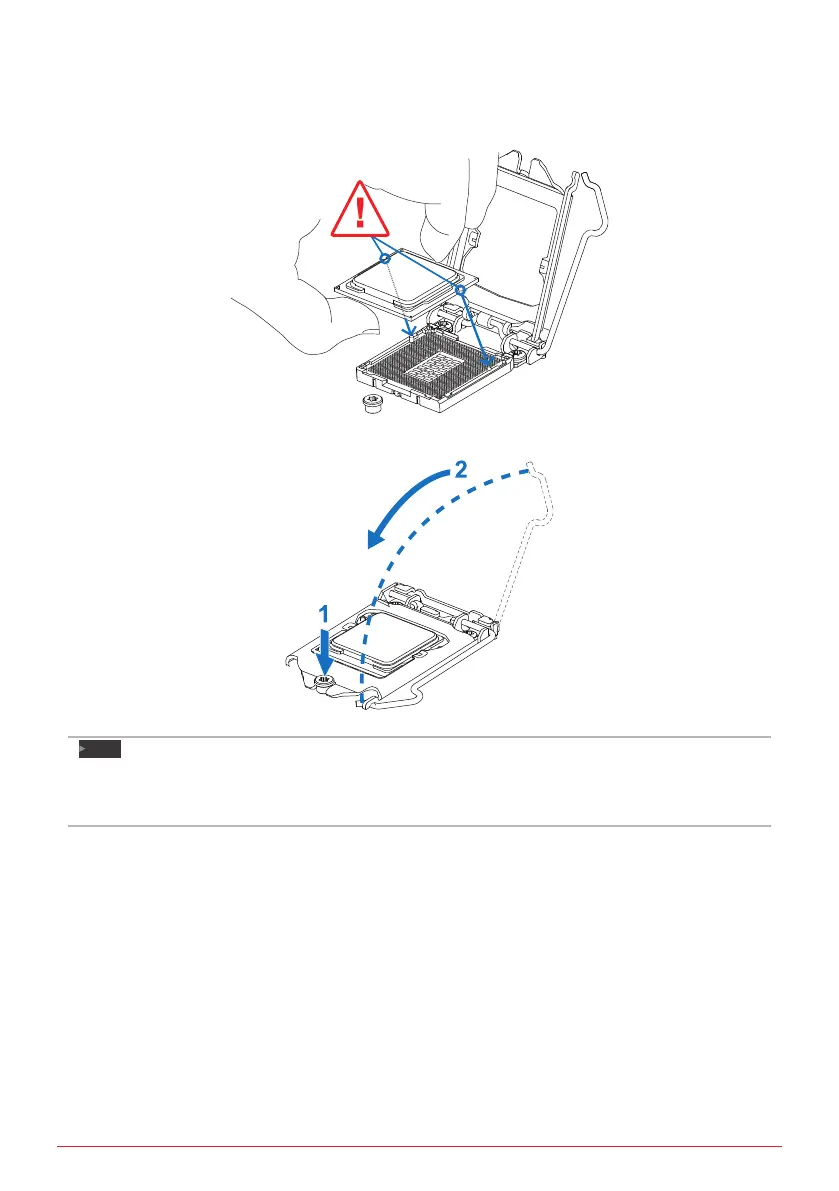
Step 4: Hold processor with your thumb and index ngers, oriented as shown. Align the
notches with the socket. Lower the processor straight down without lng or sliding the
processor in the socket.
Step 5: Hold the CPU down rmly, and then lower the lever to locked posion to complete the
installaon.
Note
»
  EnsurethatyouinstallthecorrectCPUdesignedforLGA1200socket.
»
  TheCPUtsonlyinonecorrectorientaon.DonotforcetheCPUintothesockettoprevent
damagingtheCPU.

Table of Contents

Other manuals for Biostar H510MX/E 2.0

Questions and Answers:

Question and Answer IconNeed help?

Do you have a question about the Biostar H510MX/E 2.0 and is the answer not in the manual?

Biostar H510MX/E 2.0 Specifications

General IconGeneral
BrandBiostar
ModelH510MX/E 2.0
CategoryMotherboard
LanguageEnglish

Related product manuals