12 | Chapter 2: Hardware installaon
Chapter 2: Hardware installaon
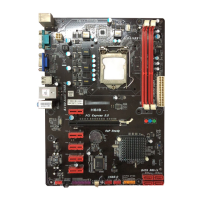
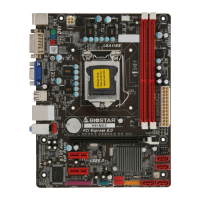
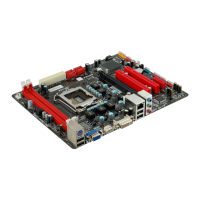
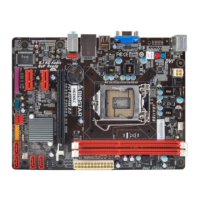
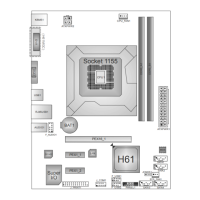
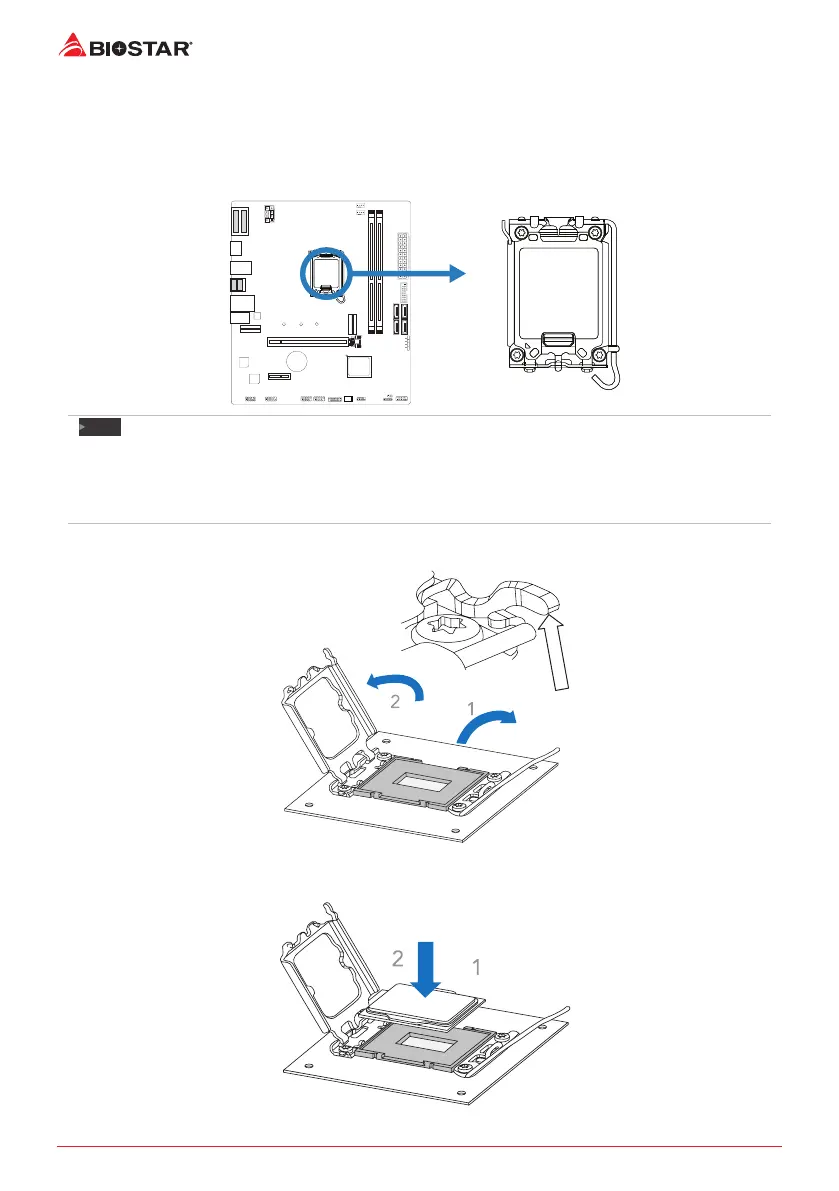
2.1 Install Central Processing Unit (CPU)
Step 1: Locate the CPU socket on the motherboard
Note
»
»
Remove pin cap before installaon, and make good preservaon for future use. When the CPU is
removed, cover the pin cap on the empty socket to ensure pin legs won’t be damaged.
»
»
The motherboard might equip with two dierent types of pin cap. Please refer below instrucon to
remove the pin cap.
Step 2: Open ILM Lever and then load plate using nger tab.
Step 3: Align and seat processor package on socket.
 Loading...