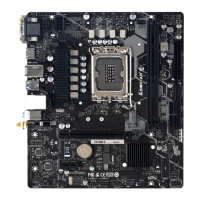
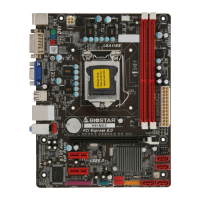
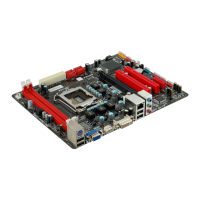
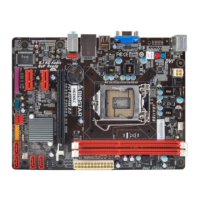
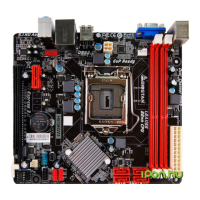
EasyManuals Logo

Biostar H610MX-E User Manual

Biostar H610MX-E
136 pages
To Next Page IconTo Next Page
To Previous Page IconTo Previous Page
Page #84 background imageLoading...
Page #84 background image
14 | 챕터 2: 하드웨어 설치
2�2 CPU 쿨러 설치
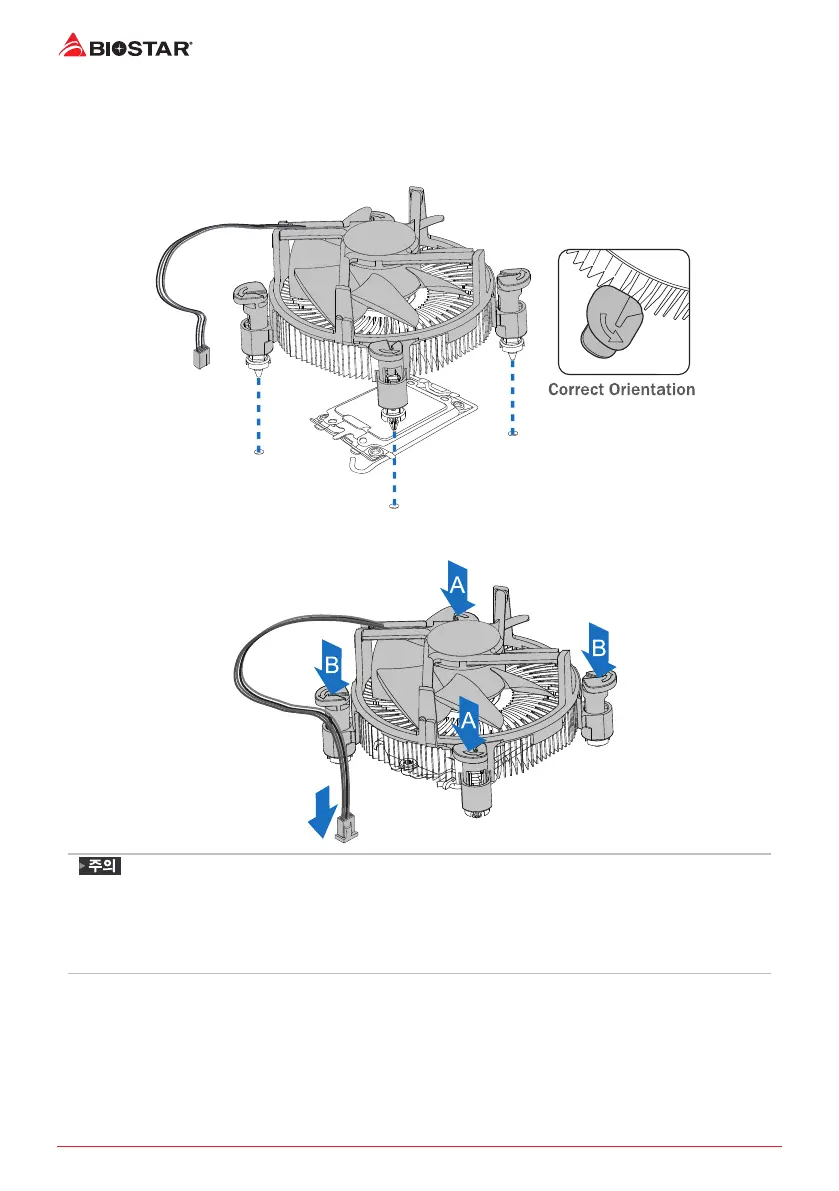
1단계: 설치된 CPU 위에 CPU 쿨러를놓고 네 개의잠금장치가 메인보드의 CPU 소켓
주변 홀에 정확히 위치하는지확인합니다. 방향에 맞춰 조립하고 CPU 팬 커넥터에 팬
케이블과 가장 가깝게 위치하도록하십시오.
2단계: 대각선 방향으로 한 번에 2개의 잠금장치를 아래로 밀어 제 자리에 CPU 쿨러가
장착되도록 합니다. 각잠금장치가정상적으로잠기면 딸깍하는 소리가 납니다.
»
하다면, CPU 쿨를 설기 전 CPU에 효과인 열를 돕는 써멀 그리스 등을
바르시기랍니다.
»
CPU 팬 커넥터를 반드시 연결해야 합니.
»
합한 설를 위해, CPU 쿨러 설치 설서를 부디 참조해 주시오.

Table of Contents

Other manuals for Biostar H610MX-E

Questions and Answers:

Question and Answer IconNeed help?

Do you have a question about the Biostar H610MX-E and is the answer not in the manual?

Biostar H610MX-E Specifications

General IconGeneral
Form FactorMicro ATX
SocketLGA 1700
ChipsetIntel H610
Memory Slots2
Maximum Memory64 GB
PCIe Slots1 x PCIe 4.0 x16, 1 x PCIe 3.0 x1
Video Outputs1 x HDMI, 1 x VGA
AudioRealtek ALC897
LANRealtek RTL8111H
Memory Speed3200/2933/2666/2400/2133 MHz
Storage Interface1 x M.2, 4 x SATA III
USB Ports4 x USB 3.2 Gen 1

Related product manuals