 Loading...
Do you have a question about the Biostar H81MHV3 3.0 and is the answer not in the manual?
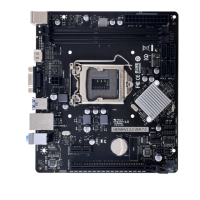
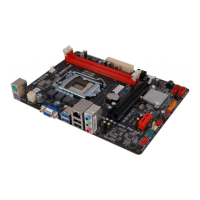
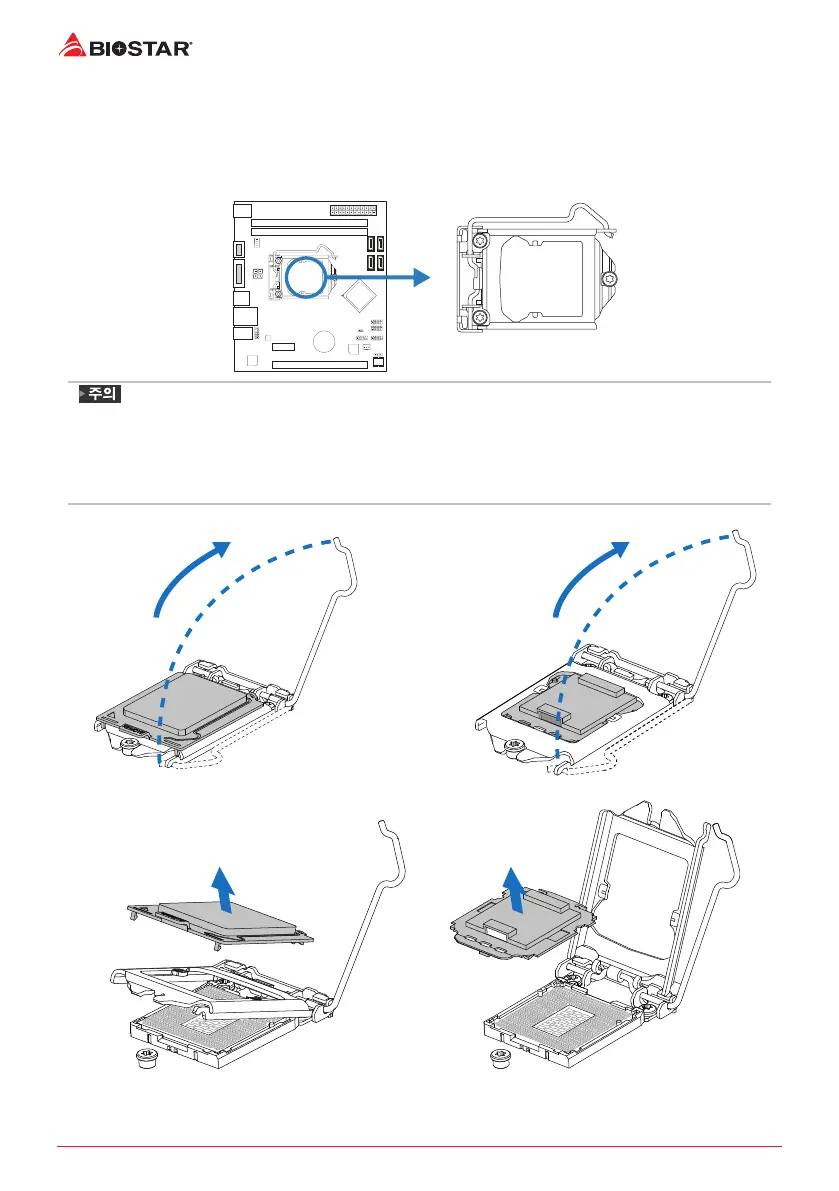
| Processor socket | LGA 1150 (Socket H3) |
|---|---|
| Processor manufacturer | Intel |
| Compatible processor series | Intel Celeron, Intel Core i3, Intel Core i5, Intel Core i7, Intel Pentium |
| Maximum number of SMP processors | 1 |
| Non-ECC | Yes |
| Memory channels | Dual-channel |
| Memory slots type | DIMM |
| Number of memory slots | 2 |
| Supported memory types | DDR3-SDRAM |
| Maximum internal memory | 16 GB |
| Supported memory clock speeds | 1066, 1333, 1600 MHz |
| DirectX version | 11.1 |
| Parallel processing technology support | - |
| Supported storage drive interfaces | SATA II, SATA III |
| Wi-Fi | No |
| Ethernet interface type | Gigabit Ethernet |
| Audio chip | Realtek ALC887 |
| Component for | PC |
| Motherboard chipset | Intel® H81 |
| Audio output channels | 5.1 channels |
| Motherboard form factor | micro ATX |
| Windows operating systems supported | Windows 10, Windows 7, Windows 8, Windows 8.1 |
| Headphone outputs | 3 |
| DVI-D ports quantity | 0 |
| USB 2.0 ports quantity | USB 2.0 ports have a data transmission speed of 480 Mbps, and are backwards compatible with USB 1.1 ports. You can connect all kinds of peripheral devices to them. |
| Cables included | SATA |
| Depth | 190 mm |
|---|---|
| Width | 170 mm |