L3+ Server Installation Guide
Each hashboard must be powered by the same PSU on both connectors to prevent
possible damage and instability.
If you are using more than one PSU,power up the PSU connected to the controller AFTER you have
powered up the other PSU(s).
2.
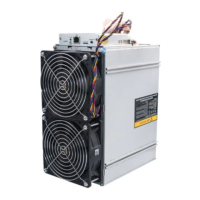
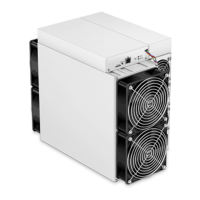
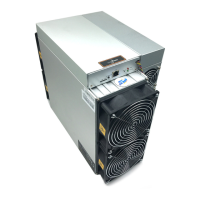
Connecting the Power Supply
2.
Connecting the Power Supply
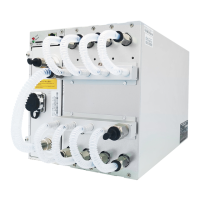
Nine PCI-e connectors are located at the top of the L3+ server for connecting the PSU as follows:
●
Eight PCI-
-
‐e connectors for the hash boards. Each hash board has a set of two PCI-
-
‐e connectors.
●
One
PCI--‐e
connector located on the controller.
To connect the power supply:
1.
Connect PSU power cable connectors to each of the eight PCI-e connectors on the top of the L3+ server,
ensuring that each hash board is powered by the same PSU.
2.
Connect a PSU power cable connector to the L3+ server PCI-e connector on the controller.
3.
Connect the network cable to the ETH port.
4.
To power up your L3+ server, connect the PSUs to the power wall outlet.