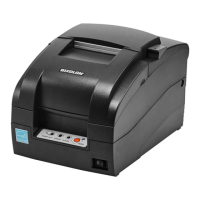
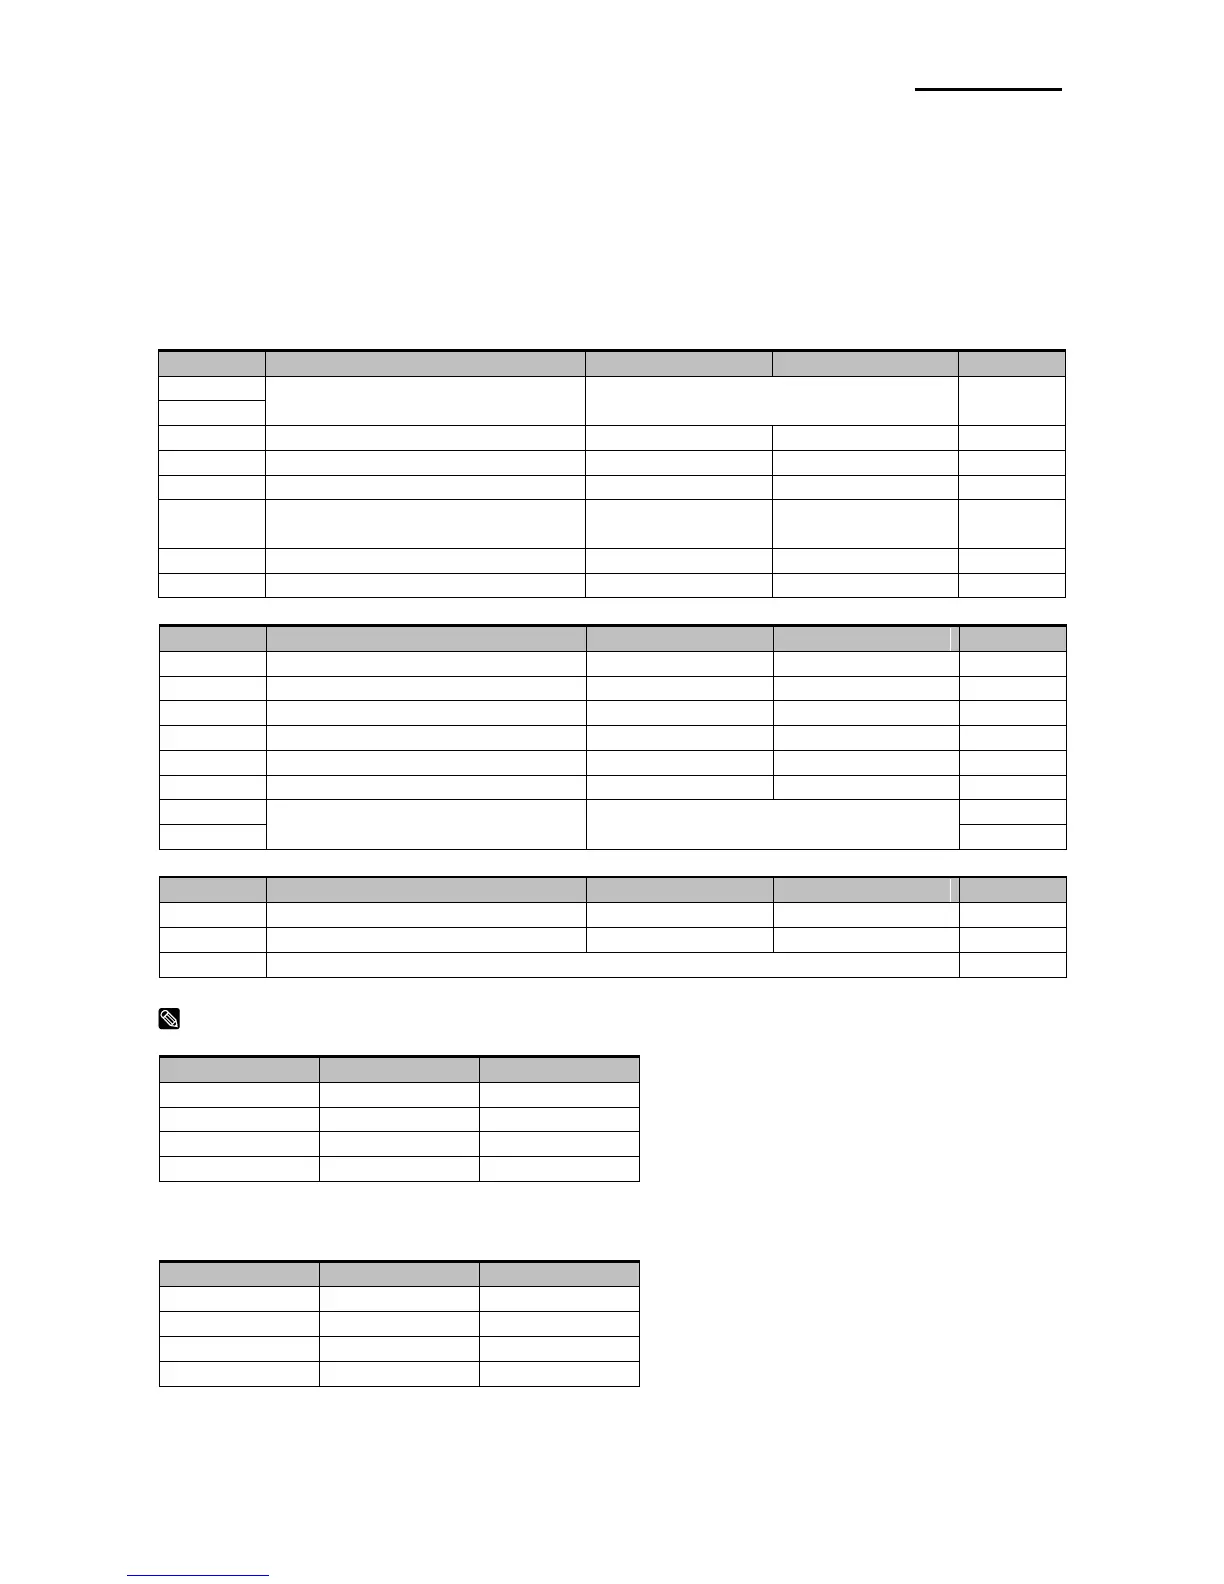
3. Setting the Switches
3-1 Setting the DIP Switch
Although the factory settings are best for almost all users, if you have special requirements,
you can change the DIP Switch. Your printer has two sets of DIP Switches. The functions
of the switches are shown in the following table.
• DIP Switch 1
Refer to the following table
Serial interface selection
Print NV bit image #1 after
cutting
• DIP Switch 2 (RS232C serial interface model)
Refer to the following table
• DIP Switch 2 (Parallel interface model)
(*1) Emulation Selection (DSW 1-1 and 1-2)
- BXL/POS-KP(Kitchen Printer mode) : A alarm is generated by printer after auto cutting
and in paper end error.
(*2) Baud rate selection (Transmission speed)
 Loading...