Settings
9
Connecting to a Network
Blackmagic MultiView 16 supports the Blackmagic Videohub Ethernet Protocol so if your unit is installed
in a rack with limited access, you can easily control it remotely. Once connected to your network via
Ethernet, Blackmagic MultiView 16 will be visible to other computers and Videohub panels connected
to the network. These devices can then control the unit remotely and make routing changes.
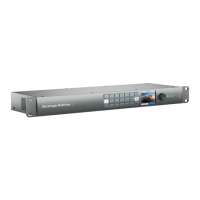
To connect Blackmagic MultiView 16 to your network:
Step 1. Power your Blackmagic MultiView 16.
Step 2. Use a standard RJ45 Ethernet cable to connect Blackmagic MultiView 16 to your network switch.
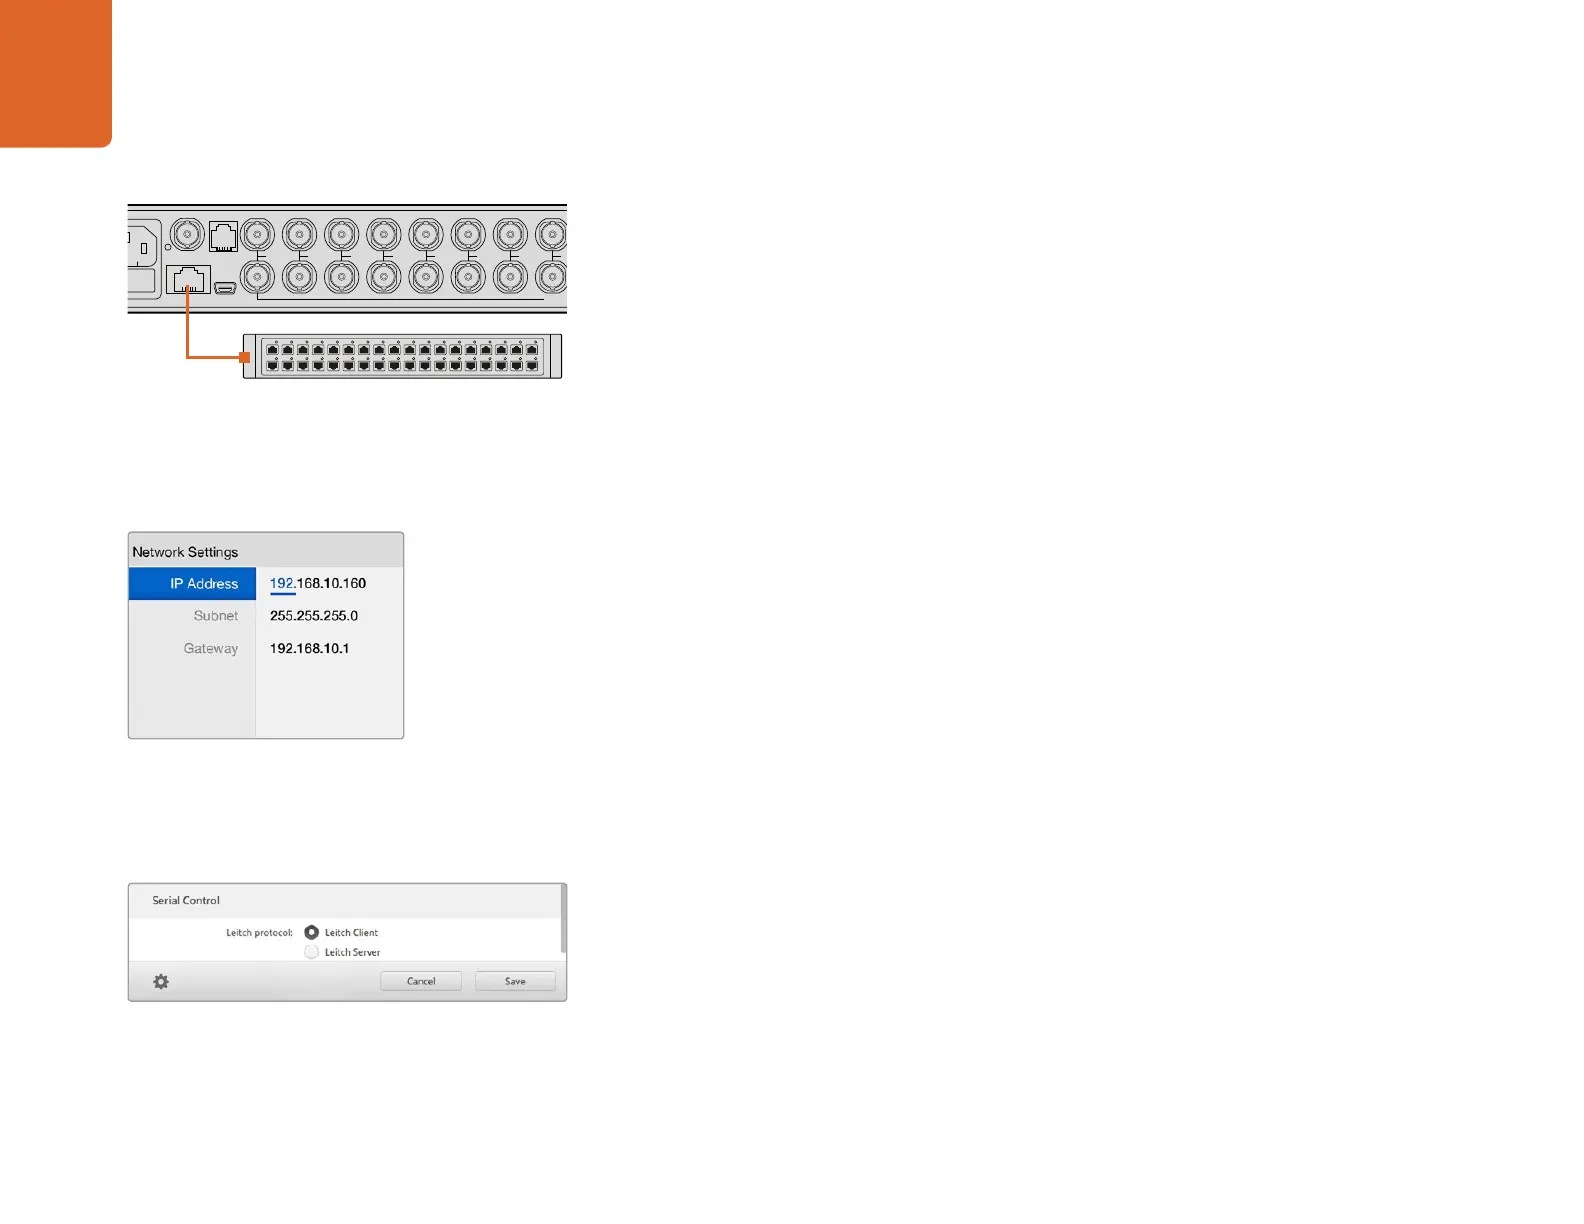
Once you have connected to a network, you'll need to make sure your Blackmagic MultiView 16's IP address
is different to the other equipment on your network. You can do this using the 'network settings' screen.
To set your Blackmagic MultiView 16's IP address:
Step 1. Press the 'menu' button on the front control panel and use the rotary knob to highlight the
'networking' tab on the LCD menu.
Step 2. Press the 'set' button to enter the network settings screen.
Step 3. Turn the rotary knob to select the "IP address" tab.
Step 4. Press the 'set' button to highlight the first field of the IP address. Use the rotary knob to
change values.
Step 5. Press 'set' to confirm the first field, then repeat the above step for the next three fields. If you
need to assign the subnet and gateway address, they can be set using the same method.
Step 6. Press the menu button twice to return to the home screen.
Serial Control Settings
Third party router controllers can control Blackmagic MultiView 16 using the RS-422 serial connection. To set
up serial control, connect Blackmagic MultiView 16 to your computer via USB and follow the steps below:
Step 1. Launch Blackmagic MultiView 16 setup and select your Blackmagic MultiView 16 by clicking
on the product image or the settings icon below it.
Step 2. Click on the 'configure' tab and set the "Leitch Protocol" switch to "Leitch Client" if your
Blackmagic MultiView 16 is to act as a client of a connected control panel, or "Leitch Server"
if your unit is to be controlled from an automation system or third party router control system.
Step 3. Click on the 'save' tab to confirm your setting.
1
2
3
4
5
6
7
8
9
10
11
12
13
14
15
16
SOLO
SET
SRC
VIEW
MENU
Blackmagic MultiView 16
ETHERNET
REF IN
LOOP OUT
IN
HDMI OUT 6G-SDI OUT HD-SDI OUT
RS-422
CNTRL
USB
1 2 3 4 5 6 7
Connecting Blackmagic MultiView 16 to an Ethernet network
will allow you to control the unit from another location.
Use the rotary knob or the view buttons on
Blackmagic MultiView 16's control panel to
assign values to your network settings.
Select either 'client' or 'server' when using RS-422 serial control.