20
External audio/video sources | External monitor | Sound settings
External audio/video sources
AV inputs
This device features two external AV inputs for audio and
video playback:
t AV-IN 1 is located under the cover at the front of the
device.
t AV-IN 2 is implemented as a cinch socket on a cable
at the rear of the device. You can specify the instal-
lation location of the port during the installation of
the device.
Danger!
Increased risk of injury from connector.
In case of an accident, the protruding connec-
tor in the front AV-IN socket may cause injuries. The use
of straight plugs or adapters leads to an increased risk
of injury.
쏅 Start the AV-IN mode with the button AV-IN 1 or
AV-IN 2 .
The display shows the audio or video playback of the
selected AV source.
Video input
This device features a video input at the rear of the device
for connecting a camera that is available as an option. If a
camera is connected, you can display the camera image.
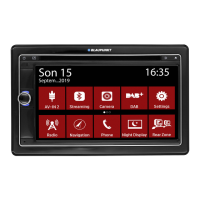
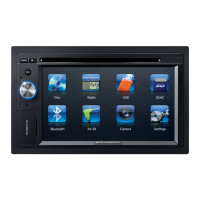
쏅 In the main menu, press the Camera button.
External monitor
This device features an output for connecting an external
monitor for the rear area of the vehicle (see Connection
diagram at the end of these instructions).
쏅 Select the desired source via the main menu and
start the lm playback, e.g. from a DVD.
The lm is displayed on the monitor of the device.
쏅 Call up the main menu.
쏅 Press the
button.
The lm is also displayed on the external monitor.
Sound settings
Volume distribution (fader/balance)
You can adjust the volume distribution in the vehicle
for all sources.
쏅 In the main menu or on the control bar of the current
audio source, press the
button.
The equalizer menu is displayed.
쏅 Press the
button.
The menu for fader and balance is displayed.
쏅 Adjust fader and balance with / or
/ .
쏅 Next, press
.
The setting is stored, the current source is displayed
again.
Equalizer
You can adjust the equalizer for all sources.
쏅 In the main menu or on the control bar of the current
audio source, press the
button.
The equalizer menu is displayed.
쏅 Select a preset equalizer via the buttons.
- Or -
쏅 Press the User button to adjust the level of the
available frequency bands according to your prefer-
ences.

 Loading...
