En - 7
unpackIng & aSSembly
• After unpacking the BLUE CLEAN POWER WASHER,
lay out parts and accessories. Familiarize yourself with
the parts in the package by comparing them to those
listed on the “PACKAGE CONTENTS” page.
• The BLUE CLEAN POWER WASHER requires some
minor assembly. You’ll need a Phillips screwdriver to
install the accessory holders.
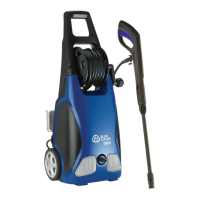
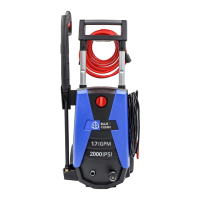
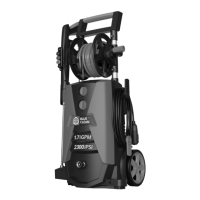
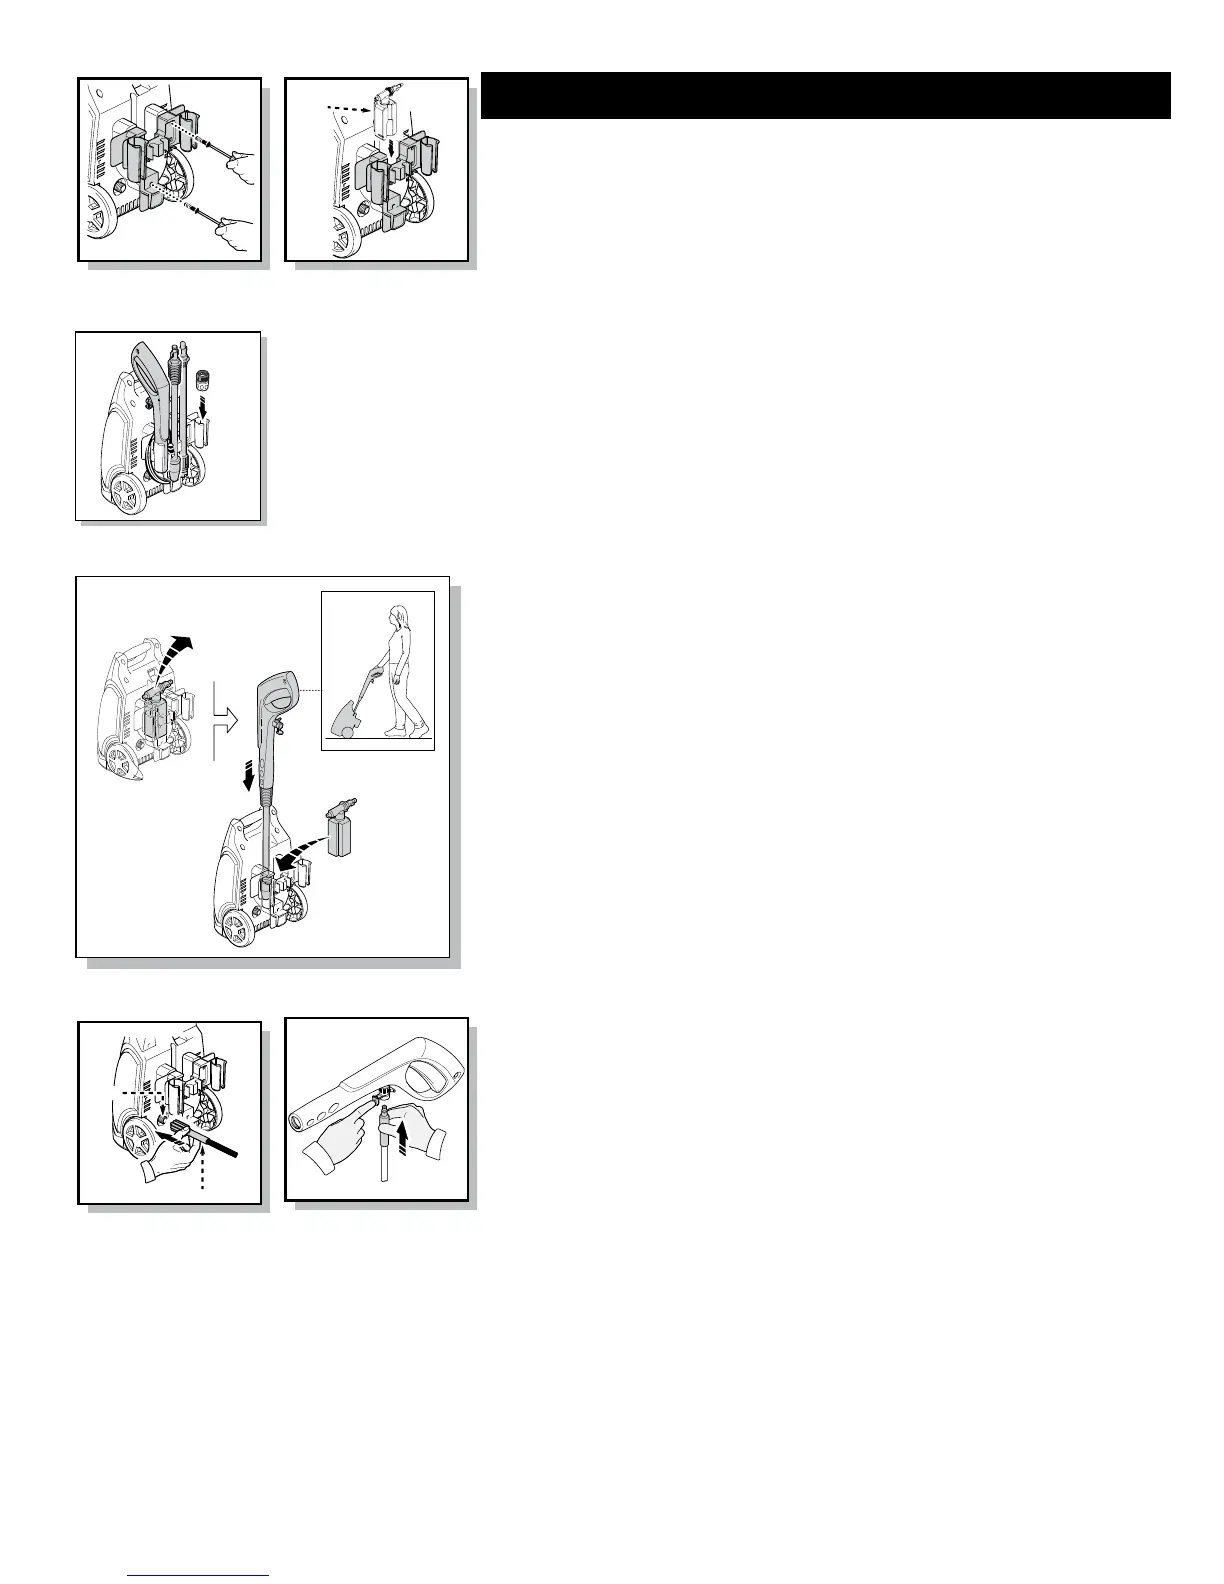
• Install the accessory holder on the back of your BLUE
CLEAN POWER WASHER (Fig. 1). You’ll notice where
the accessory holder meets the back of the unit. You
will see several male index posts which t into female
holes. The posts and holes enable easy placement of the
accessory holder and easy tightening of the screws. Place
the screws in the holes provided on the accessory holder
and screw them in. Do not use a power screwdriver.
When the screw is completely tight, give a small nal
clockwise twist of the screwdriver. Do not over tighten.
After the accessory holder is installed you will notice a
square area in the center of the holder where the square
detergent bottle may be stored and easily retrieved (Fig.
2).
• Using one of the supplied screws, install the small electric
power cord holder below the accessory holder so that the
“L” - shaped holder faces downward. The electric power
cord can now be wrapped around the accessory holder
and the bottom “L” - shaped holder while your power
washer is not in use (Fig. 1).
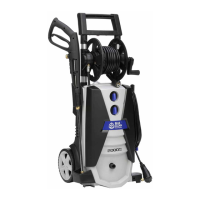
• Please refer to (Fig. 3) for accessory storage locations on
the accessory holder.
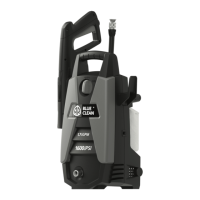
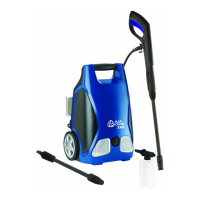
• For a handle to wheel unit. Remove detergent bottle
insert gun with adjustable spray nozzle to use as a handle
and replace detergent bottle. (Fig. 4)
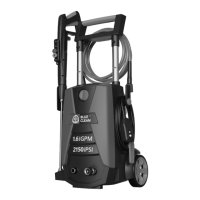
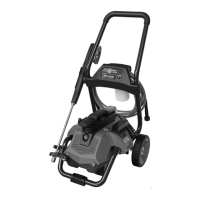
High Pressure Hose
• Screw the high pressure hose (clockwise) on the back
of the unit at the bottom (Fig. 5). The end of the hose
must be inserted into the water outlet far enough so the
collar can thread onto the outlet threads until hand tight.
Do not use pliers or vice grips to tighten. If it takes fewer
than six or so turns you have not properly tightened the
high pressure hose tting. It is easier to position the
power washer in front of you so to ensure that the threads
are started correctly. Failure to properly tighten the high
pressure hose will result in the hose slipping or popping
off immediately upon turning the unit on. Do not worry
about damage if this occurs - just reinstall and take extra
care at screwing on the high pressure hose tting.
• Connect the other end of the high pressure hose to the
spray gun by inserting the brass metal tip of the high
pressure hose into the tting just ahead of the trigger
guard. It will lock into the spray gun with a “click” (Fig. 6).
Conrm the hose is locked into the spray gun by pulling
slightly on the hose. The hose is now
securely attached to the spray gun.
Detergent
Bottle
Fig. 1 Fig. 2
High Pressure Hose
Pump
Fig. 3
Fig. 4
Fig.6
GHA
Fig.5