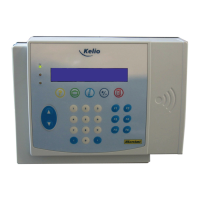
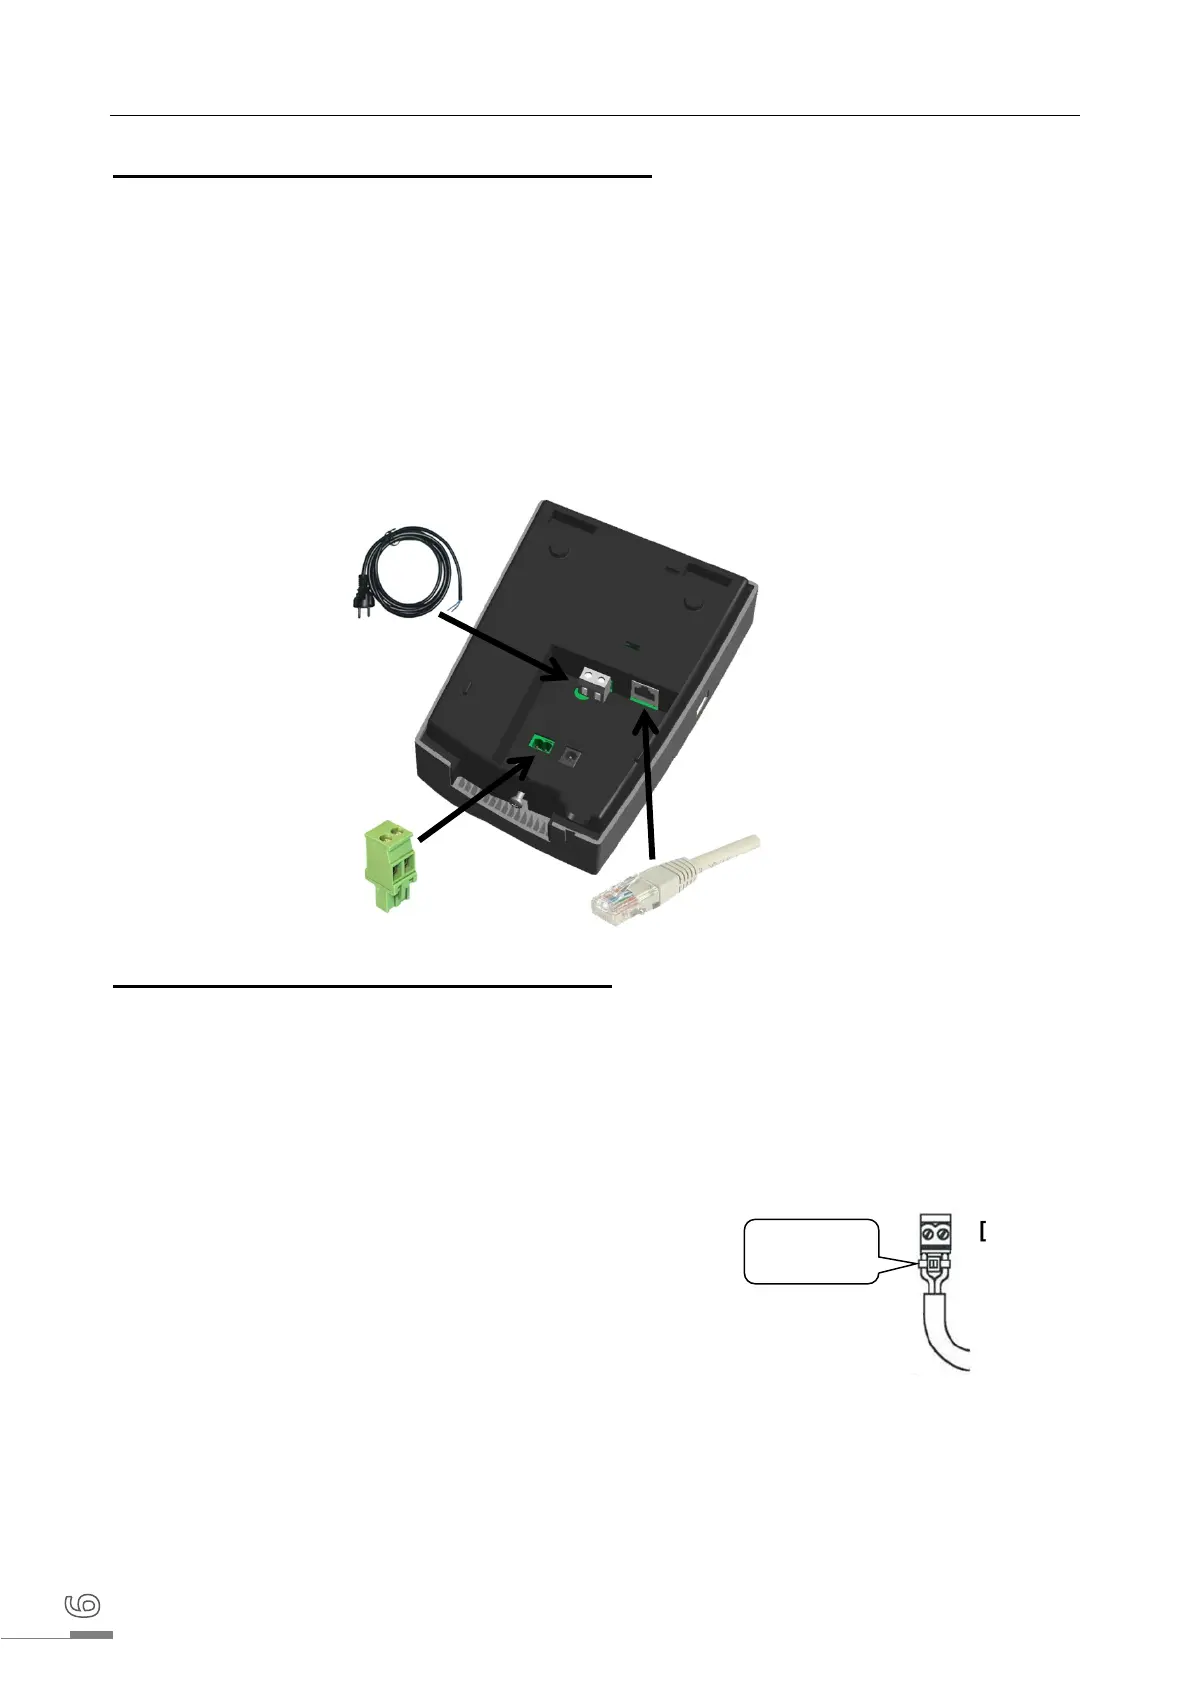
4.2 Electrical installation
If the product is not powered using the POE option:
- Terminal block [A] is the power input for K
ELIO PRIO.
- First turn off the circuit breaker/disconnection switch concerned
- Connect the power to terminal block [A] using a cable with a cross-section of 2.5
mm²,
stripped over 5
mm (LIVE/NEUTRAL), onto the rear connector on the terminal (110-230 VAC –
50/60
Hz).
- Secure the two wires close to the 2-pin terminal block, using one of the clamping collars
provided.
- Connect the IT network cable to the RJ45 socket.
If the product is powered using the POE option:
- With POE option, K
ELIO PRIO is powered only by the Ethernet cable (terminal block [C]).
There is therefore no terminal block [A] present on the K
ELIO PRIO terminal.
- Voltage supplied by the POE switch for the terminal if using the POE option:
IEEE 802.3af - 12.95
W - category 3
- Connect the bell relay if necessary. To do this,
connect the contacts for terminal block [B] of
the relay (230
VAC 50/60 Hz, 1 A
max
). First turn
off the circuit breaker/disconnecting switch
concerned, then connect the cables onto the
terminal block (0.5 to 1.5
mm² max cross-
section, stripped over a length of 5
mm). Secure
the two wires closest to the 2-pin terminal
block, using one of the clamping collars
provided.
 Loading...