Power On the Bomgar Appliance
1. Plug the power cables for the Bomgar Appliance into a safe power source. Depending on the type of appliance, you may
have two power cables. The appliance’s power supplies will automatically switch between 120v and 240v, as needed.
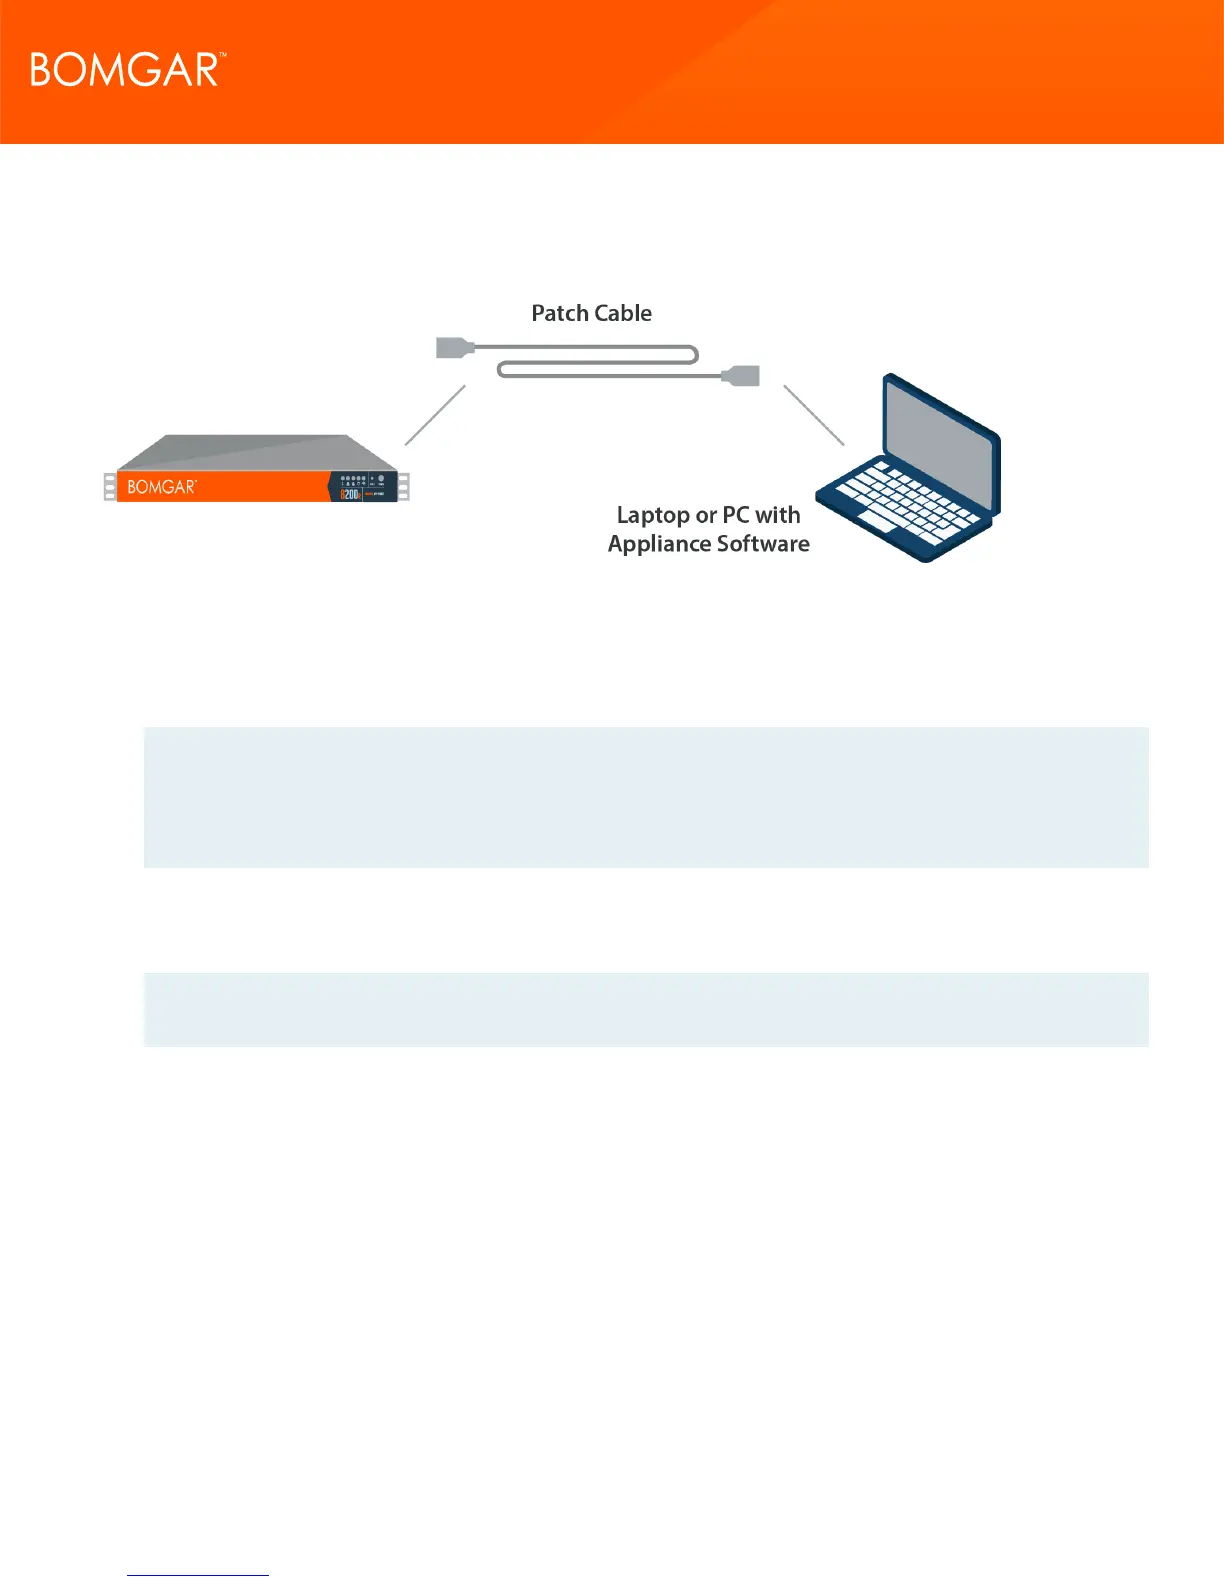
2. Using one of the patch cables provided, connect your computer to NIC1 or NIC2 on the rear of the Bomgar Appliance. You
can use either crossover or straight-through cables.
Note: Bomgar supports placing both NICs on the same network for the purpose of NIC Teaming. Likewise, NICs can be
placed on separate network subnets for segmented traffic routing. However, if placing NICs on the same network for the
purpose of NIC Teaming, configure only one of the NICs. If both NICs have IP addresses from the same subnet,
unexpected behavior will result. When multiple IP addresses are required for a single subnet, the proper solution is to
assign all the IP address to one NIC.
3. Press and release the power button on the front of the appliance. The power LED immediately to the right of the reset button
will illuminate, and the HDD activity LED (immediately to the right of the power LED) will begin to flash. Initialization of the
Bomgar Appliance will complete in about 60 seconds.
Note: The NIC1 and NIC2 LEDs may illuminate and show activity even when the appliance is not powered on; therefore,
it is important to check the power and HDD LEDs to confirm that the appliance is on.
CONTACT BOMGAR info@bomgar.com | 866.205.3650 (US) | +44 (0) 1628 480 210 (UK/EMEA) BOMGAR.COM 14
© 2017 Bomgar Corporation. All rights reserved worldwide. BOMGAR and the BOMGAR logo are trademarks of Bomgar Corporation; other trademarks shown are the property of their respective owners. TC: 1/11/2018
REMOTE SUPPORT APPLIANCE INSTALLATION