EN
30
Installation
www.bora.com
1
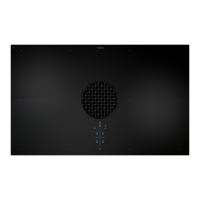
L1
2
N PE
220 - 240 V~
Fig. 4.40 Phase connection circuit diagram
Connecting the control unit to the power supply
Connect the power supply cable for the control unit to
the power supply.
Check that installation has been carried out correctly.
Switch on the main switch/automatic circuit breaker.
4.14 Initial operation
INFO You will find detailed operating instructions for
the BORA Classic 2.0 system in the operating
instructions (see Operation chapter).
Ensure that all devices are connected correctly prior to
initial operation and are connected to the power supply
(fused).
Start the system (long press on the power button ).
angezeigt und das Lüfter-Symbol leuchtet rot.
Check that all cooktops are displayed according to the
way they are installed.
To do this, check the display on the operating panel
(cooking zone indicators).
If cooktops have not been recognised correctly:
If cooktops are not correctly recognised by the system,
they will either not be displayed at all or will be shown
with an error code
(also see Operating instructions,
Troubleshooting chapter).
Switch the system off (long press on the power button )
Check the connections
Check the power supply
Switch the system back on again and check that all
cooktops have been correctly recognised.
If all cooktops have been recognised correctly:
Carry out the basic configuration.
4.14.1 Basic configuration
INFO When using for the first time, the system mu
st be
configured. It is absolutely essential to go through
the three
menu items of the basic configuration
from start to finish.
INFO If this process is interrupted before it is
completed, the basic configuration must be
continued from where you left off the next time
the system is switched on.
INFO If the basic configuration has not been completed
successfully, the corresponding request will be
repeated every time the system is restarted.
INFO If a menu item is called up, after 1 second the
system automatically shows the current set value.
INFO The system adopts and saves the settings made
when you exit the corresponding menu item.
Carrying out the basic configuration
Call up the menu (tap the menu button )
The menu is called up and the first item in the basic
configuration menu is displayed (menu item H).
Enter the settings.
Aborting the basic configuration manually
Long press on the menu button
If you wish to abort the basic configuration process ahead
of time, e.g. because fans are not correctly recognised, all
menu items that have not been fully completed must be
run through again at a later date.
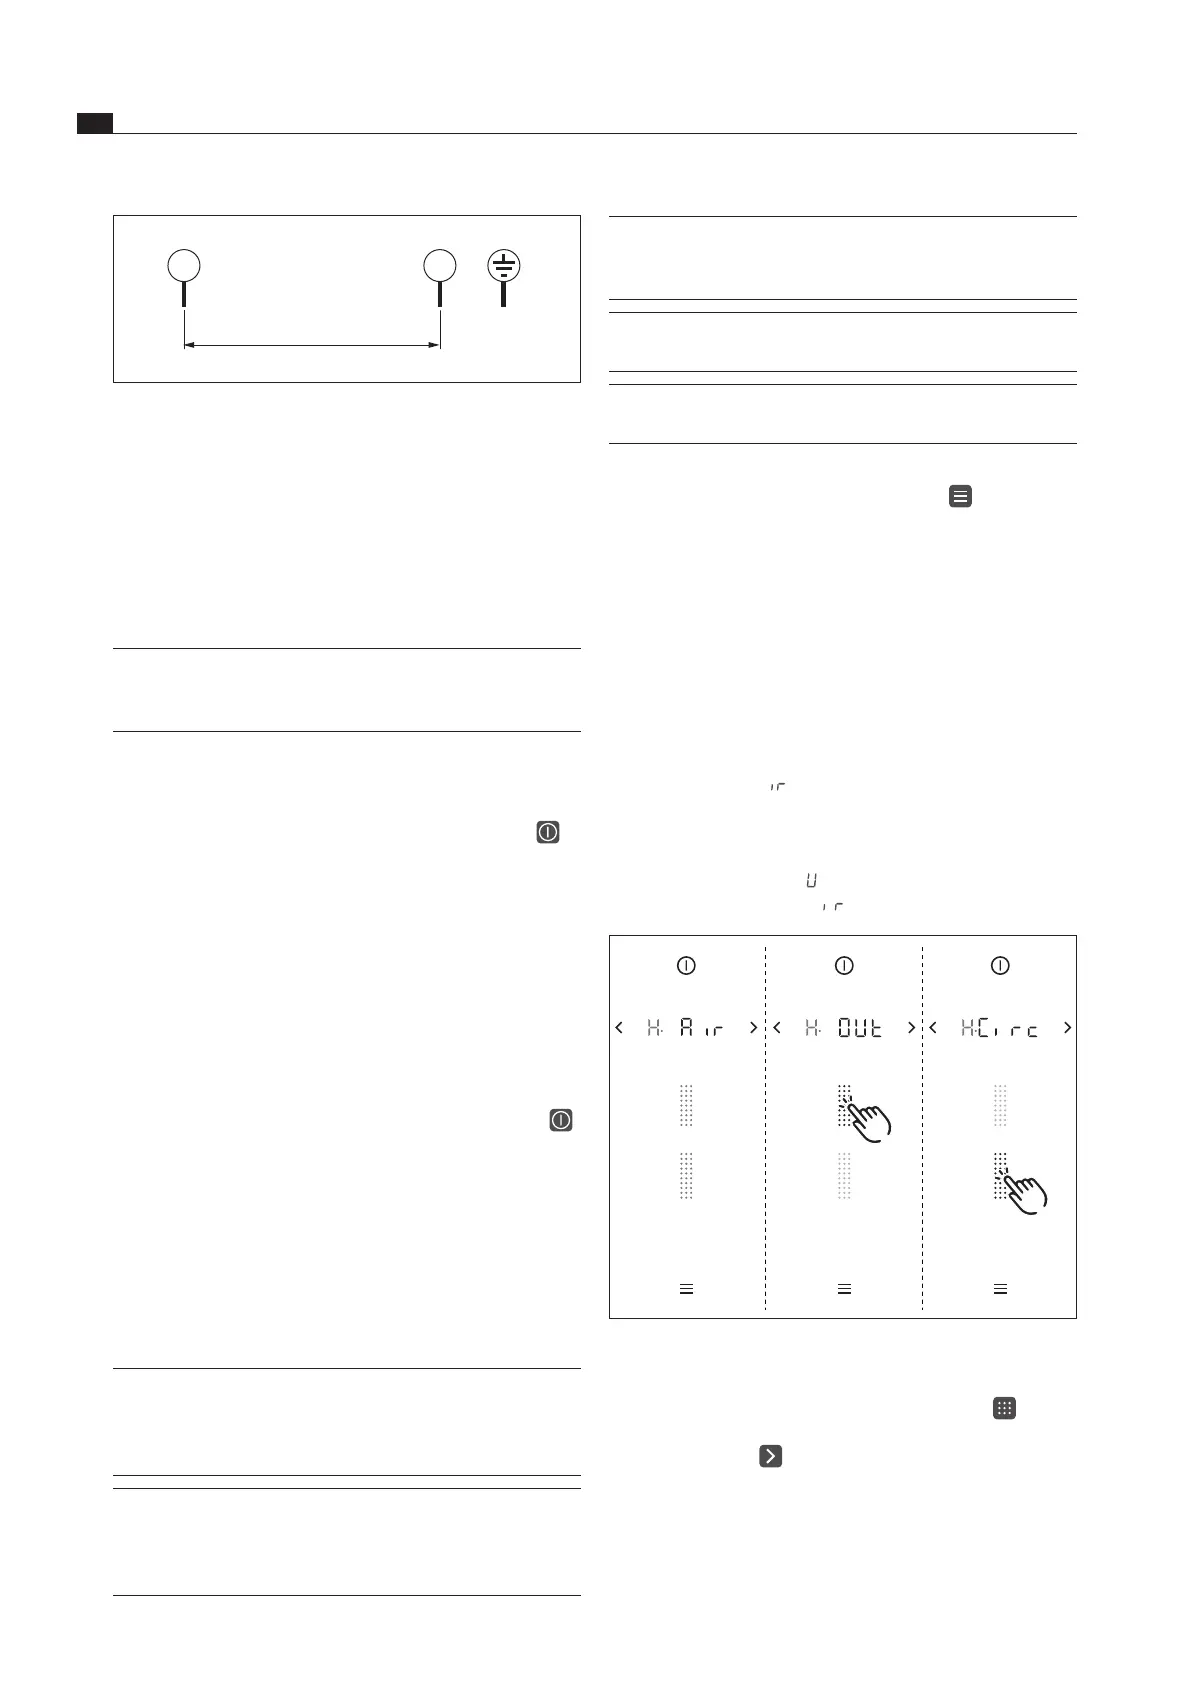
Menu item H:
Configuration of the extraction system
The extraction system must be configured.
There are two operating modes to choose from:
Exhaust air system (
)
Recirculation system (
)
Fig. 4.41 Conguring the exhaust air system display
Select the corresponding operating mode
(tap
the corresponding segment on the slider ).
Confirm and save the setting by moving to the next
menu item (tap ).

 Loading...