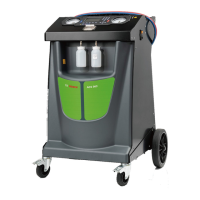
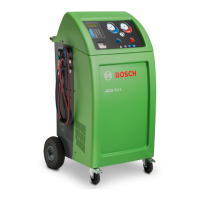
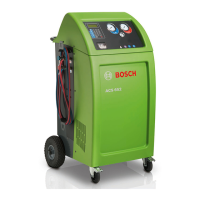
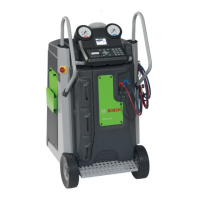
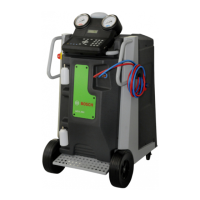
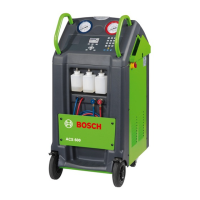
ACS 553, ACS 563 Service Manual
1 689 975 295 2021-04-13Robert Bosch GmbH
21
Introduction
10.
display shows:
SERVICE VACUUM COMPLETE
11. Select icon to continue.
12. Select and select
icon to start the function.
13. Select icon to continue with the
conversion procedure.
14. The display prompts to replace all the
components.
15.
16. Remove the service hoses with quick
couplers.
17. Remove the HP (red) and LP (blue) flush
ports.
Remove the cap (1).
19. Place the contamination port (2) with its
o’ring and tighten at 15 Nm torque.
20. Place the Schrader valve in it (3) and tighten
at 0.3 Nm ± 0.1 torque.
21.
o’ring and tighten at 15 Nm torque.
22. Place the Schrader valve in it (7) and tighten
at 0.3 Nm ± 0.1 torque.
23.
o’ring and tighten at 15 Nm torque.
24. Place the Schrader valve in it (5) and tighten
at 0.3 Nm ± 0.1 torque.
25. Attach new high- (red) and low-side (blue)
service hoses with quick couplers. Tighten
at 7.9 Nm torque.
26. Connect the unit to a power source and
place the power switch on.
27. Follow the instructions on display to replace
Maintenance section) and vacuum pump oil
(refer to the “Vacuum Pump Maintenance”
in the Maintenance section).
replenish the pump oil.
the display shows:
THIS AC UNIT IS NOW CONVERTED
TO R-XXXX (refrigerant)
29. Select icon to complete the process.
30.
from the right side of the enclosure replacing
it with the new one.
31. Perform air flow calibration. Refer to
“Air Flow Calibration” in the Diagnostics and
Testing section.
32. Perform 3 kg tank refill and then a
“Periodic Leak Test” to verify system
tightness (refer to the “Pressure Decay Leak
Test” in the Maintenance section).
1
3
5
7
2
4
6
 Loading...