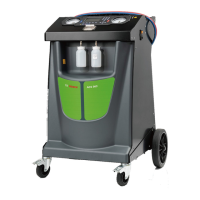
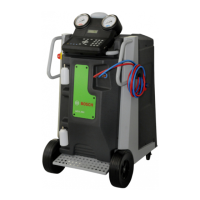
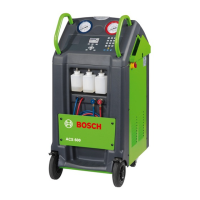
ACS 553, ACS 563 Service Manual
1 689 975 295 2021-04-13 Robert Bosch GmbH
70
Plumbing and Mechanical
These instructions outline the steps to replace
Plumbing Interconnection Diagram. Refer to this
schematic of the unit plumbing and mechanical
system when performing all removals and
replacements of plumbing or other mechanical
parts and assemblies.
.
1. Disconnect the unit from its power source.
2. Remove the front plastic cover.
3. Remove the four screws under the control
panel.
4. Tilt the control panel upwards the front of
the unit.
5. Disconnect the copper line from the
compressor.
6. Disconnect the hoses from the compressor.
7. Remove two compressor mounting bolts
and washers and slide the compressor out
from the rear retainer.
Disconnect the compressor pigtail from the
COMP connector on the main harness.
9. Remove the compressor from the unit.
.
Refer to Figure 4-1 during this installation.
1. Install the rubber mounts into the base of the
compressor. Place two metal sleeves in the
front mounts only (included in kit).
2. Place the compressor into the unit, sliding
it towards the rear of the unit until the rear
rubber mounts are under the compression
bracket and two front bolt holes line up with
multi-purpose grease can be applied to the
bottom of the rubber mounts.
3. Connect the compressor pigtail to the
COMP connector on the main wire harness.
4. Refer to the illustration and install the hoses
connecting the compressor to the manifold.
Replace the O-rings where used on the
hoses.
5. Secure the compressor in the rear bracket
and in the front side with two bolts and
washers.
6. With the O-rings in place, connect the
copper line to the discharge side of the unit.
7. Tilt the control panel down and secure with
four screws.
Reinstall the front plastic cover.
9. Connect the unit to the power source,
perform a function test, and check for leaks.
 Loading...