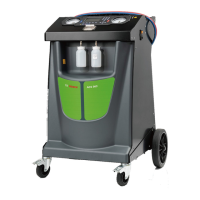
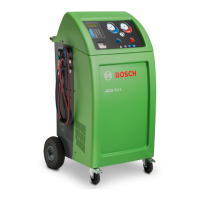
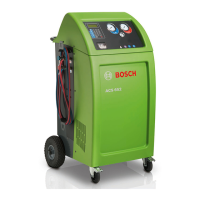
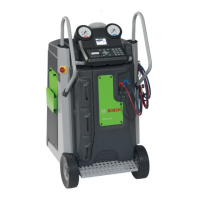
ACS 553, ACS 563 Service Manual
1 689 975 295 2021-04-13 Robert Bosch GmbH
Plumbing and Mechanical
These instructions outline the steps to replace
manifold check valves.
1. Close red and blue tank valves and
depressurize the unit (select “AC unit
emptying” function in the service menu).
2. Disconnect the unit from the power source.
3. Remove the front plastic cover and service
hoses (if needed).
4. Remove the four screws under the control
panel.
5. Tilt the control panel upwards the front of
the unit.
6. Remove the faulty check valve.
1. Lubricate the O-rings on the new check
valve.
2. Install the new check valve and hand-
tighten.
3.
4. Tilt the control panel down and secure with
four screws.
5. Reinstall the front plastic cover.
6. Connect the unit to the power source,
perform a function test, and check for leaks.
1. Close red and blue tank valves and
depressurize the unit (select “AC unit
emptying” function in the service menu).
2. Disconnect the unit from the power source.
3. Remove the front plastic cover.
4. Remove the four screws under the control
panel.
5. Tilt the control panel upwards the front of
the unit.
6. Refer to Removing Solenoid on the previous
page.
7. Remove the check valve from the manifold
after removing the solenoid.
1. Lubricate the O-rings on the new check
valve.
2. Install the new check valve and hand-
tighten.
3. Torque the check valve to 17 ± 1 Nm.
4. Perform the Installing Solenoid procedures
on the previous page.
 Loading...