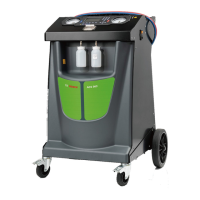
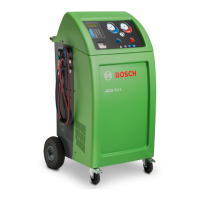
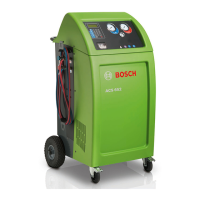
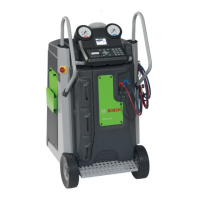
ACS 553, ACS 563 Service Manual
1 689 975 295 2021-04-13Robert Bosch GmbH
65
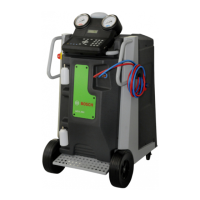
Electrical
Follow these steps to replace the high-pressure
cut-out switch on the unit. See Figure 3-7.
1. Evacuate the unit with a recovery service unit.
2.
the unit from the power source.
3. Remove the front plastic cover.
4. Remove the four screws under the control
panel.
5. Tilt the control panel upwards the front of
the unit.
6. Disconnect the wires from the faulty
high-pressure cut-out switch.
7. Carefully remove the faulty cut-out switch.
and oil.
DO NOT apply thread sealant to any
internal threads. Apply thread sealant to only
9. Install the new high-pressure cut-out switch.
10. Connect the wires to the new switch.
11. Tilt the control panel down and secure with
four screws.
12. Reinstall the front plastic cover.
13. Connect the unit to the power source.
14. Operate the unit and check for leaks.
12. Select
13.
14. Set
15. Set (unit require the input
2 times). Take the one in the unit data plate
16.
Air Flow in the Diagnostics and Testing
17. Perform tank calibration (refer to ISV Load
Cell Calibration in the Diagnostics and
Select
19. Edit
20. Now unit is ready to install the last encrypted
software present in the USB dongle. If the
the unit don’t find the software an error
message will be shown on display asking
to retry.
21. The encryption can take several minutes,
the % progress is shown in the display.
22. When unit reboots and displays stand-by
front plastic cover (take care to secure the
tank with screws).
23. Key in the activation code again, using
original serial number the activation code
is still the same.
24. Now the unit is ready to use.
All data input not required into procedure
above are already available in the dedicated
software.
Attach control wires
to these terminals
 Loading...