D1265 | Installation Guide | 4.0 RPS Configuration
8 Bosch Security Systems, Inc. | 11/11 | F01U169129-05
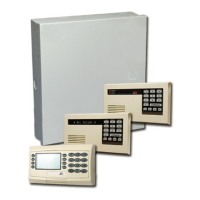
4. In the Program Record Sheet, go to USER
INTERFACE (GV2MAIN)>Command Center
Functions. Set Display Revision – Command 59
to E (Enabled). This setting allows the
configuration changes for the D1265 to take effect.
Figure 10: RPS: Display Revision – CMD 59
4.3 Enter Security Company Information
Use the following steps to enter your security
company’s name and phone number. The users see this
information when they press the Help? button on the
D1265, and then press the Security Co. Info. button.
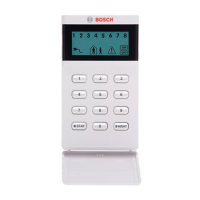
1. In RPS, in the Program Record Sheet pane,
expand the PASSCODES
(RADXUSR1/RADXUSR2) section.
Refer to Figure 11 (the D9412GV3 is used as an
example).
Figure 11: RPS: PASSCODES
(RADXUSR1/RADXUSR2)
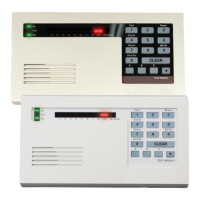
2. Under Passcodes & Authority Levels:
Select Users 201-249 for the D9412GV3
and D9412GV2
Select Users 51-99 for the D7412GV3,
D7412GV2, D7212GV3, and D7212GV2
Figure 12: RPS: Passcodes & Authority Levels
3. Scroll through the list of users to User 249 for the
D9412GV3 and D9412GV2.
Scroll to User 99 for the D7412GV3, D7412GV2,
D7212GV3, and D7212GV2.
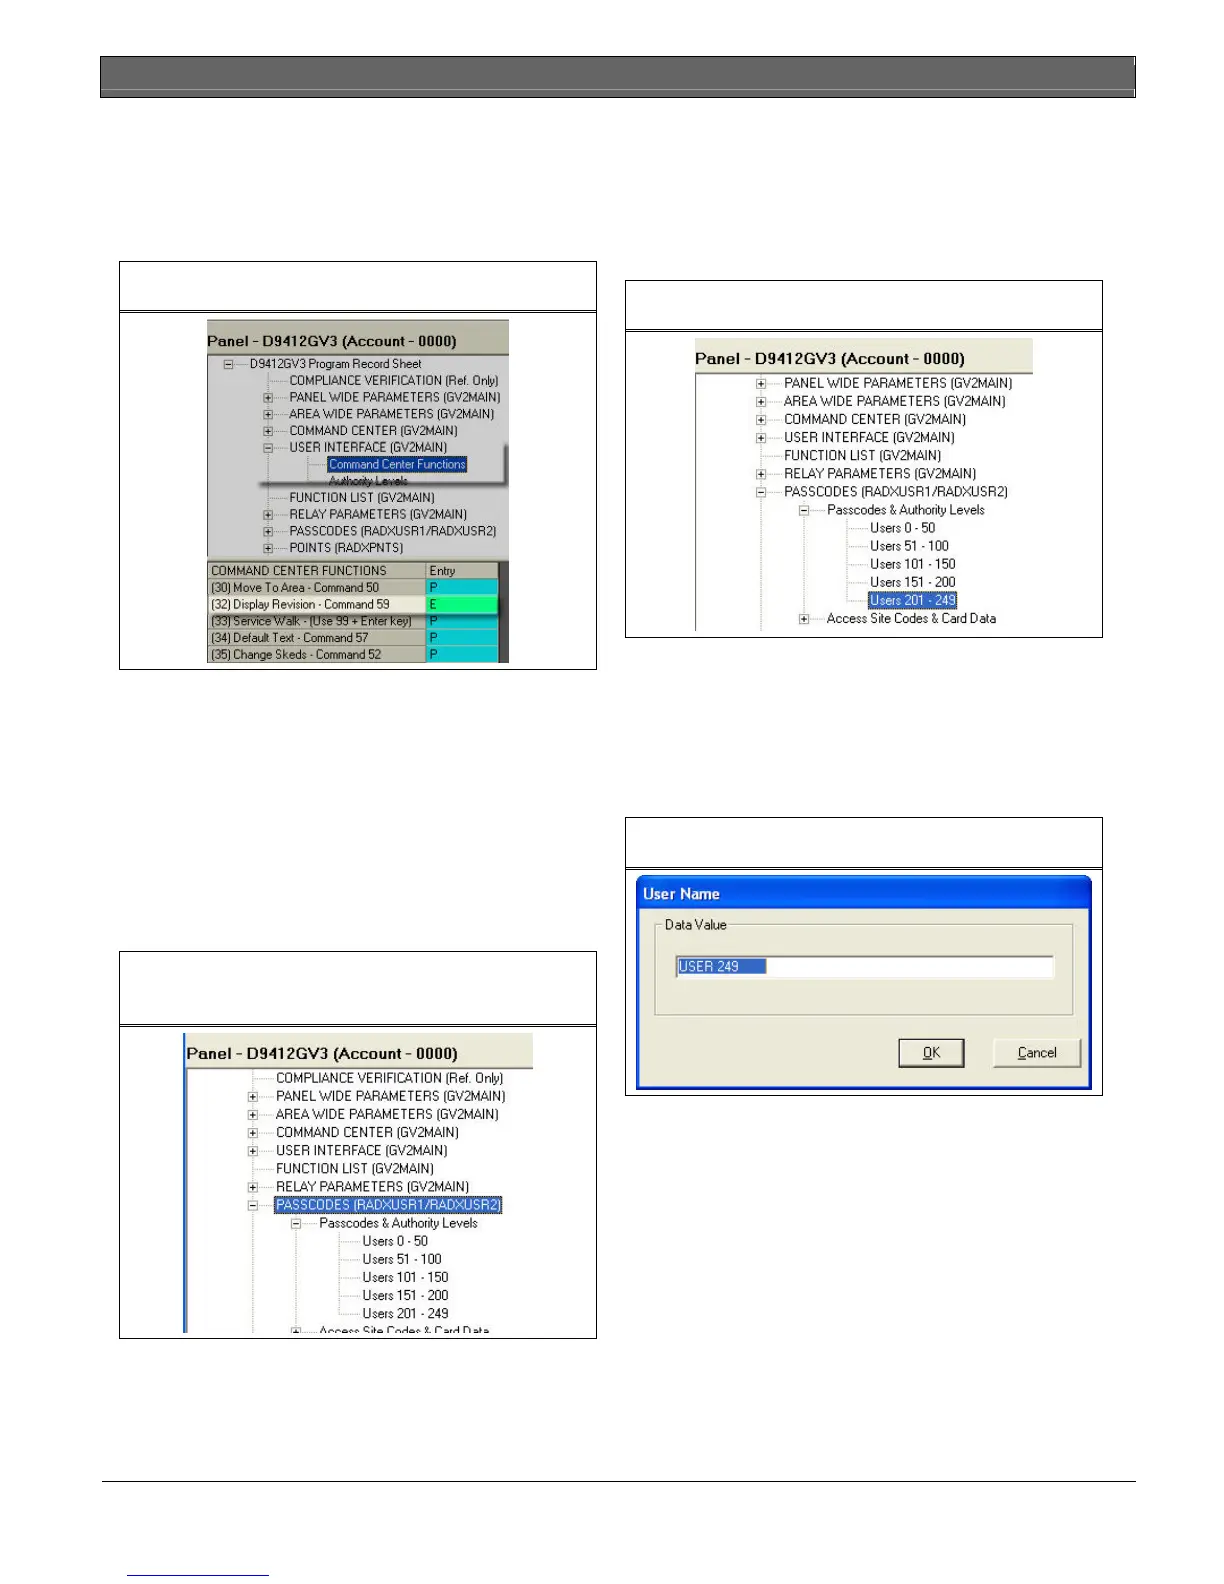
4. Double-click the cell for User 249 or User 99.
The User Name dialog opens.
Figure 13: RPS: User Name Dialog
 Loading...