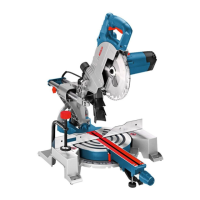
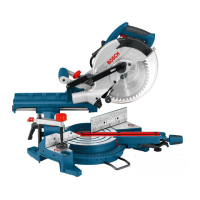
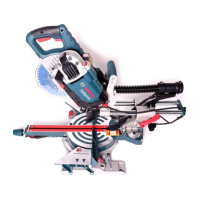
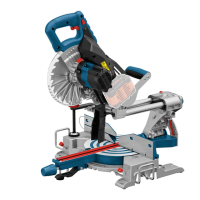
English | 19
Bosch Power Tools 1 609 929 S54 | (8.12.08)
Clamping the Workpiece
(see figure G)
To ensure optimum working safety, the work-
piece must always be firmly clamped.
Do not saw workpieces that are too small to
clamp.
– Press the workpiece firmly against the fence
18.
– Insert the quick-action clamp 39 provided in-
to one of the holes 16 intended for it.
– Loosen the wing bolt 40 and adapt the quick-
action clamp to the workpiece. Tighten the
wing bolt again.
– Firmly clamp the workpiece by turning the
threaded rod 41 in clockwise direction.
Adjusting the Cutting Angle
To ensure precise cuts, the basic adjustment of
the machine must be checked and adjusted as
necessary after intensive use (see “Checking
and Adjusting the Basic Adjustment”, page 23).
f Always tighten the locking knob 11 firmly
before sawing. Otherwise the saw blade can
become wedged in the workpiece.
Adjusting Horizontal Mitre Angles
(see figure H)
The horizontal mitre angle can be set in the
range from 50° (left side) to 58° (right side).
– Loosen the locking knob 11 in case it is tight-
ened.
– Pull the lever 12 and turn the saw table 7 un-
til the desired mitre angle is indicated on the
angle indicator 13.
– Tighten the locking knob 11 again.
For quick and precise setting of often used mi-
tre angles, detents 14 are provided on the saw
table:
– Loosen the locking knob 11 in case it is tight-
ened.
– Pull lever 12 and rotate the saw table 7 left
or right to the requested detent.
– Release the lever again. The lever must be
felt to engage in the detent.
Adjusting Vertical Bevel Angles
(see figure I)
The vertical bevel angle can be set in the range
from 0° to 45°.
– Loosen the clamping lever 22.
– Tilt the tool arm by the handle 5 until the an-
gle indicator 20 indicates the desired bevel
angle.
– Hold the tool arm in this position and retight-
en the clamping handle 22.
For quick and precise setting of the standard
angles 0° und 45°, end stops are provided on
the housing.
– For this, tilt the tool arm by the handle 5 to
the stop toward the right (0°) or to the stop
toward the left (45°).
Starting Operation
Switching On
–For starting operation, pull the On/Off
switch 4 in the direction of the handle 5.
Note: For safety reasons, the On/Off switch 4
cannot be locked; it must remain pressed during
the entire operation.
The tool arm can be guided down only after
pushing the locking lever 32.
–For sawing, the locking lever 32 must be
pushed in addition to pressing the On/Off
switch. (see figure J)
Switching Off
–To switch off the machine, release the
On/Off switch 4.
Left Right
0°
15°; 22.5°;
30°; 45°
15°; 22.5°;
30°; 45°
OBJ_BUCH-884-002.book Page 19 Monday, December 8, 2008 2:26 PM
 Loading...