2
Safety Symbols . . . . . . . . . . . . . . . . . . . . . . . . . . . .2
General power tool safety warnings . . . . . . . . . . .4
▶Work area safety . . . . . . . . . . . . . . . . . . . . . . . .4
▶Electrical safety . . . . . . . . . . . . . . . . . . . . . . . . .4
▶Personal safety . . . . . . . . . . . . . . . . . . . . . . . . .4
▶Power tool use and care . . . . . . . . . . . . . . . . . .4
▶Battery tool use and care . . . . . . . . . . . . . . . . .5
▶Service . . . . . . . . . . . . . . . . . . . . . . . . . . . . . . . .5
Safety instructions for miter saws . . . . . . . . . . . .5
Additional Safety Rules . . . . . . . . . . . . . . . . . . . . .7
Symbols . . . . . . . . . . . . . . . . . . . . . . . . . . . . . . . . .8
Getting To Know Your Miter Saw . . . . . . . . . . . .10
Cutting Capacities . . . . . . . . . . . . . . . . . . . . . . . .12
Specifications . . . . . . . . . . . . . . . . . . . . . . . . . . . .12
Assembly . . . . . . . . . . . . . . . . . . . . . . . . . . . . . . .13
▶Unpacking and Checking Contents . . . . . . . .13
▶Attaching Loose Parts . . . . . . . . . . . . . . . . . . .15
▼Storing the 5mm Hex Key . . . . . . . . . . . . . . .15
▼Attaching the top carrying handle . . . . . . . . .15
▶Inserting and Releasing Battery Pack . . . . . . .15
▶Removing and Installing Blades . . . . . . . . . . . .16
▼Removing Blade . . . . . . . . . . . . . . . . . . . . . . .16
▼Installing 8-1/2" Blade . . . . . . . . . . . . . . . . . .16
▶Assembling Dust Collection System . . . . . . . .17
▼Attaching the Dust Bag . . . . . . . . . . . . . . . . .17
▼Using and Cleaning the Dust Bag . . . . . . . . .17
▼Attaching a Vacuum Cleaner /dust extractor 17
▼Repositioning or Removing the Rubber
Deflector . . . . . . . . . . . . . . . . . . . . . . . . . . . .17
Assembly . . . . . . . . . . . . . . . . . . . . . . . . . . . . . . .18
▶Using the Head Assembly Lock Pin . . . . . . . . .18
▼To Engage the Head Assembly Lock Pin: . . .18
▼To Disengage the Head Assembly Lock Pin: .18
Adjustments . . . . . . . . . . . . . . . . . . . . . . . . . . . . .19
▶Depth of Cut . . . . . . . . . . . . . . . . . . . . . . . . . .19
▼Setting Blade Depth for Normal
Full-Depth Cuts . . . . . . . . . . . . . . . . . . . . . . .19
▼Setting Blade Depth for Non-Through
Cuts for Cutting Grooves . . . . . . . . . . . . . . .19
▶Miter Detent System . . . . . . . . . . . . . . . . . . . .20
▶Kerf Insert Adjustment . . . . . . . . . . . . . . . . . . .20
▶0° Bevel Stop . . . . . . . . . . . . . . . . . . . . . . . . . .21
▼Calibrating Blade at 0° Bevel (90° to the table)
21
▼Adjusting Bevel Scale Pointer . . . . . . . . . . . .21
▶45° Bevel Stop . . . . . . . . . . . . . . . . . . . . . . . . .22
▼Checking left 45° Bevel Adjustment . . . . . . .22
▼Calibrating Blade at left 45° Bevel . . . . . . . .22
Transporting . . . . . . . . . . . . . . . . . . . . . . . . . . . . .23
▼Preparing To Lift The Saw . . . . . . . . . . . . . .23
▼Lift the saw by the top cary handle . . . . . . .23
▼Lift the saw by the cast in carry handles . . .23
Placement and Mounting . . . . . . . . . . . . . . . . . . .24
▼Workbench Permanent Attachment . . . . . . .24
▼Alternate Mounting . . . . . . . . . . . . . . . . . . . .24
▼Temporary Mounting Using Clamps . . . . . . .24
▼Mounting to Bosch Jobsite Stands . . . . . . . .24
Preparing for Saw Operations . . . . . . . . . . . . . . .25
▶Switch Activation . . . . . . . . . . . . . . . . . . . . . . .25
▶Built-in LED Light . . . . . . . . . . . . . . . . . . . . . . .25
▶Laser Line Guide . . . . . . . . . . . . . . . . . . . . . . .25
▼Laser line adjustment . . . . . . . . . . . . . . . . . .25
▼Laser dust shield . . . . . . . . . . . . . . . . . . . . . .25
▶Body and Hand Position . . . . . . . . . . . . . . . . .26
▶Workpiece Support . . . . . . . . . . . . . . . . . . . . .28
▼Clamps . . . . . . . . . . . . . . . . . . . . . . . . . . . . .28
▶Sliding Fences . . . . . . . . . . . . . . . . . . . . . . . . .29
▼Operating Sliding Fences . . . . . . . . . . . . . . .29
▼Removing Sliding Fences . . . . . . . . . . . . . . .29
▶Workpiece Support . . . . . . . . . . . . . . . . . . . . .30
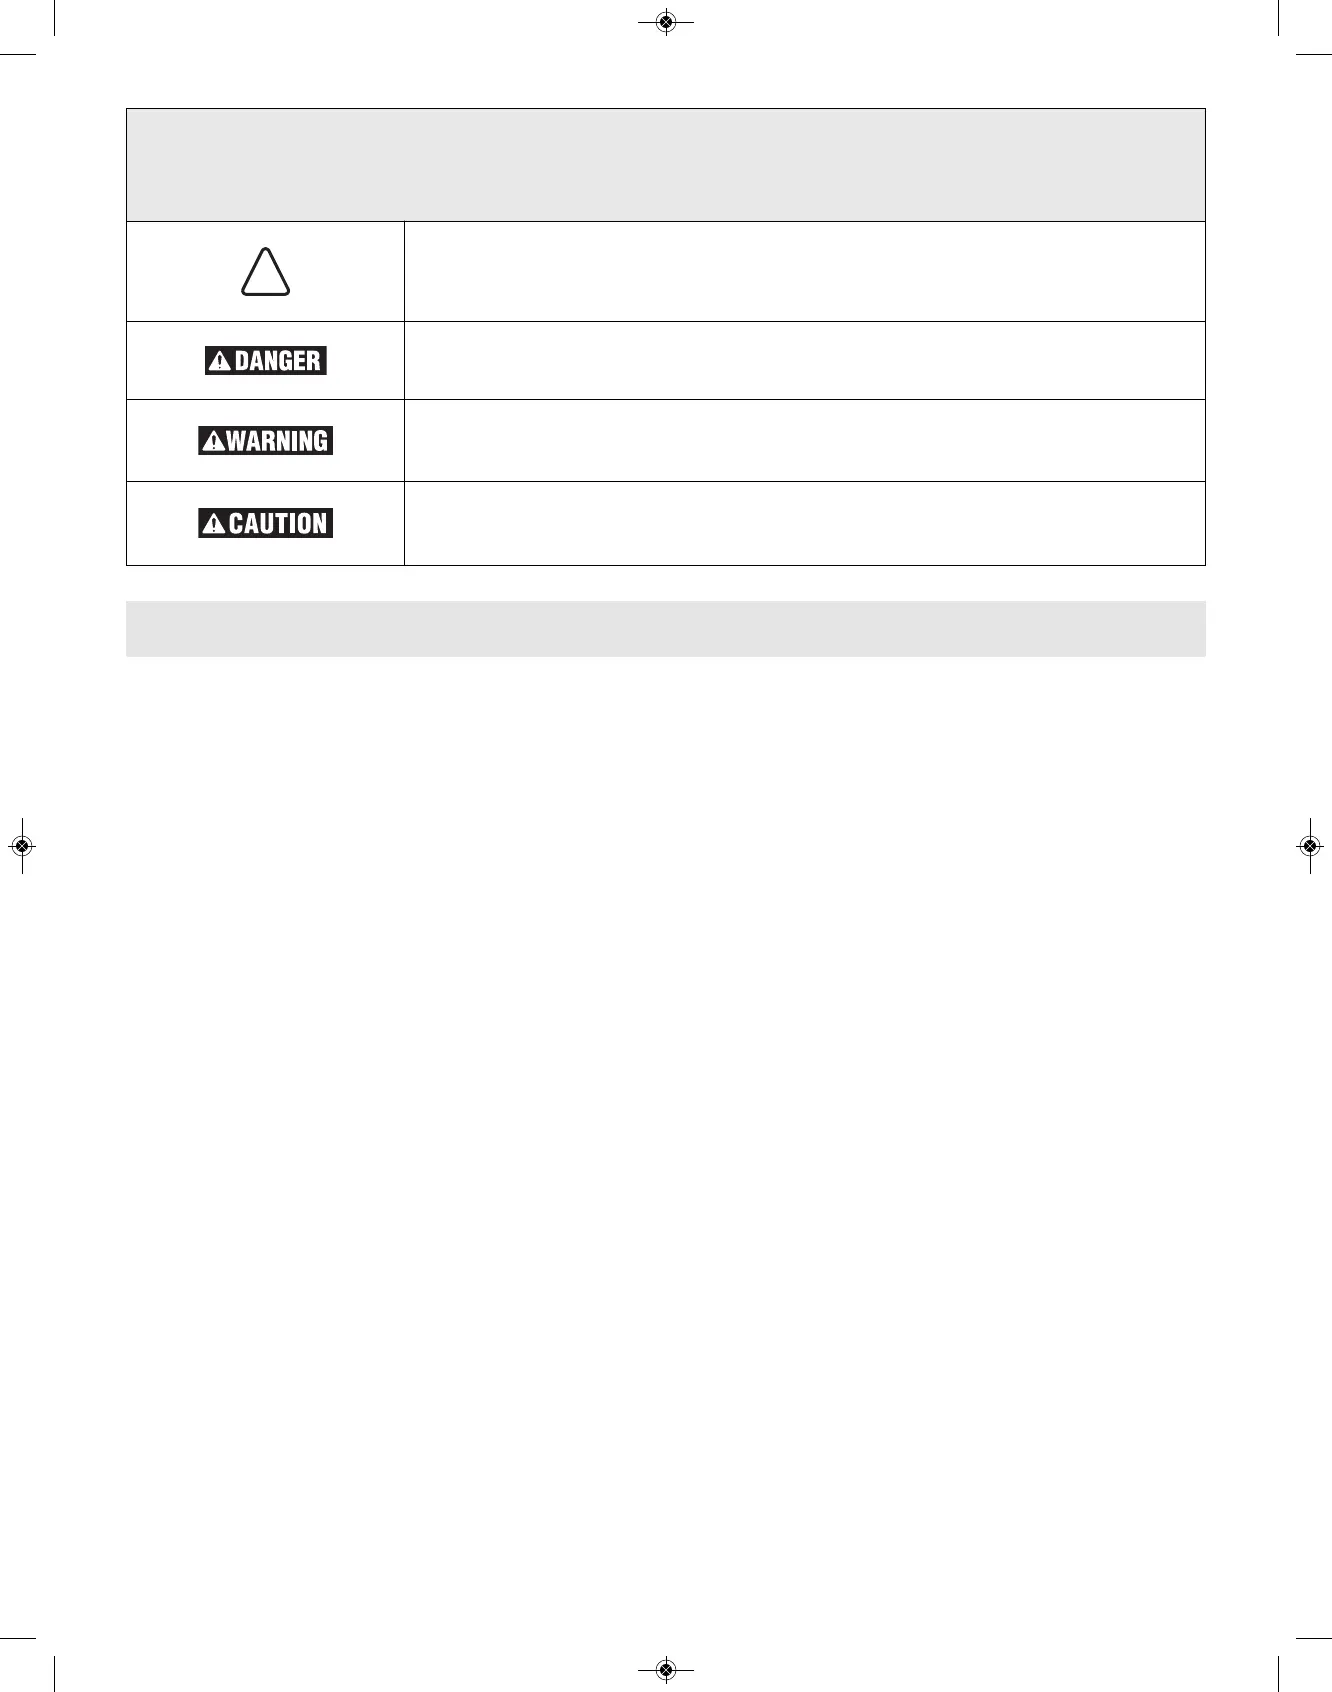
Safety Symbols
The definitions below describe the level of severity for each signal word.
Please read the manual and pay attention to these symbols.
 Loading...