26
Body and Hand Position
Position your body and
hands properly to make
c
utting easier and safer. Failure to follow all
instructions, identified below by bullet (•)
symbols, may result in serious personal injury.
•
Never place hands near cutting area. Keep
hands outside the “No Hands Zone”.
The “No Hands Zone” is an area 6 inches wide on
left and right side of the blade cutting path.
Portion of the Fence in this are also is considered
a part of the “No Hands Zone”.
The “No Hands Zone” for zero miter and zero bevel
cuts is marked on the tool with lines and “No
Hands” symbols – Fig. 27 A.
The “No Hands Zone” for all slide and miter right
cuts is defined in Fig. 27 B.
The “No Hands Zone” for all slide and miter left
cuts is defined in Fig. 27 C.
With all bevel cuts the “No Hands Zone” extends
vertically up to the bottom of the upper guard
when the head assembly is in the lowest cut
position – Fig. 28.
Use sliding base extensions, sliding fence, and
additional workpiece supports (see page 28) to
properly support the workpiece and hold or clamp
it outside of the “No Hands Zone”.
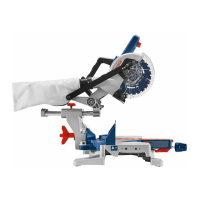
Workpiece can be held against table and fence by
hand only outside of the “No Hands Zone” – in Fig.
26.
Always ensure that there is
adequate fence and base
support in the area where material is held by

 Loading...
