en Familiarising yourself with your appliance
16
4.4 Preparing the appliance
for the first time
1. Remove the informative material.
2. Remove the protective foil and
transit bolts, e.g. remove the ad-
hesive strips and carton.
3. Clean the appliance for the first
time. →Page26
4.5 Connecting the appliance
to the electricity supply
1. Insert the non-heating appliance
plug of the power cable into the
appliance.
2. Insert the mains plug of the appli-
ance's power cable in a socket
nearby.
The connection data of the appli-
ance can be found on the rating
plate. →Fig.
1
/
3. Check the mains plug is inserted
properly.
a The appliance is now ready for
use.
5 Familiarising yourself
with your appliance
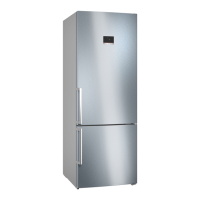
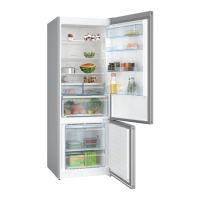
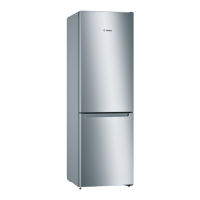
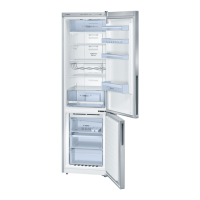
5.1 Appliance
You can find an overview of the parts
of your appliance here.
→Fig.
1
Refrigerator compartment
→Page23
Freezer compartment
→Page24
Lighting
Snack container →Page17
Interior ventilation opening
Temperature controller (stor-
age container) →Page19
Rating plate →Page33
Storage container
→Page17
Fruit and vegetable container
with humidity control
→Page17
Frozen food container
→Page27
Ice cube maker →Page18
Screw foot
Butter and cheese compart-
ment →Page18
Control panel
Door storage compartment
for large bottles →Page18
Note:Deviations between your appli-
ance and the diagrams may differ
with regard to their features and size.
5.2 Control panel
You can use the control panel to con-
figure all functions of your appliance
and to obtain information about the
operating status.
→Fig.
2
Displays the set temperature
for the refrigerator compart-
ment in°C.
Displays the set temperature
for the freezer compartment
in °C.
switches the warning
signal off.
switches the connection to
the WLAN home network (Wi-
Fi) on or off.
The light bar provides visual
feedback.
 Loading...