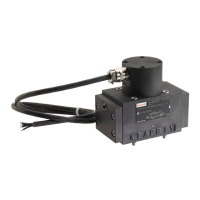
32/48 Installation
BoschRexrothAG, 4WS2EM 10...XL..., RE29583-XL-B/09.20
When connecting the mating connector (seemounting instructions below),
also observe the package leaflet of the mating connector.
1. Strip the cable and the braided wires of the control line.
For the corresponding dimensions, refer to the package leaflet of the mating
connector.
2. Solder the braided wires of the control line into the solder buckets.
Observe the specified pin assignment, see"Datasheet29583-XL".
3. When all braided wires are soldered in, visually inspect the plug-in connector on
the contact side.
4. Completely assemble the mating connector according to the assembly
instructions. The torques depend on the line.
5. When routing the control line, make sure it is strain-relieved.
6. Fit the mating connector on the connector and screw it on tightly including the
cap nut. The connection between mating connector and connector may only be
established and interrupted in ade-energized condition.
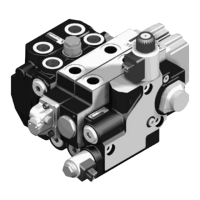
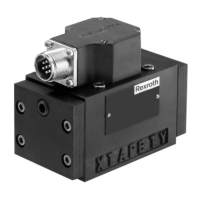
Assembly steps to connect
the mating connector
 Loading...