34/68 Installation
Bosch Rexroth AG, A4VG Series 40, RE 92004-01-B/05.2017
Table 9: Above-reservoir installation
Installation position Air bleeding
the housing
Air bleeding the
stroking chamber
Filling
7 (drive shaft horizontal) F
2
+ R X
1
, X
2
F
1
+ F
2
+ X
1
+ X
2
8 (drive shaft horizontal) F
2
(S) + F
1
(T
2
) – F
2
(S) + F
1
(T
2
)
9 (drive shaft vertically downward) F
2
(S) + F
1
(T
2
) X
1
, X
2
F
2
(S) + F
1
(T
2
) + X
1
+ X
2
10 (drive shaft vertically upward) F
2
+ R
1
X
3
, X
4
F
1
+ F
2
+ X
3
+ X
4
11 (drive shaft horizontal) F
2
(S) + F
1
(T
1
) X
3
F
2
(S) + F
1
(T
2
) + X
3
12 (drive shaft horizontal) F
2
(S) + F
1
(T
2
) X
4
F
2
(S) + F
1
(T
1
) + X
4
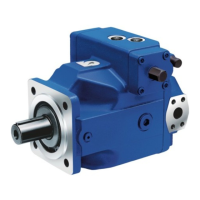
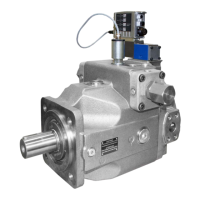
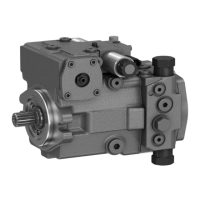
7.4 Installing the axial piston unit
7.4.1 Preparation
1. Check the specifications on the name plate of the axial piston unit to see if the
axial piston unit is correct.
2. Compare the material number and designation (type code) with the details in
the order confirmation.
If the material number for the axial piston unit does not correspond to the one
in the order confirmation, contact your local contact person for clarification, you
can find the address under
www.boschrexroth.com/addresses
3. Before installing, completely empty the axial piston unit to prevent mixing with
the hydraulic fluid used in the machine/system.
4. Check the permissible direction of rotation of the axial piston unit (on the name
plate) and make sure that this corresponds to the direction of rotation of the
drive motor.
L
R
Fig. 10: Direction of rotation
L
Counter-clockwise
R
Clockwise
 Loading...