12
Configuration Changes Using Front Panel Controls
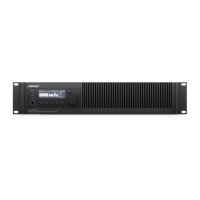
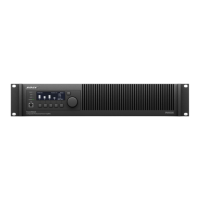
Navigation using the front-panel interface is intuitive with context-sensitive menus displayed
above the soft-key buttons. Soft keys are pressed to navigate to menu options. Data values are
scrolled using the encoder knob, which is pressed to input a selected value. As an example, the
following steps outline how to change the default settings for several key functions.
Changing Default Output Attenuation
1. Starting from the default power up screen, press the MENU navigation key to access the MAIN
MENU.
2. Press the LEVEL soft key.
3. Rotate the knob to highlight OUTPUT ATTENUATE then press the knob to navigate to the
LEVEL<OUTPUT ATTEN screen.
4. Press the CHANNEL soft key and rotate encoder to highlight channel pairs for which change is
desired.
5. Press CH (1 to 8) soft key to highlight current value of channel for which change is desired.
6. Rotate the knob to change the value of the highlighted channel in 0.5 dB increments and set to
the desired value.
7. If change is desired for CH 2, press CH 2 soft key to highlight the current value. Turn knob to
set the desired value.
8. If change in other channels is desired, Press the CHANNEL soft key and turn the knob to
display desired channels. Repeat 5 and 6.
9. If no additional change is required, press the BACK navigation key to return to the MAIN MENU
<LEVEL screen.
10. Press the BACK navigation key to return to the MAIN MENU.
11. Press the BACK navigation key to return to the OPERATION screen.
12. Resume normal operation or make additional configuration changes using the menu.
Changing Output Configuration
1. Starting from the Operating Display, press the MENU navigation key to access the MAIN
MENU.
2. Press the CONFIG soft key to access the CONFIGURE menu.
3. Rotate the knob to highlight Output Config and press knob to access CONFIG OUTPUTS
menu.

 Loading...


