34
TEST PROCEDURES
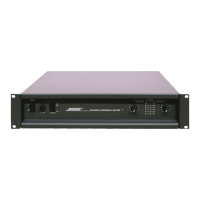
1.11 Once the button tests are
done, the testing will resume and
the station will perform THD+N,
noise, phase, sweep and high
power tests on all channels. Once
these tests are completed and
passed, the test window will
display PASS or FAIL test at the
top right of the test window, and
the SCAN BARCODE dialog box
will re-open for the next uint.
If testing is completed, click STOP
in the SCAN BARCODE window
to end testing. Click EXIT in the
main test window to go back to the
test selection screen. If you will
not be testing further, proceed to
step 1.12. If you need to perform burn-in, proceed to procedure 2 below.
1.12 Turn off the power switch on the back of the unit under test. Disconnect the AC line cord
and all of the other connectors on the back of the unit. Remove the CobraNet card, if applicable,
and replace the digital input card slot cover using the two screws. Remove the unit from the test
station.
2. Chassis Burn-in Procedure
Important Note: the unit under test MUST have a dedicated 20Amp AC line to avoid burn-in
test failures due to AC line voltage sag.
CAUTION: If you are performing the Burn-in test immediately after the LUAP test, you MUST be
sure to disconnect the LUAP loads and to connect the burn-in load box on the test station. If you
use the LUAP loads for this test, and not the dedicated burn-in load box, you WILL damage the
LUAP loads. Ensure that the fans located on the burn-in load box are operating during the
burn-in test. The burn-in loads
reach temperatures in excess of
500F if the fans are not on.
2.1 Place the unit under test onto
the PM8500 test station, connect
the burn-in load box wiring har-
nesses and the serial communi-
cations (TAP) cable. Do not
connect the AC line cord to the
unit at this time.
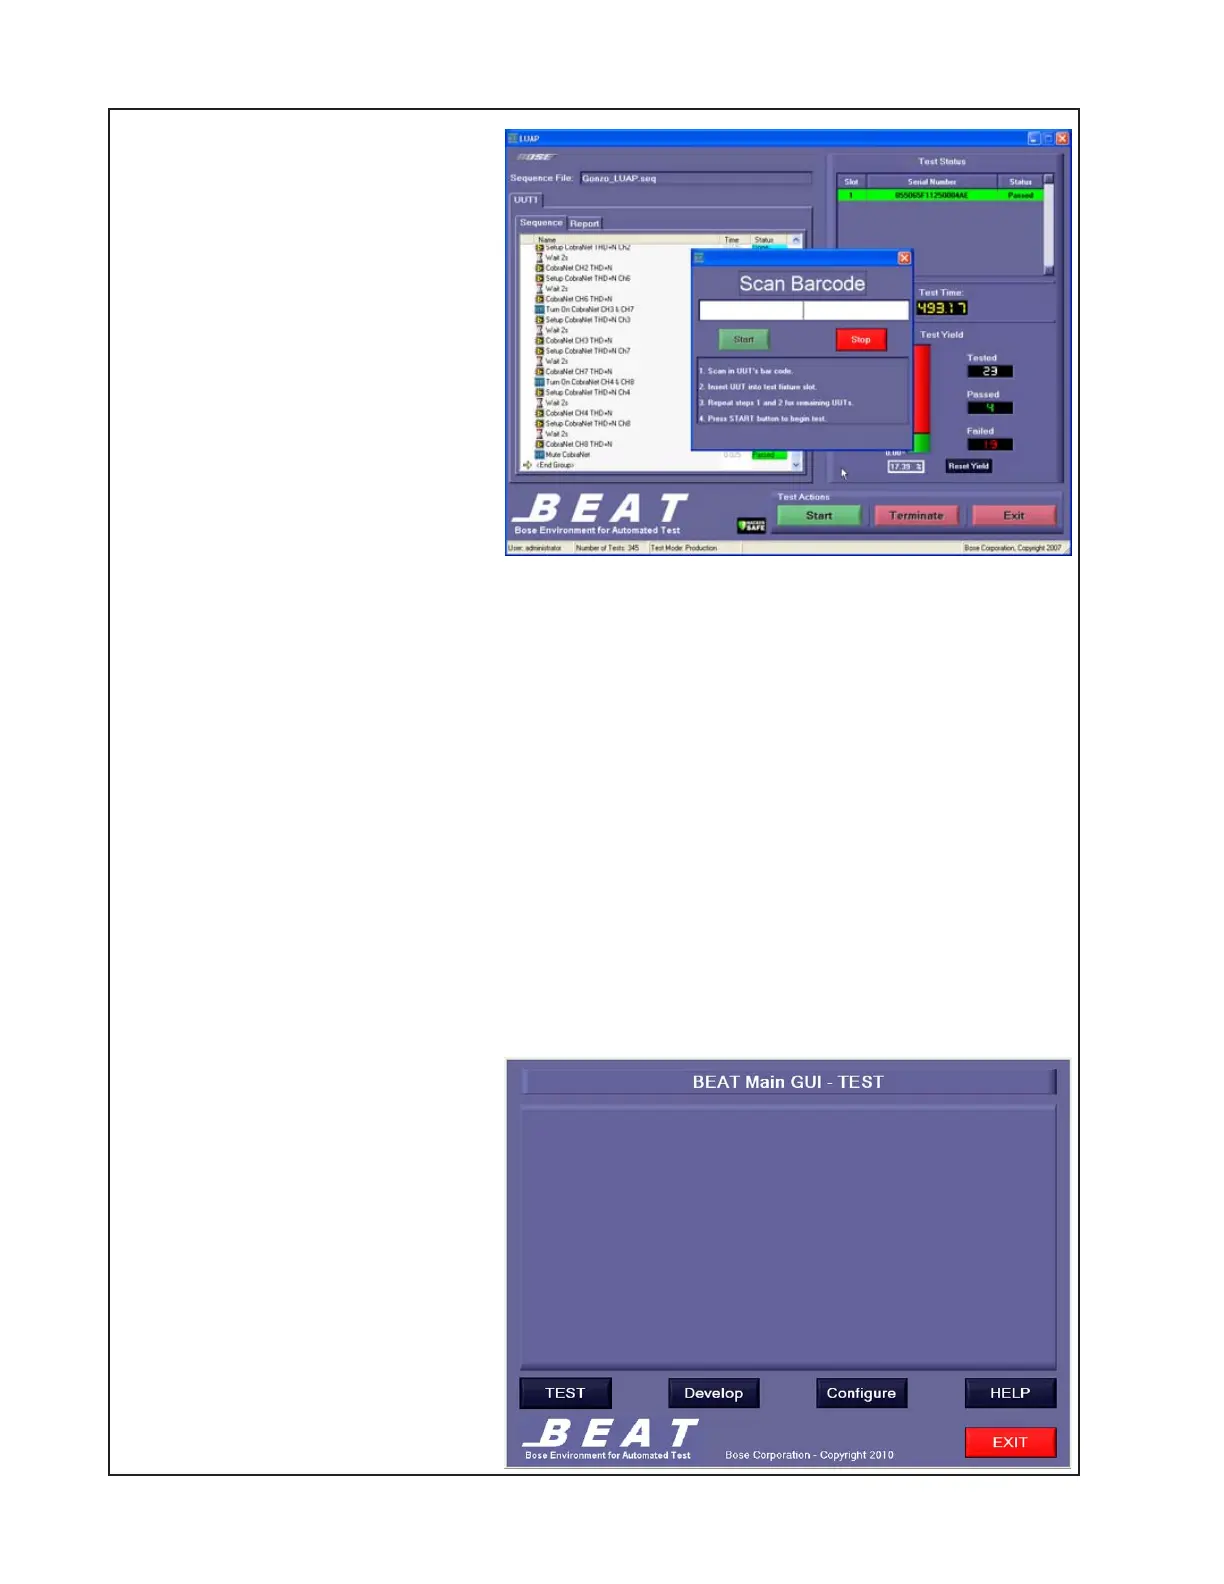
2.2 Double-click on the test
station’s BEAT (Bose Environment
for Automated Test) icon. The Main
GUI - Test window will open. Click
on the TEST button.

 Loading...