41
3.8 Repeat steps 3.2 to 3.6 for the Channel 2 XLR/TRS/TS input and Channel 3 Aux 1/4” and 1/8”
inputs.
4. Bluetooth Connection and Bose Music App Test
4.1 Press and hold the Bluetooth button (8) for 2 seconds. It is located beside the Channel 3 AUX
input. It will ash BLUE while the S1 Pro+ is discoverable.
4.2 Using a Smart phone or similar, open your Bluetooth connections settings. Look for the S1 Pro+
and connect to it. Once you are connected the Bluetooth button, the BLUE will illuminate solid white.
While connected, stream music audio and verify that you have clean audio playback.
4.3 Download and install Bose Music app on the Smart phone or other device. It is available at the
Apple App Store and Google Play. Open the app and verify that you can connect to the product and
control it using the app. Note: Bose Music app operates via Bluetooth.
5. Orientation EQ Test, Channel 1 or 2
5.1 Insert a 1/4 inch phone jack that is connected to a signal generator into either channel 1 or 2.
5.2 Apply 100mv, 500Hz, sinewave to channel input.
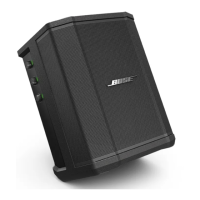
5.3 Position the system in the orientation as shown in the examples below. Elevated surface, Tilt-
back, Monitor and Speaker stand.
5.4 Observe slight volume changes for each position.
6. Pole Mount Switch Test
6.1 Perform procedure 5.1.
6.2 Locate the Pole mount receptical at the bottom of the unit as shown.
6.3 The arrow indicates the Pole switch.
6.4 Insert a nger to toggle the Pole switch. There should be a 3dB higher volume change.
TEST PROCEDURE
 Loading...

