16
If you wish to make additional realtime controller assignments, use 7
the 3 and 4 buttons to navigate to other ASSIGN screens, and
then repeat Steps 4-6.
When you’re done, press EXIT twice to return to the Play screen. To
8
save the settings you’ve just made, don’t forget to save your patch to
a user patch location.
When Source is Set to INPUT LEVEL
If you’ve set Source to INPUT LEVEL in Step 5 above, you can adjust the input
sensitivity to match the dynamics of your playing.
Access the ASSIGN screens as described in Steps 1 and 2 above.
1
Use the 2 3 and 4 buttons to navigate to the INPUT SETTING
screen.
Turn the dial to set the desired value: 0-100.3
When you’re done, press EXIT twice to return to the Play screen. 4
Using Quick Settings in the ASSIGN Screens
Quick Settings let you quickly set up a realtime control assignment by calling
up one of 10 Quick Setting presets, or by calling up the control assignments
used in any other GT-10 patch. You can also save your own favorite realtime
control assignments in 10 user Quick Setting locations.
To call up a user or preset Quick Setting—
• select the “Quick” line in any
ASSIGN screen, and turn the dial to choose the desired preset: U01-U10
or P01-P10. Then, press MASTER/PEDAL FX to enable or disable the
assignment.
To call up a controller assignment from another patch—
• select the “Quick”
line in any ASSIGN screen, and turn the dial to choose the patch and
one of its eight assignments. Then, press MASTER/PEDAL FX to enable
or disable the assignment.
You may find the icon-based ASSIGN display to be easier to navigate
when choosing Quick Settings. As a reminder, press DISPLAY MODE to
toggle between list-based and icon-based displays.
Saving the Current ASSIGN Settings as a User Quick Setting
Saving a Quick Setting overwrites the data in the selected destination
Quick Setting. If the destination Quick Setting contains data you want
to keep, select a different Quick Setting, or back up Quick Settings to
a computer via USB before proceeding. To learn more, see the GT-10
Owner’s Manual.
In any ASSIGN screen, make the desired settings as described in 1
“Making Settings in the ASSIGN Screens.” Alternately, you can call up
any Quick Setting as described above.
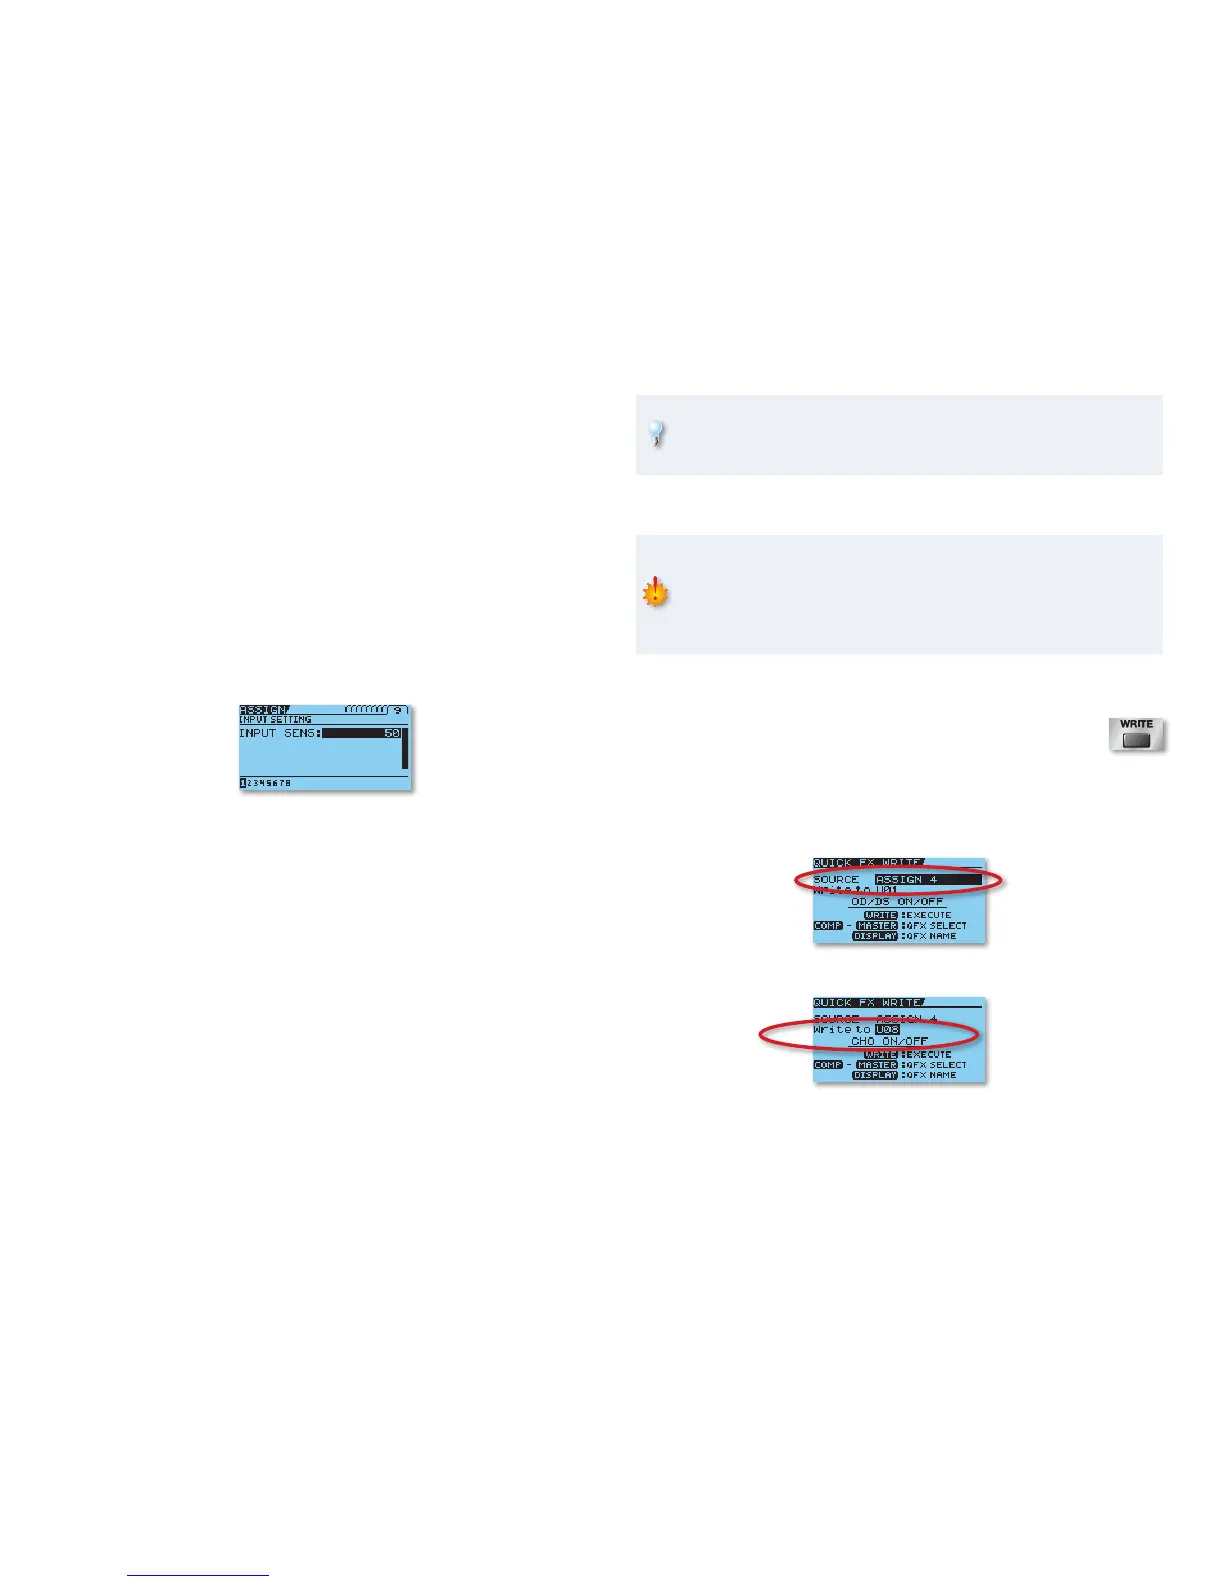
Press WRITE.
2
Press MASTER/PEDAL FX to select the QUICK FX WRITE screen.3
With the “SOURCE” field highlighted, turn the dial to display the 4
ASSIGN screen (ASSIGN 1-8) whose settings you wish to save as a
Quick Setting.
Use the 5 5 and 6 buttons highlight the “Write to” field.
Turn the dial to choose the desired user location: U01-U10.6
 Loading...