7
Step 3
Parts:
• Rear Stabilizer (Box 2)
Tools:
• 5/16” Allen Wrench
• 7/32” Allen Wrench
• 3/4” Wrench or Adjustable Wrench
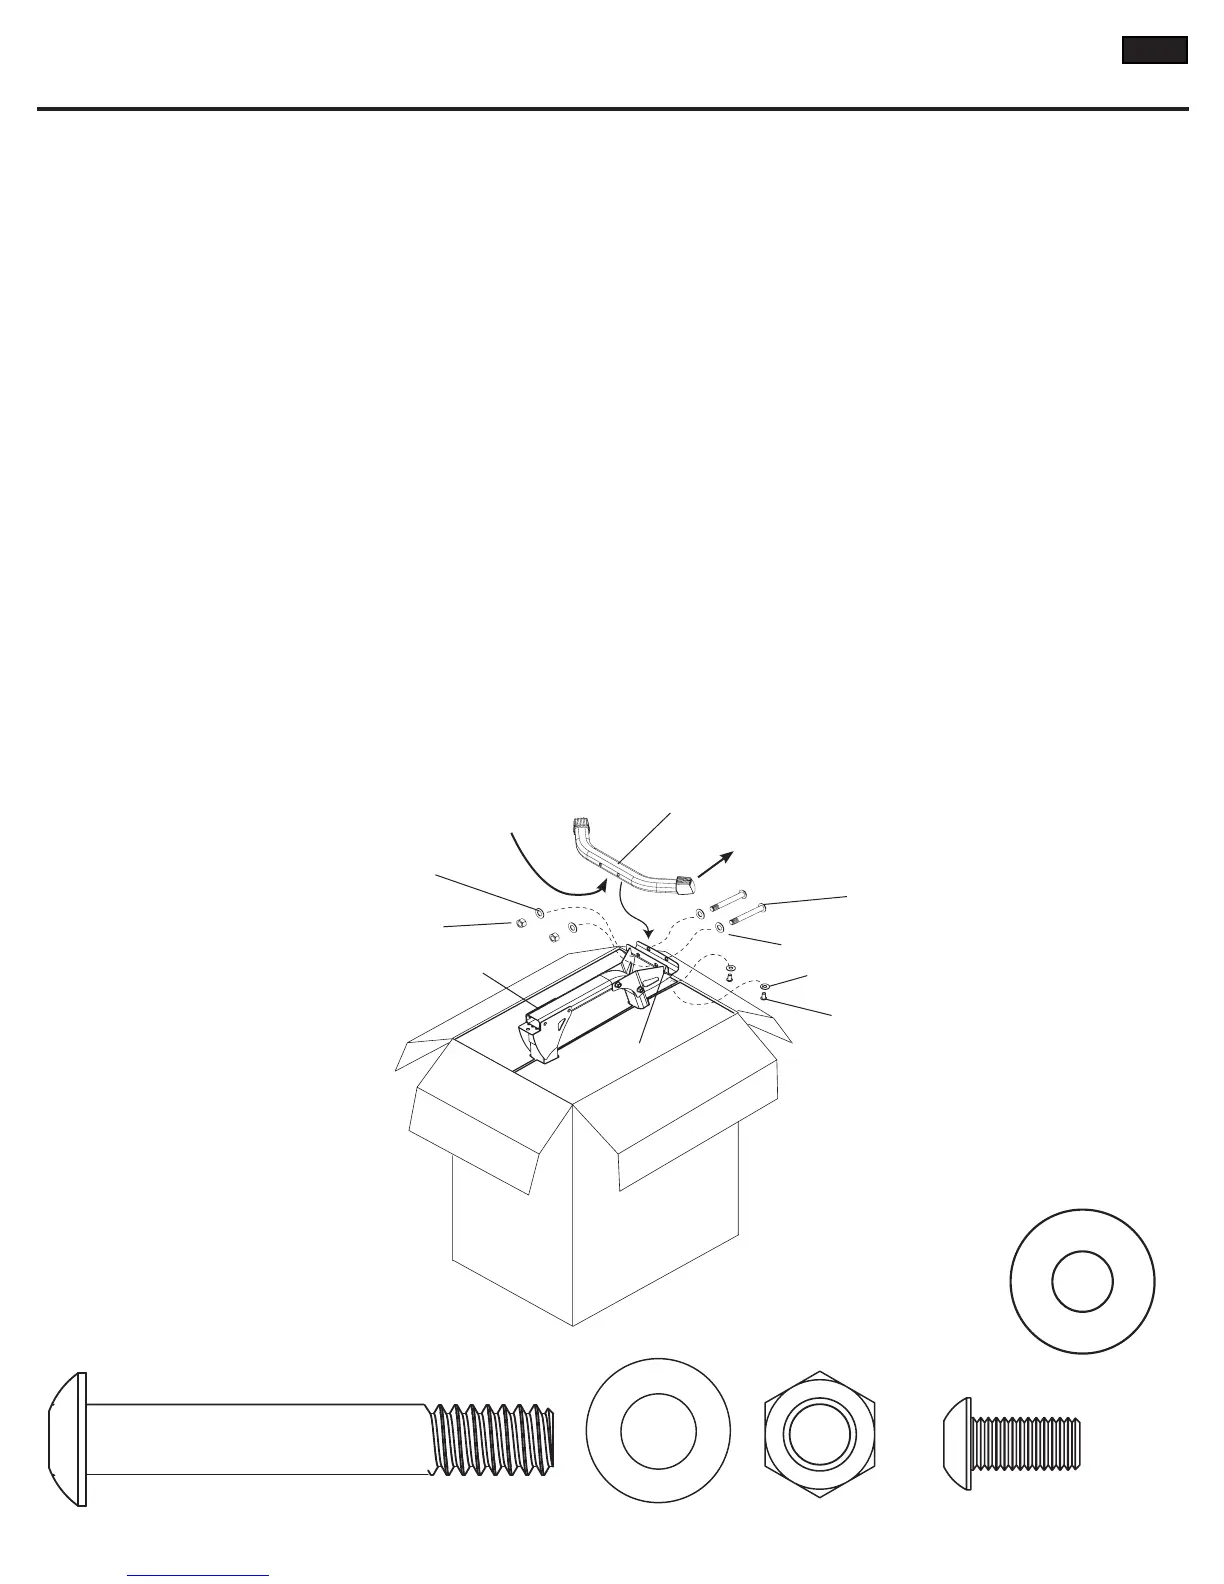
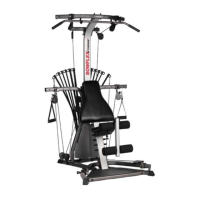
3-1 Place the Rear Stabilizer in the bracket on the Main Frame with
the feet pointing away from the frame. Make sure the two bolt
holes in the Rear Stabilizer are pointing downward.
3-2 Install but do not tighten two 3/8”x3/4” Allen Bolts and 3/8”
washers in the underside of the Rear Stabilizer.
3-3 Install two 1/2”x3 1/4” Allen Bolts with 1/2” washers and Nylock Nuts
in the sides of the Rear Stabilizer.
3-4 Completely tighten all of the hardware.
Main Frame
Rear Stabilizer
Bracket
Feet point away
from frame
Threaded bolt holes
point downward
Hardware (1:1):
2 Allen Bolt (1/2” X 3 1/4”)
4 Washer (1/2”)
2 Washer (3/8”)
2 Nylock Nut (1/2”)
2 Allen Bolt (3/8” X 3/4”)
1/2”x 3 1/4” Allen Bolt
1/2” Washer
1/2” Washer
1/2” Nylock Nut
3/8” Washer
3/8”x 3/4” Allen Bolt
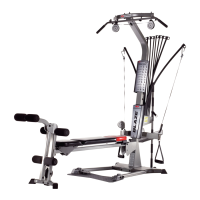
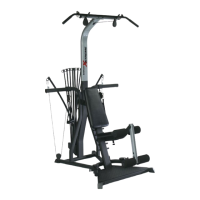
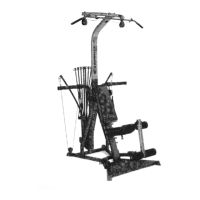
Unboxing Your Bowfl ex Revolution
™
Home Gym
7