12
Getting Started
To Switch On
Place the NIPPY ST+ on a clean, smooth, hard surface. (NOT carpet)
Connect the power lead to the mains power connector on the rear panel. Plug into
the mains power supply.
Press the Start/Stop button.
To Switch Off
Press the Start/Stop button. The “Switch Ventilator Off” message will appear
onscreen. Press the Start/Stop button again after 2 seconds. There must be a delay
of 2 seconds before each push, to prevent accidental operation.
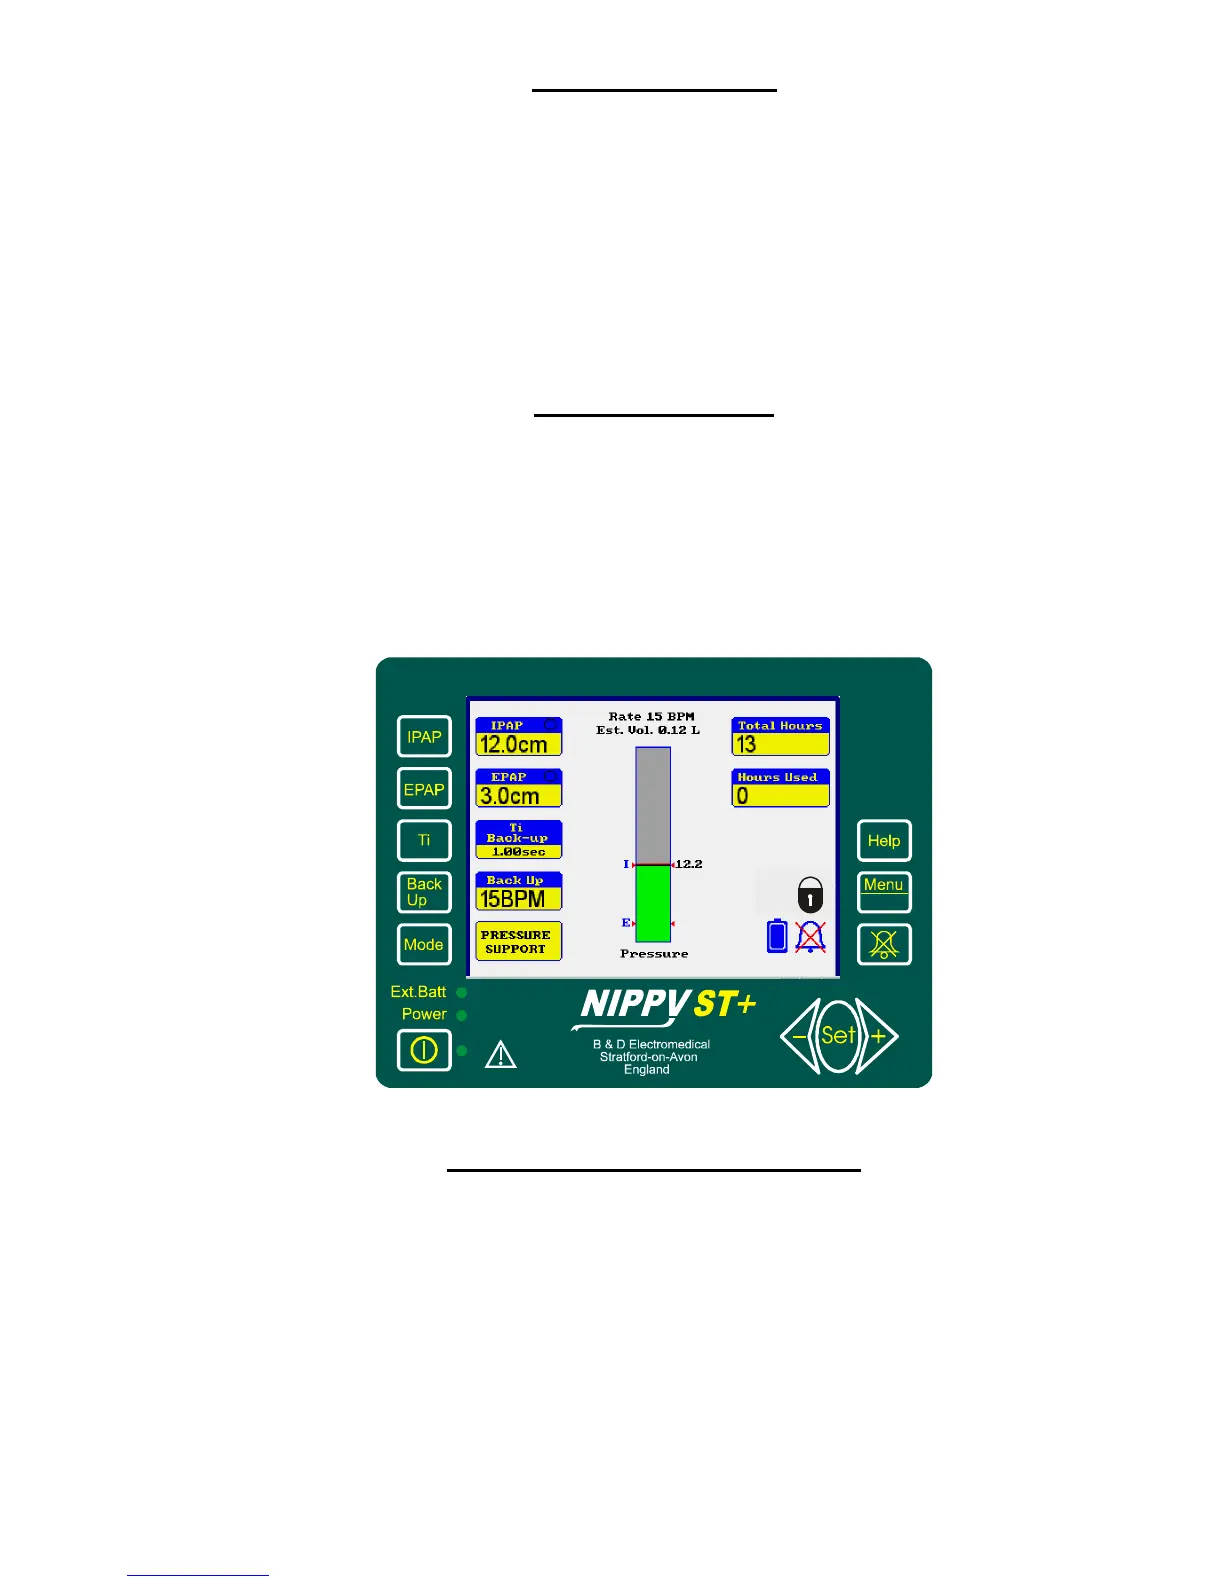
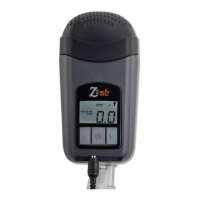
The Main Screen
The Main Screen is divided into 3 areas
The left-hand side shows the basic ventilator settings, IPAP, EPAP, Ti, BACK-UP,
and Mode, adjacent to its setting button.
The centre section shows the airway pressure, estimated tidal volume and breath
rate.
The right-hand side shows the Total hours, hours used and symbols for alarm mute
and locked settings.
How to adjust the NIPPY ST+
Select the desired parameter with the relevant button.
The reading adjacent to the button will be highlighted by a purple flashing box.
Alter it with the ◄- or +► buttons.
When you have finished, move on to the next adjustment or wait a couple of seconds
for the flashing box to disappear.
E.g. Press IPAP.
IPAP setting will be surrounded by a purple flashing box.
Press +► to increase the pressure setting.