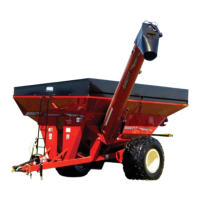
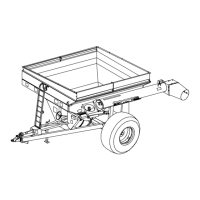
Brent 1082/882 — Set Up
2-15(July 2013)
Optional Weather Guard Tarp Installation (continued)
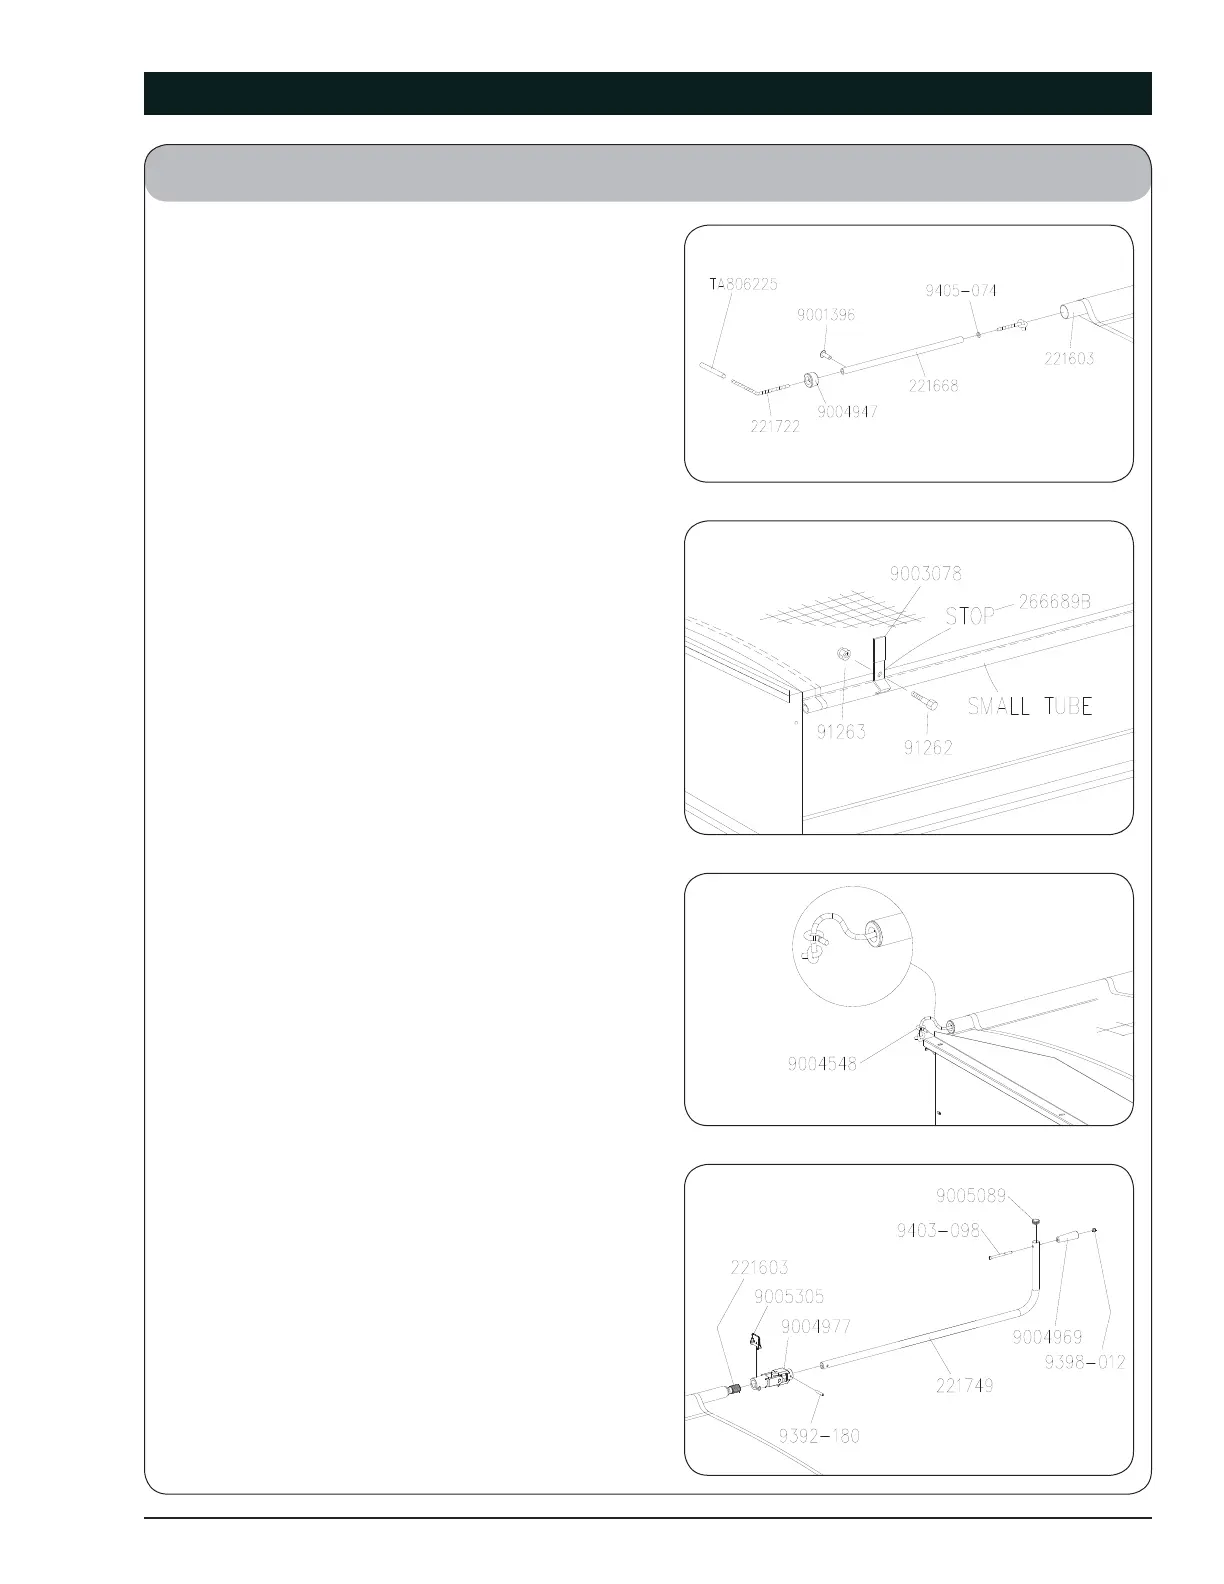
10. Insert knotted stretch rope (221722) through
fl at washer (9405-074), plastic tube (221668),
end plug (9004947) and hose (TA806225). Place
these items as an assembly into front end of
2” tube (221603) and press the end plug into
the end of the tube. Screw self-drilling screw
(9001396) through side of roll tube into end
plug (9004947) to retain plug into tube. Slide
hose (TA806225) over bungee. See fi gure 8.
11. Using an appropriate lifting device rated for a
minimum of 250 lbs. position the tarp on top of
the left-hand side of the cart. Hand roll the tarp
into open position. Place the 1 1/8” stationary
tube side of the tarp on top of the left side of
the box, centered from front to back of box. BE
CAREFUL NOT TO LET THE TARP ROLL OFF
OF THE BOX. Assemble the tarp and stops
(266689B) (with caps) to the left sideboards by
poking a hole through the tarp and using fl ange
screws (91262) and fl ange nuts (91263). As-
semble the center stop through the bow weld-
ment, the front and rear stops should be one
foot in from the ends of the cart. See fi gure 9.
12. Unroll the tarp and insert stretch cord through
the top of the eye bolt (9004548). With the tarp
rolled up under the latch plate, leave two or
three inches of slack in the bungee knot off. If
there is an excess of cord, cut a couple inches
below the knot and sear end of bungee with a
lighter to keep from fraying. See fi gure 10.
13. Insert U-joint (9004977) over splined cou-
pling (221603) and secure with wire lynch pin
(9005305). Insert crank handle (221749) into U-
joint and secure with roll pin (9392-180). Insert
round head bolt (9403-098) into bottom hole of
crank handle (221749) and slide plastic handle
(9004969) onto bolt securing with elastic nut
(9398-012). Insert 1 1/4” plug (9005089) into
end of handle. See fi gure 11.
Fig. 8
Fig. 9
Fig. 10
Fig. 11
 Loading...