4.6 Flashing & Wiring Installation
6. Wiring into the Icebox
The Icebox shall be wired with:
• 2-core shielded communication cable - To S1 & S2
(Refrigeration communication)
• 2-core cable – To A1 A2 (Heater communication)
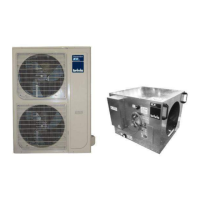
Top
4. Slide the top flashing in from either
side of the Icebox so that it is
equally spaced.
5. The small return on the top
flashing must be beneath the rail
on the Icebox.
Diagram 12: Top flashing installation
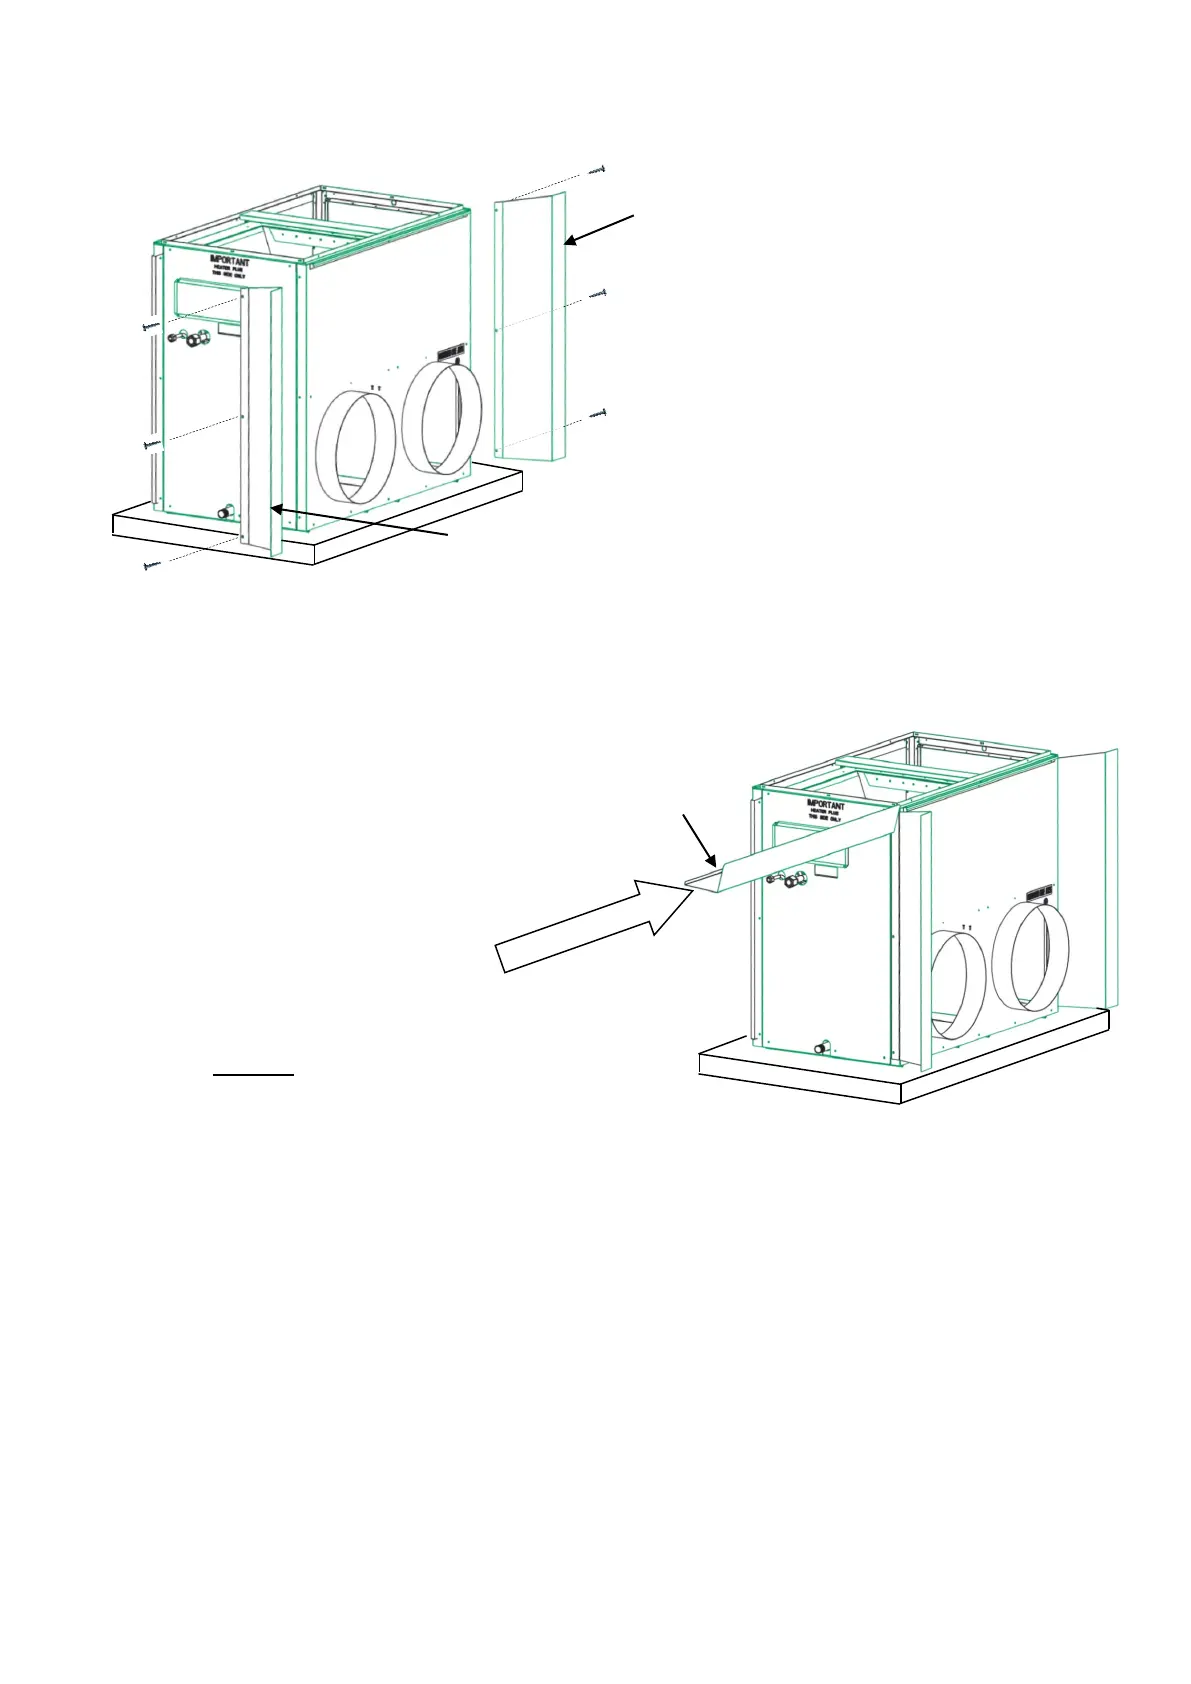
Diagram 11: Left and Right hand flashing
1. Position the Icebox on hard level
base in front of wall penetration and
secure supply and return air duct.
2. Remove screws from the Icebox as
shown, three each side.
3. Position the left and right hand side
flashings as shown and secure with
screws removed in previous step.
Right Hand
Left Hand