36
Checking the print alignment A
You may need to adjust the print alignment
after transporting the machine if your printed
text becomes blurred or images become
faded.
a Press Menu.
b Press a or b to choose 1.Ink.
Press OK.
c Press a or b to choose 1.Test Print.
Press OK.
d Press a or b to choose Alignment.
Press OK.
e Press Black Start or Color Start.
The machine starts printing the
Alignment Check Sheet.
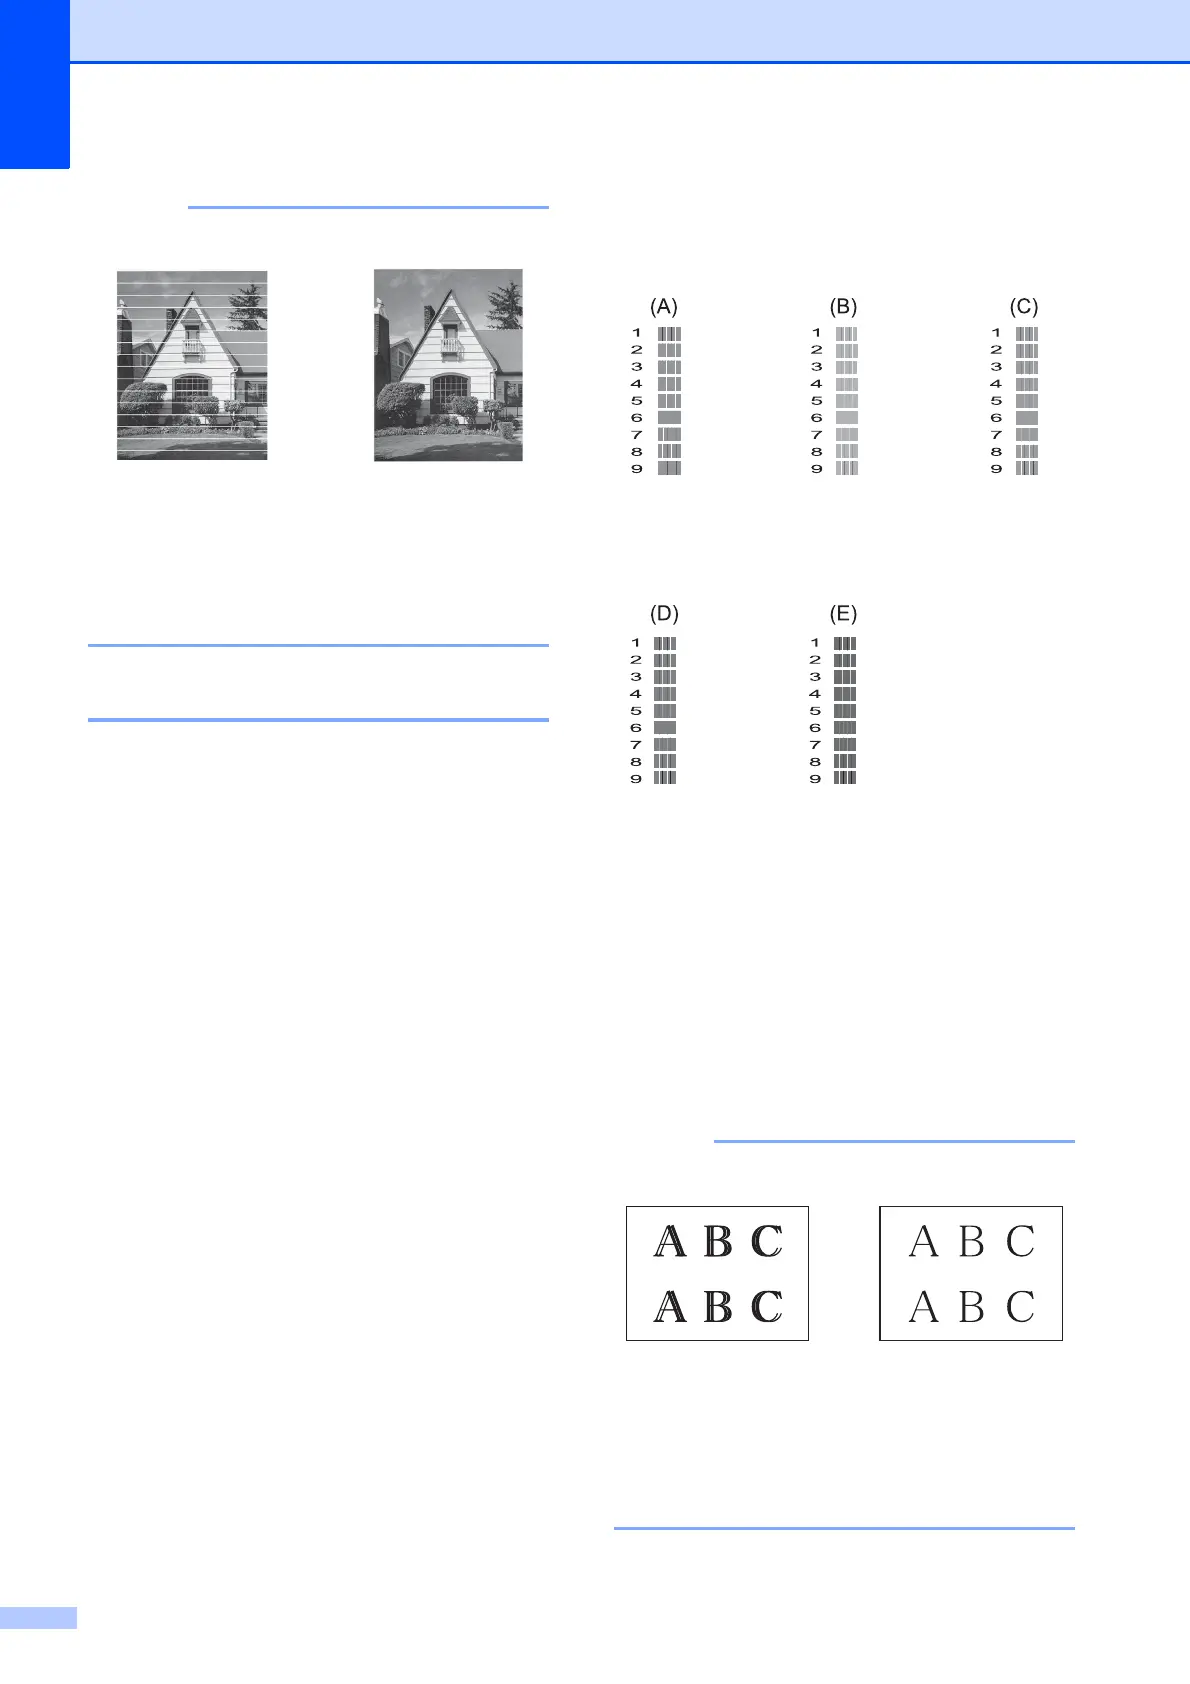
f For the “A” pattern, press a or b to
choose the number of the test print that
has the least visible vertical stripes
(1-9).
Press OK.
Repeat this step for the B, C, D and E
patterns. In the example number 6 is the
best choice for A, B, C, D and E.
g Press Stop/Exit.
i
When a print head
nozzle is clogged,
the printed
sample looks like
this.
After the print
head nozzle is
cleaned, the
horizontal lines
are gone.
i
When the print
alignment is not
adjusted properly,
text looks blurry
like this.
After the print
alignment is
adjusted properly,
text looks like this.

 Loading...