USER’S GUIDE
1–8
INSTALLATION FROM FLOPPY DISKS
You need to configure Windows for the printer by installing the printer
driver and TrueType-compatible fonts from the supplied floppy disks.
For Windows 95/98
1. Insert the supplied floppy disk labeled “disk1” into your floppy disk
drive.
2. Click the
Start
button and select
Settings
.
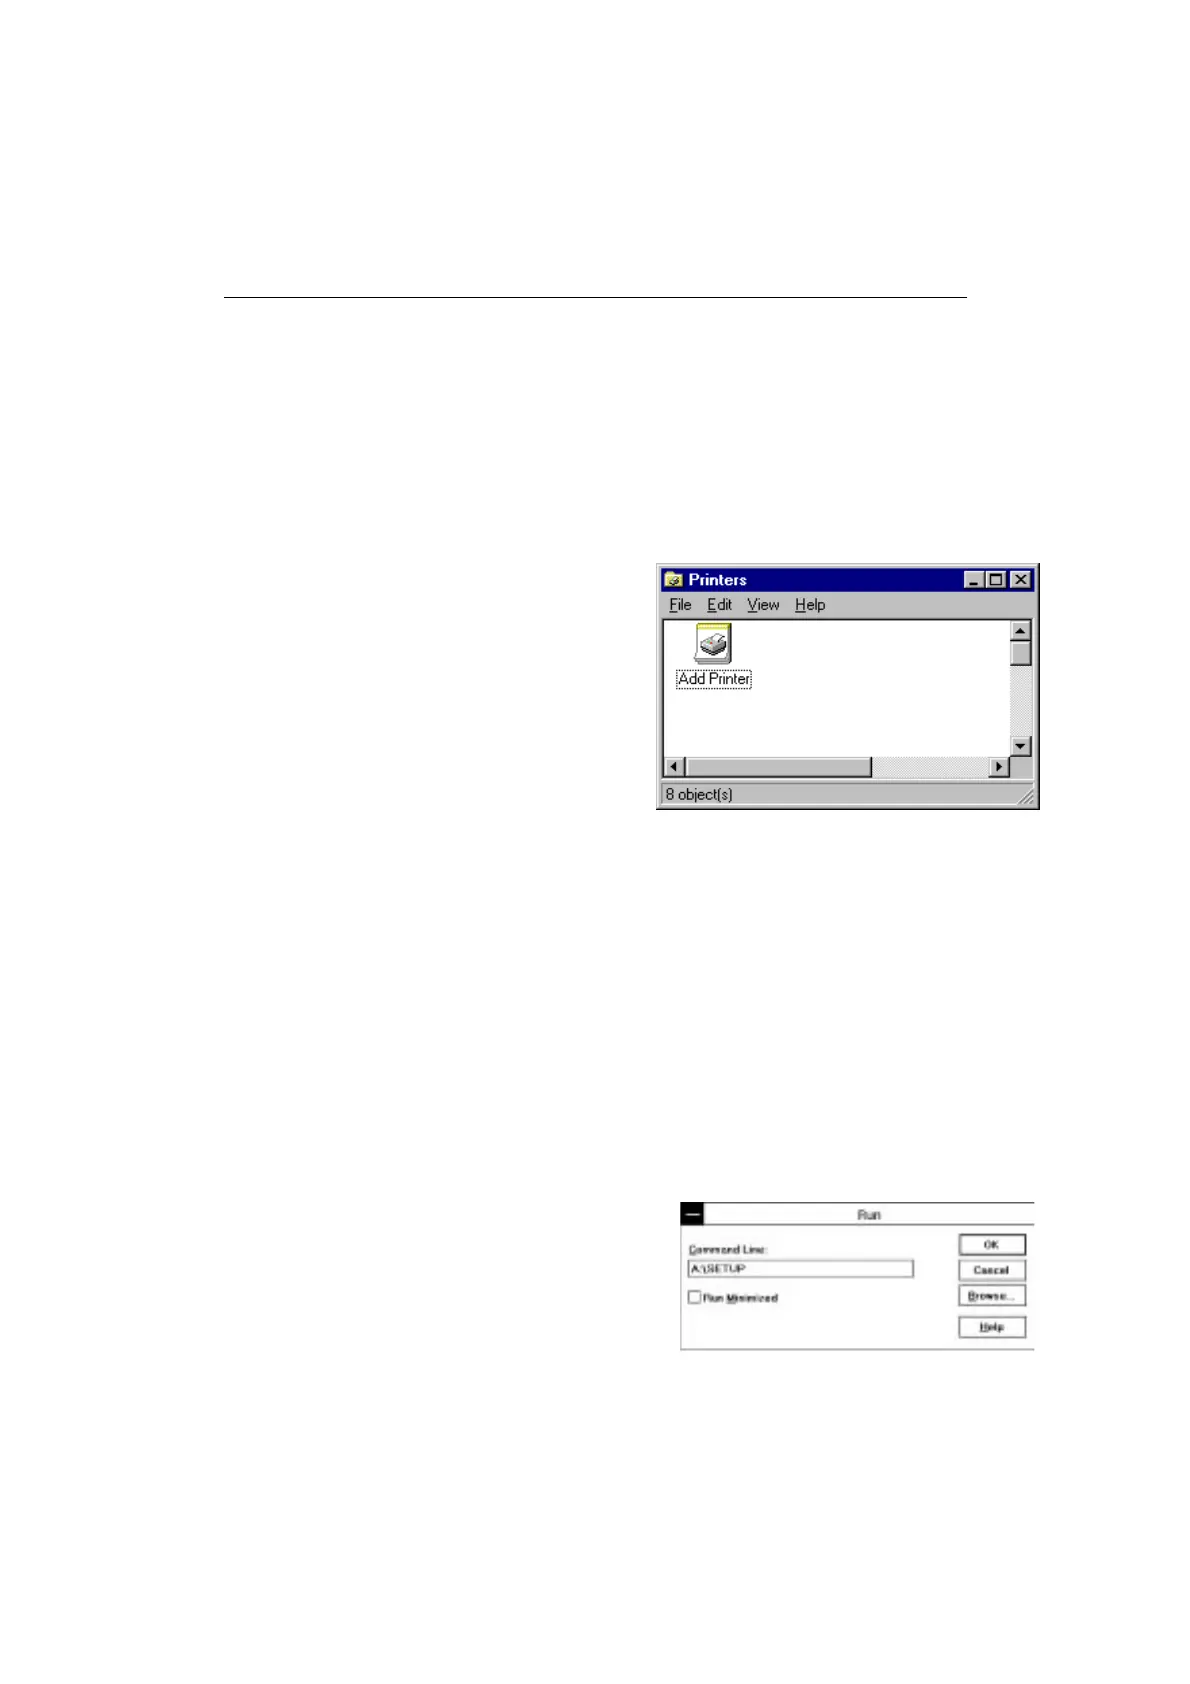
3. Select
Printers
and double
click the
Add Printer
icon.
4. Follow the instructions in Windows 95/98.
For Windows 3.1
Because
the supplied printer driver and fonts are compressed on the
floppy disks, be sure to use the supplied installer program to install them.
These instructions assume you will install the driver and fonts from the
floppy disk drive A:.
1. Start Windows 3.1.
2. Insert the supplied disk for Windows into your floppy disk drive.
3. Choose
Run
from the
File
menu in the Program Manager.
4. Type the drive name where you
inserted the supplied disk and
“
SETUP
” in the box: for
example, A:\SETUP. Click
the
OK
button or press the
Enter
key.
 Loading...