2-66
Confidential
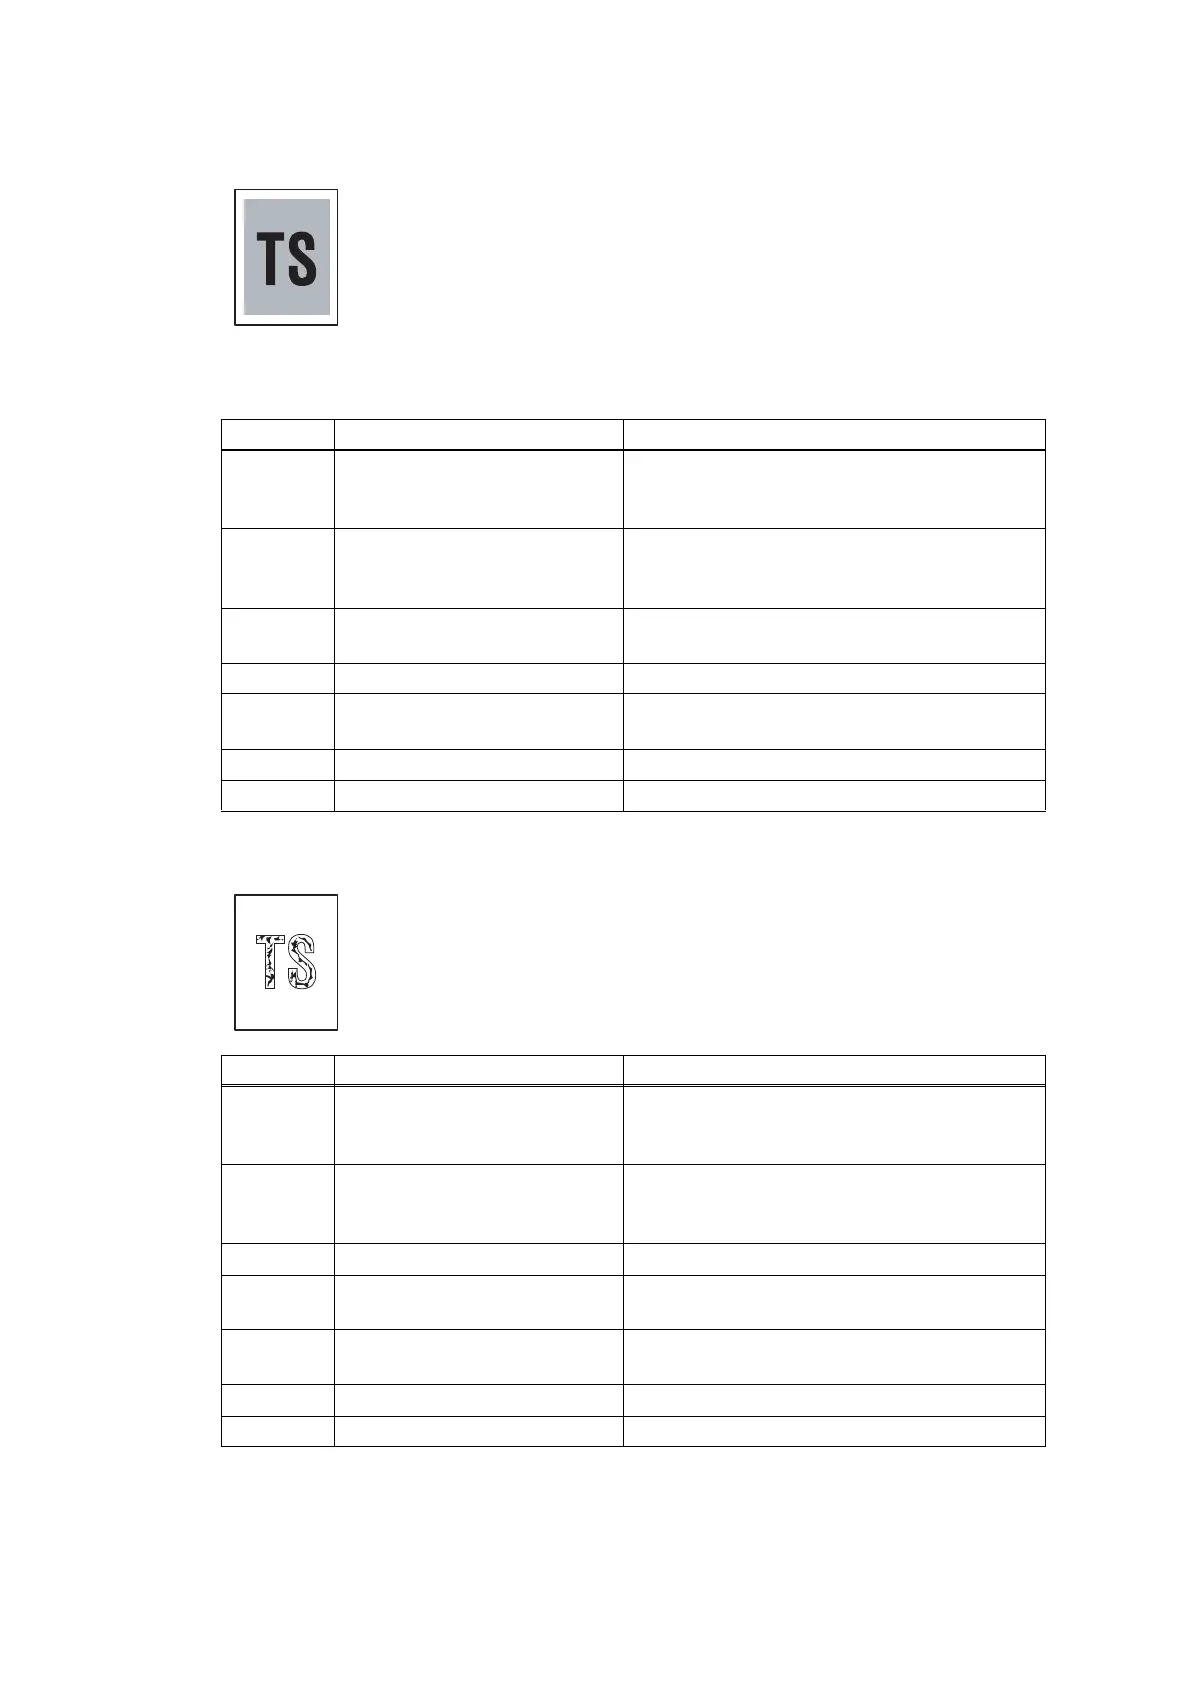
Dark
Poor fixing
<User Check>
• Check the usage environment of the machine. Using the machine in
hot-humid or cold-dry conditions can cause this problem.
• If a new toner cartridge has been detected, check that it was not
replaced with another toner cartridge.
• Execute density adjustment from the control panel.
• Clean the corona wire of the drum unit.
• Replace the drum unit with a new one.
• Replace the toner cartridge with a new one.
Step Cause Remedy
1
Dirt on the electrodes of the
drum unit and those of the
machine
Clean the electrodes of the drum unit and
those of the machine. (Refer to Fig. 2-8 (P2-
42) and Fig. 2-9 (P2-42).)
2
Wrong adjusted value of the
laser unit entered
Refer to “3.1 Entering Adjusted Value of
Laser Unit” in Chapter 4, and enter the
adjusted value of the laser unit correctly.
3
Dirt on the electrodes of the
high-voltage power supply PCB
Clean the electrodes of the high-voltage
power supply PCB.
4 Fuser unit failure Replace the fuser unit.
5
High-voltage power supply
PCB failure
Replace the high-voltage power supply PCB
ASSY.
6 Laser unit failure Replace the laser unit.
7 Main PCB failure Replace the main PCB ASSY.
<User Check>
• Check the usage environment of the machine. Using the machine in
hot-humid or cold-dry conditions can cause this problem.
• Clean the corona wire of the drum unit.
• Replace the drum unit with a new one.
• Replace the toner cartridge with a new one.
Step Cause Remedy
1
Dirt on the electrodes of the
drum unit and those of the
machine
Clean the electrodes of the drum unit and
those of the machine. (Refer to Fig. 2-8 (P2-
42) and Fig. 2-9 (P2-42).)
2
Dirt on the electrodes of the
toner cartridge and those of
the machine
Clean the electrodes of the toner cartridge
and those of the machine. (Refer to Fig. 2-8
(P2-42) and Fig. 2-12 (P2-64).)
3 Fuser unit failure Replace the fuser unit.
4
High-voltage power supply
PCB failure
Replace the high-voltage power supply PCB
ASSY.
5
Low-voltage power supply
PCB failure
Replace the low-voltage power supply PCB
ASSY.
6 Laser unit failure Replace the laser unit.
7 Main PCB failure Replace the main PCB ASSY.

 Loading...