94
UTILITY STITCHES — — — — — — — — — — — — — — — — — — — — — — — — — — — — — — — — — — — — — — — — — — —
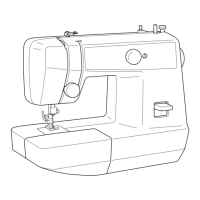
■ For a seam allowance on the left side
Align the left side of the presser foot with the
edge of the fabric, and sew using stitch
58
.
a 7 mm (1/4 inch)
Memo
z To change the width of the seam allowance
(The needle position), adjust the stitch width.
For details, refer to "Adjusting the stitch
width" (page 54).
Quilting
Sandwiching batting between the top and bottom
layers of fabric is called "quilting". Quilts can easily
be sewn using the optional walking foot and the
optional quilting guide.
a
Baste the fabric to be quilted.
b
Remove the presser foot holder.
• For details, refer to "Removing the presser
foot holder" (page 40).
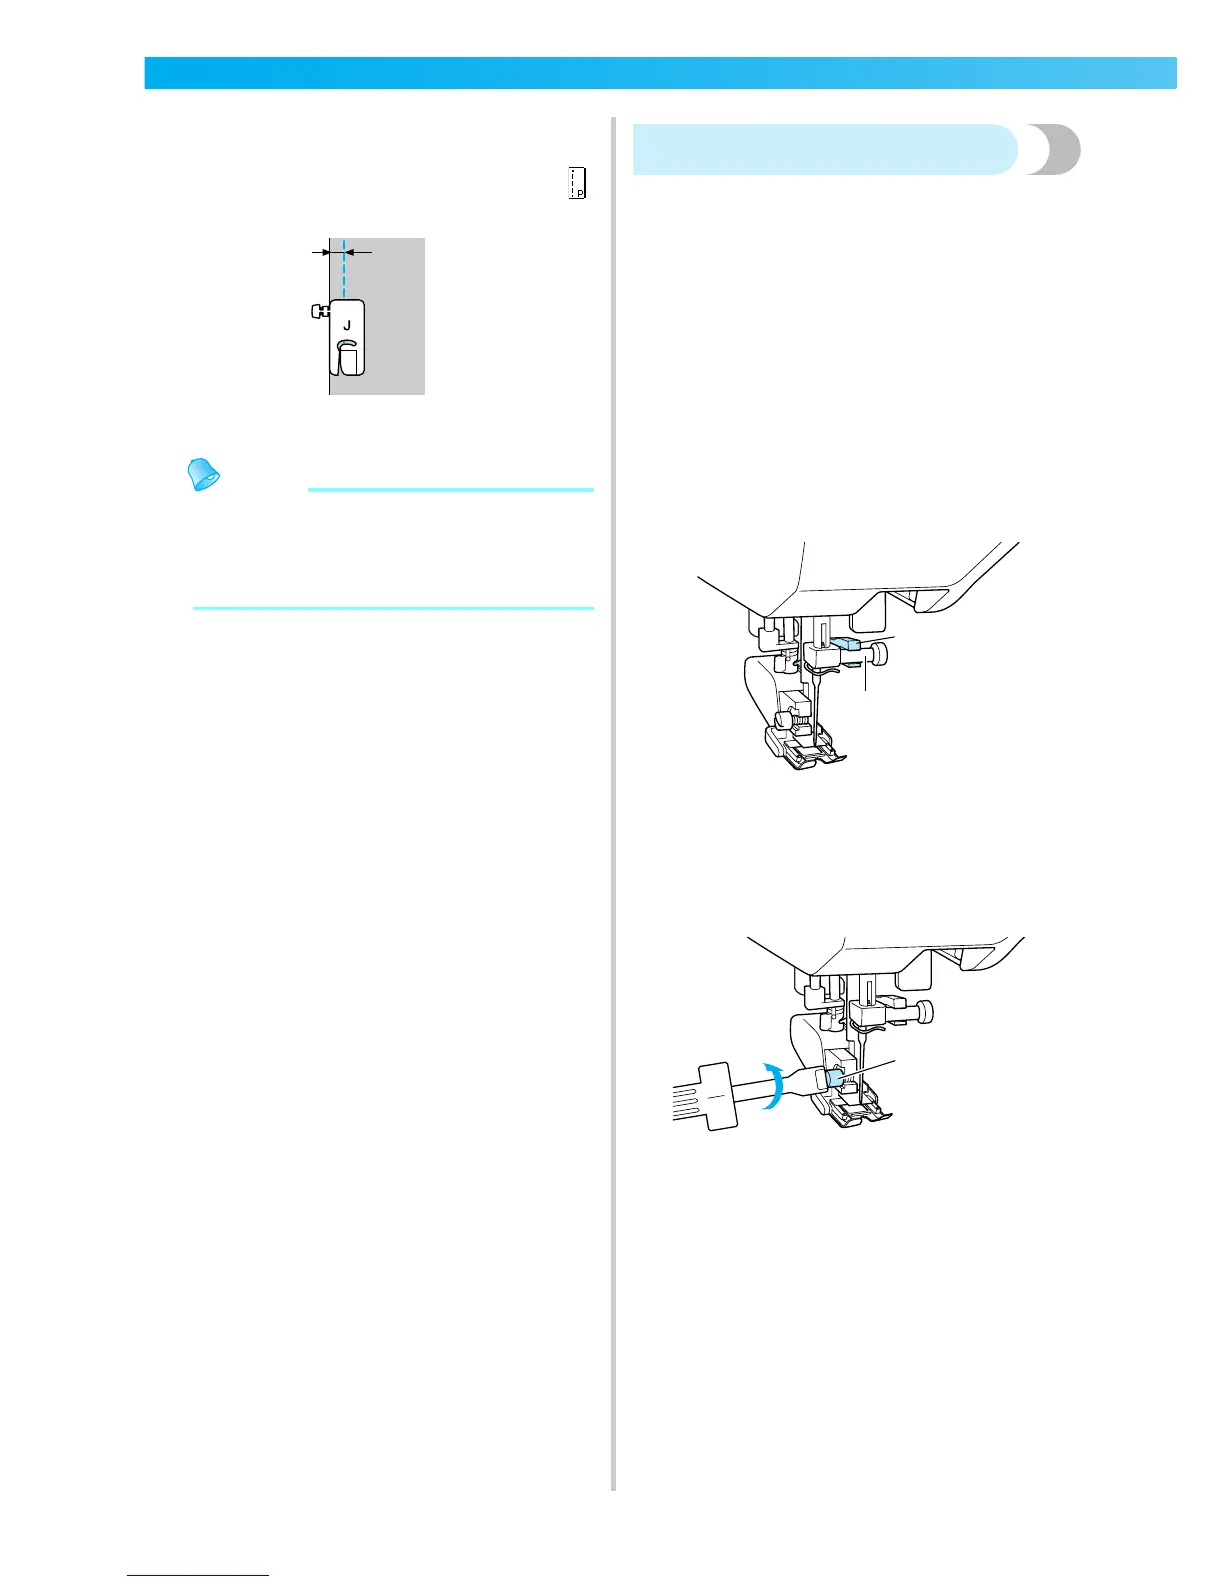
c
Hook the connecting fork of the walking foot
onto the needle clamp screw.
a Connecting fork
b Needle clamp screw
d
Lower the presser foot lever, insert the presser
foot holder screw, and then tighten the screw
with the screwdriver.
a Presser foot holder screw
X The walking foot is attached.
1
1
2
1

 Loading...