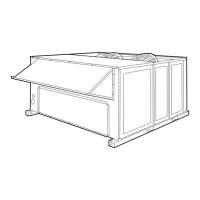
49
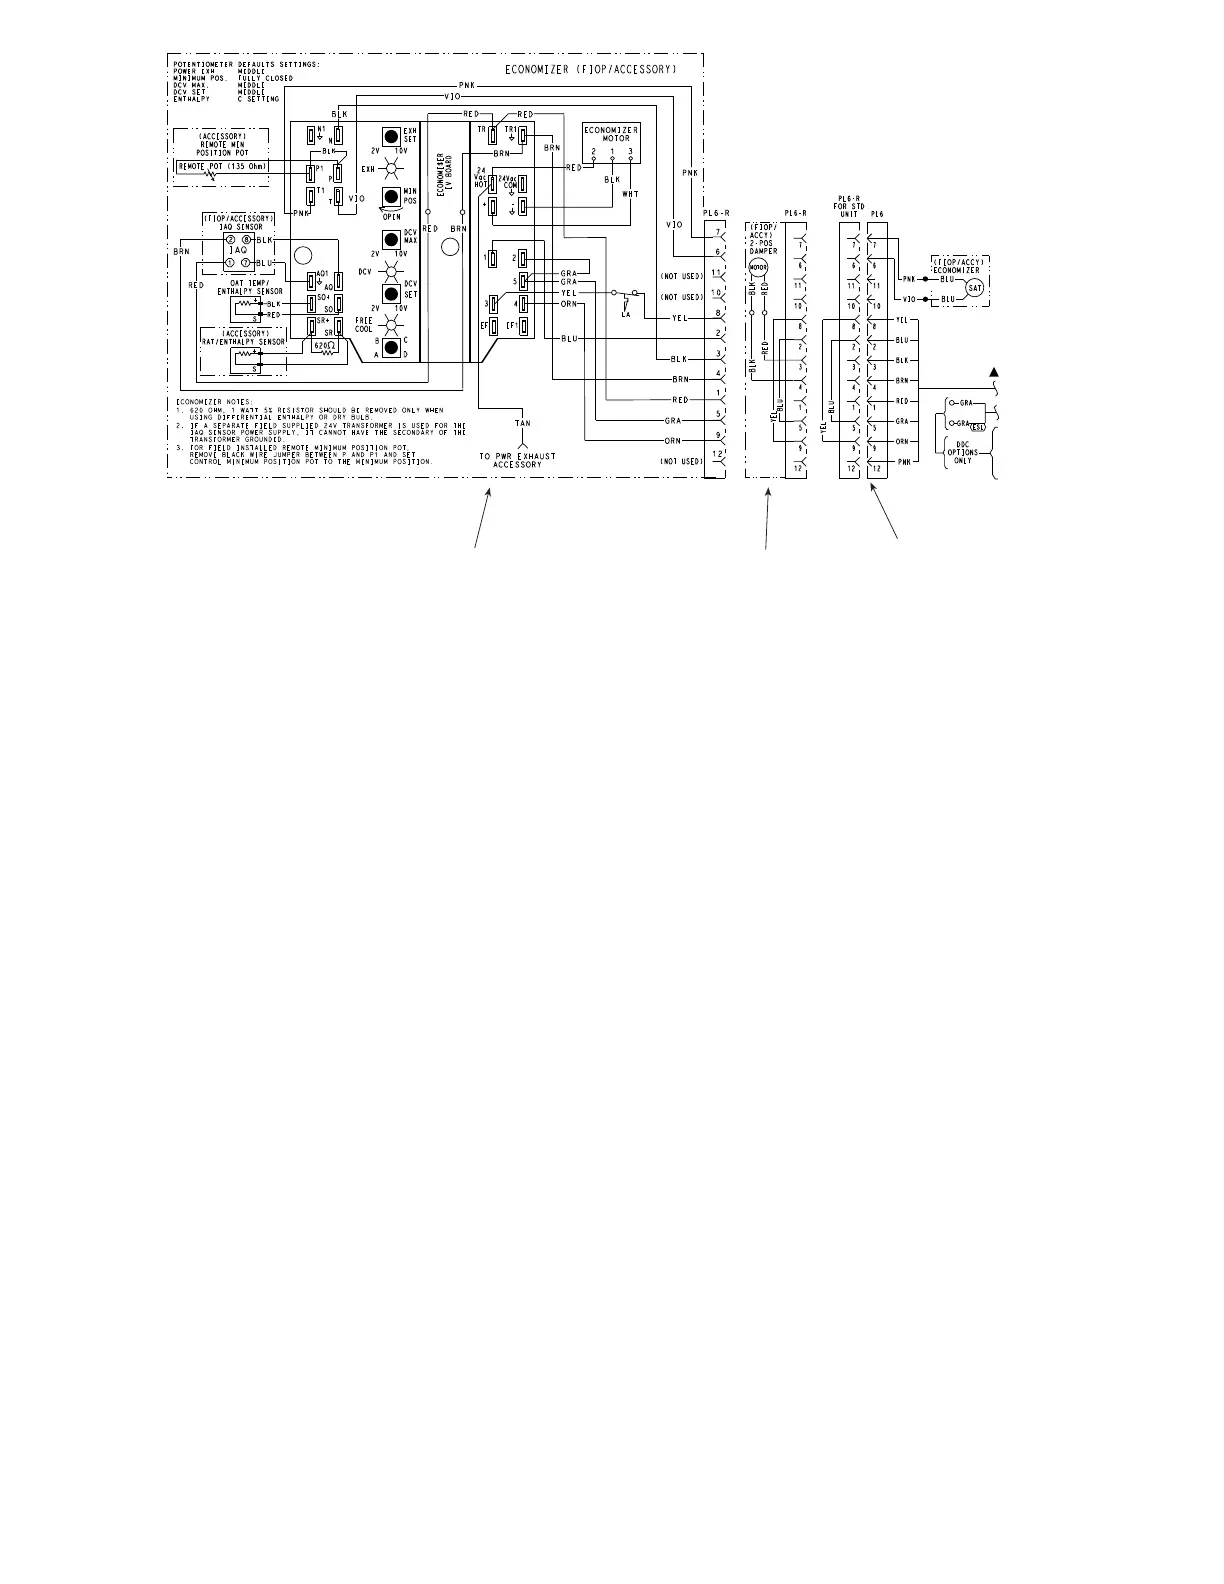
Economizer 2 Position Damper
Unit Without Economizer
or 2 Position Damper
C160126
Fig. 63 -- EconoMi$er
R
IV Wiring
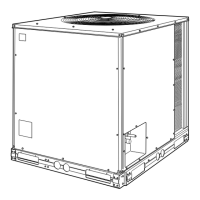
Step 12 — Install Accessories
Available accessories include:
Roof curb
Thru--base connection kit (must be installed before unit
is set on curb)
Manual outside ai r damper
Two--position motorized outside air damper
EconoMi$er IV (with control and integrated barometric
relief)
EconoMi$e r 2 (without control /for external signal and
integrated barometric relief)
Power exhaust
Differential dry--bulb sensor (EconoMi$er IV)
Outdoor enthalpy sensor
Differential enthalpy sensor
Electric heaters
Single point kits
CO
2
sensor
Louvere d hail guard
Phase monitor control
Refer to separate installation instructions for information
on installing these accessories.
Step 13 — Check Belt Tension
Measure the belt span length as shown in Fig. 64.
Calculate the required deflection by multiplying the belt
span l ength by 1/64. For example, if the belt span lengt h
is32inches:32x1/64=1/2inchdeflection.
Belt Force -- Deflection Method --
Check the belt tension with a spring--force belt force
deflection gauge.
1. Place a straightedge along the belt between the two
pulleys. Measure the distance be tween the motor shaft
and the blower shaft.
2. Set the tensio n gauge to the desired tension (see Table 1
in Fig. 64). Place the large O--ring at that point.
3. Press the te nsion checker downward on the belt until
the large O--ring is at the bottom of the strai ghtedge.
4. Adjust the belt tension as needed.
Adjust belt tension by loosing the motor mounting plate
front bolts and rear bolt (see Fig. 65) and sliding the plate
towards the fan (to reduce tension) or away from the fan
(to increase tension). Ensure the blower shaft and motor
shaft are parallel to each other (pulleys aligned). Tighten
all bolts securely when finished.
Pre --Start and Start--Up
This completes the mechanical installation of the unit.
Refer to the unit’s Service Manual for detailed Pre--Start
and Start--Up instruct ions. Download the latest versions
from HVAC Partners (www.hvacpartners.com).
 Loading...