8
operating manual
operating manual Product appearance and specications are subject to change without notice
Playback of the video recordings:
Playing back your recorded videos on the CF memory card is simple. Windows Media Player can handle
all video les generated by the Bullet DVR, as long as the required codec is installed on your PC. Simply
insert the PCMCIA adapter including the CF card into your laptop, or just put the CF card directly into a
CF card reader. Media Player will start playing the le automatically. It is highly recommended that you
copy the video le to your computer’s hard drive rst, for faster and smoother playback.
About the required codecs:
To playback video les encoded using Mpeg-4 compression, your computer needs to have the DivX
codec installed rst. If you don’t already have it installed on your PC, you can nd it on the included
software CD. For les encoded with Mpeg-2, you’ll need to have any Mpeg-2 codec installed on your
computer, if you want Windows Media Player to be able to playback those les. If you install any software to
watch DVD movies on your PC, it will automatically install the Mpeg-2 codec.
Playback using VLC Media Player:
Alternatively, you can install the free software VLC Media Player included on the software CD. This
program is similar to the Windows Media Player, but is free of charge and already has full support for
Mpeg-2 and Mpeg-4 DivX video les.
Software installation:
The Bullet DVR installation software can be launched by inserting the included software CD in your
computer’s CD player, and selecting Conguration Utility from the list. Follow the on-screen
instructions for the installation procedure.
After you are done installing the software, you can start the conguration utility normally from the
Windows Start program menu, or from the program shortcut on your desktop.
Optionally, You may also install the VLC Media Player, as well as the Track Timer software for racing.
These programs are brought to you as extra tools for the Bullet DVR unit, but we do not provide any
support in case of problems. Please contact VLC or Track timer’s customer support directly for help. We
can only oer support for the Bullet DVR Conguration utility.
Using the Anti-Vibration camera mount:
For quick and easy installation of your Bullet Camera, always use the supplied Anti-Vibration camera
mount. Follow these steps for the best results:
1. Find the best location for mounting your camera. It can be
anywhere on the vehicle, or on your helmet. Make sure the
surface is clean and there is no oil or grease residue. Apply a
piece of Velcro to the surface.
2. Insert the Bullet Camera in the mount, and then x the mount
to the Velcro base.
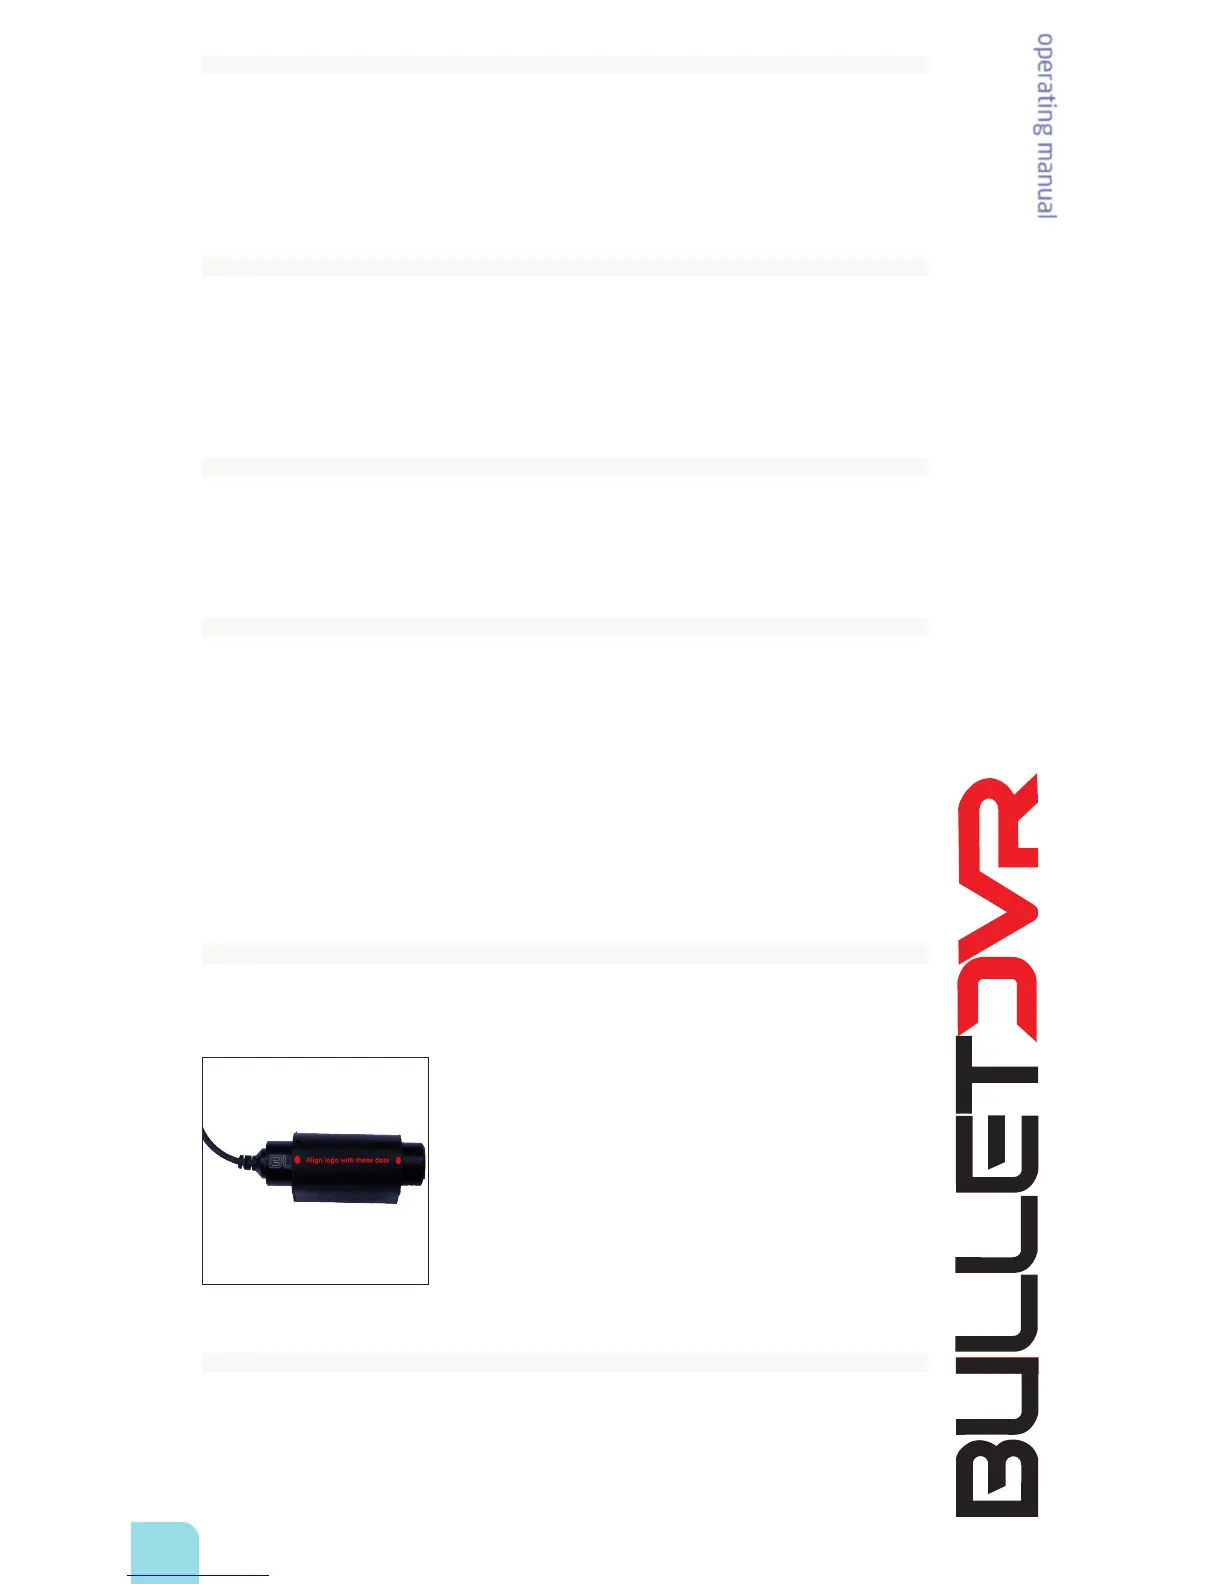
3. Using your ngers, grab the rear end of the camera and rotate it
inside the mount, to align the image correctly. The BULLET DVR
logo on the camera marks the top of the screen, and the 2 small
dots on the mount mark the center. Align the logo with the dots
to position the camera properly. For an easier, live monitoring of
the image position, please see the optional Field Monitor.
Installing the Quick-Release Bracket:
When using the Bullet DVR in motorsports and other harsh environments, always mount it on the
vehicle using the supplied Quick-Release bracket. The bracket helps to minimize vibrations and will
hold the DVR securely at all times. Failure to properly mount the DVR in the bracket could result in
damages to your equipment, please follow these steps carefully: