Maintenance and Service | 7
Instruction Manual VACTEST DCC 400_EN_en 17 / 24
NOTICE
The unit is not prepared for customer repair.
Risk of damage to the unit!
• Defective sensor heads can be exchanged on-site by calibrated replacement sensors.
The device requires no maintenance. External dirt and soiling can be removed by a damp
cloth.
Should a defect or damage occur on the device, please send the unit to us for repair and
fulfil the declaration of decontamination downloadable from www.buschvacuum.com.
NOTE
Malfunction of the unit, which is caused by contamination or wear and tear is not cov-
ered by warranty.
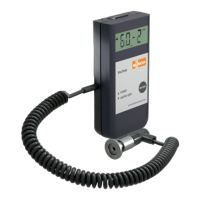
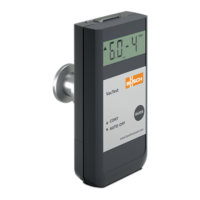
7.1 Replacing the Sensor Head
Disassembly:
• Vent the vacuum system to atmospheric pressure and allow to cool.
• Switch off the power supply on the controller or disconnect the gauge from the mains.
• Disconnect the gauge from the flange.
• Unscrew the small hex head screws paying attention to the sealing washers.
• Remove carefully the housing.
Housing including
electonics
Seal
Screw with seal
Vacuum Flange
Sensor head
with magnet
Mind the pins
Assembly:
• Assemble carefully the housing and the sensor head (pay attention to pins and seal
positions).
• Screw the small hex head screws with their respective seal.
• Install the gauge.