Do you have a question about the BWT AQA Perla 10 and is the answer not in the manual?
Device is not designed for treating non-drinking water. Must be connected to compliant water supply.
Fit efficient water-hammer arresters if connected to devices generating such effects.
Avoid intermediate connecting devices. Check circuit compliance. Contact vendor for damaged wire.
Preliminary tightening of the hydraulic block upon the vessel is crucial due to possible untightening during transport.
Pressure shall be between 1.5-7 bars. Install a pressure reducer if above 5 bars.
Place and connect the filter upstream, respecting flow direction. Fix filter head to wall.
Install bypass on pipe respecting flow direction. Turn tap to softener bypass position.
Place device in definitive position on a clean, horizontal floor. Ensure controller and lid are accessible.
Set float height, connect brining tube to brine valve, and place valve back into well.
Connect brining tube, in/out flexible hoses to hydraulic block fittings, and drain tube to siphon.
Purge/rinse pipes, open bypass tap, purge air using filter screw, then plug softener to electricity.
Change language if necessary. Default is French. Use keys to select and confirm.
Specify the resin volume within the softener in liters.
Choose the unit for hardness measurement: °F or °dH.
Enter the inlet and outlet hardness values in the chosen unit.
Trigger regeneration manually by pressing the OK key. Proceed step-by-step using OK.
Acknowledge salt alarm (CHECK/SALT) by pressing M key, then select OFF and confirm.
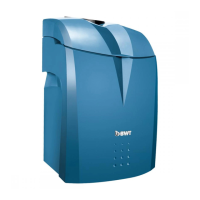
| Brand | BWT |
|---|---|
| Model | AQA Perla 10 |
| Category | Water Dispenser |
| Language | English |