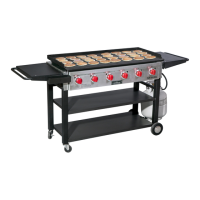
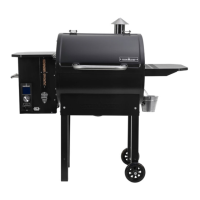
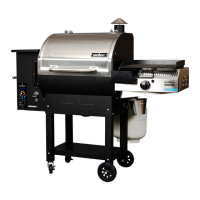
FTG900-2 PARTS
VALVE (6)
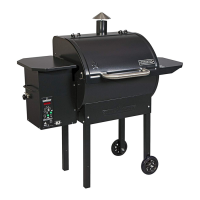
FTG600-6
BEZEL (6)
FTG600-27
KNOB (6)
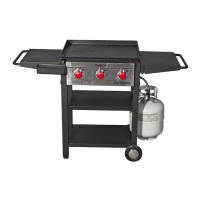
CCH3-2
BURNER (6) FTG600-8
IGNITER (6)
FTG600-9
SHELF RIGHT (1)
FTG600-4
SHELF BRACKET (4)
CCH-6
REGULATOR (1)
HRL
TANK BRACKET (1)
FTG600-23
LEG RIGHT (1)
FTG600-28
CART WHEEL
CCH-25
AXLE BOLT (2)
FTG600-20
CART WHEEL CAP (2)
CCH-27
GRIDDLE GREASE CUP (1)
FTG600-10
(1)
FTG600-3
M6 NUT (6)
M6 FLAT WASHER (12)
M6 X 12 BOLT (32)
SWIIVEL CASTER (2)
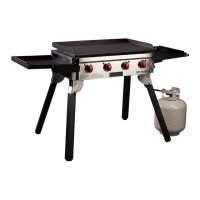
PG36-7
LEG LEFT (1)
FTG900-1
REAR LEG BRACKET (1)
FTG900-2
UPPER SHELF (1)
FTG900-3
LOWER SHELF (1)
FTG900-4
MANIFOLD (1)
FTG900-5
GRIDDLE (1)
FTG900-6
PG BOTTLE OPENER
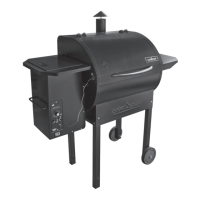
Warning: Read and follow all instructions and warnings before assembling or operating the grill.
The following tools are required to assemble this grill.
Phillips Screwdriver
Adjustable end wrench
1. Remove all contents from packaging.
2. Remove any loose parts from the inside of the grill.
3. Turn the grill upside down.
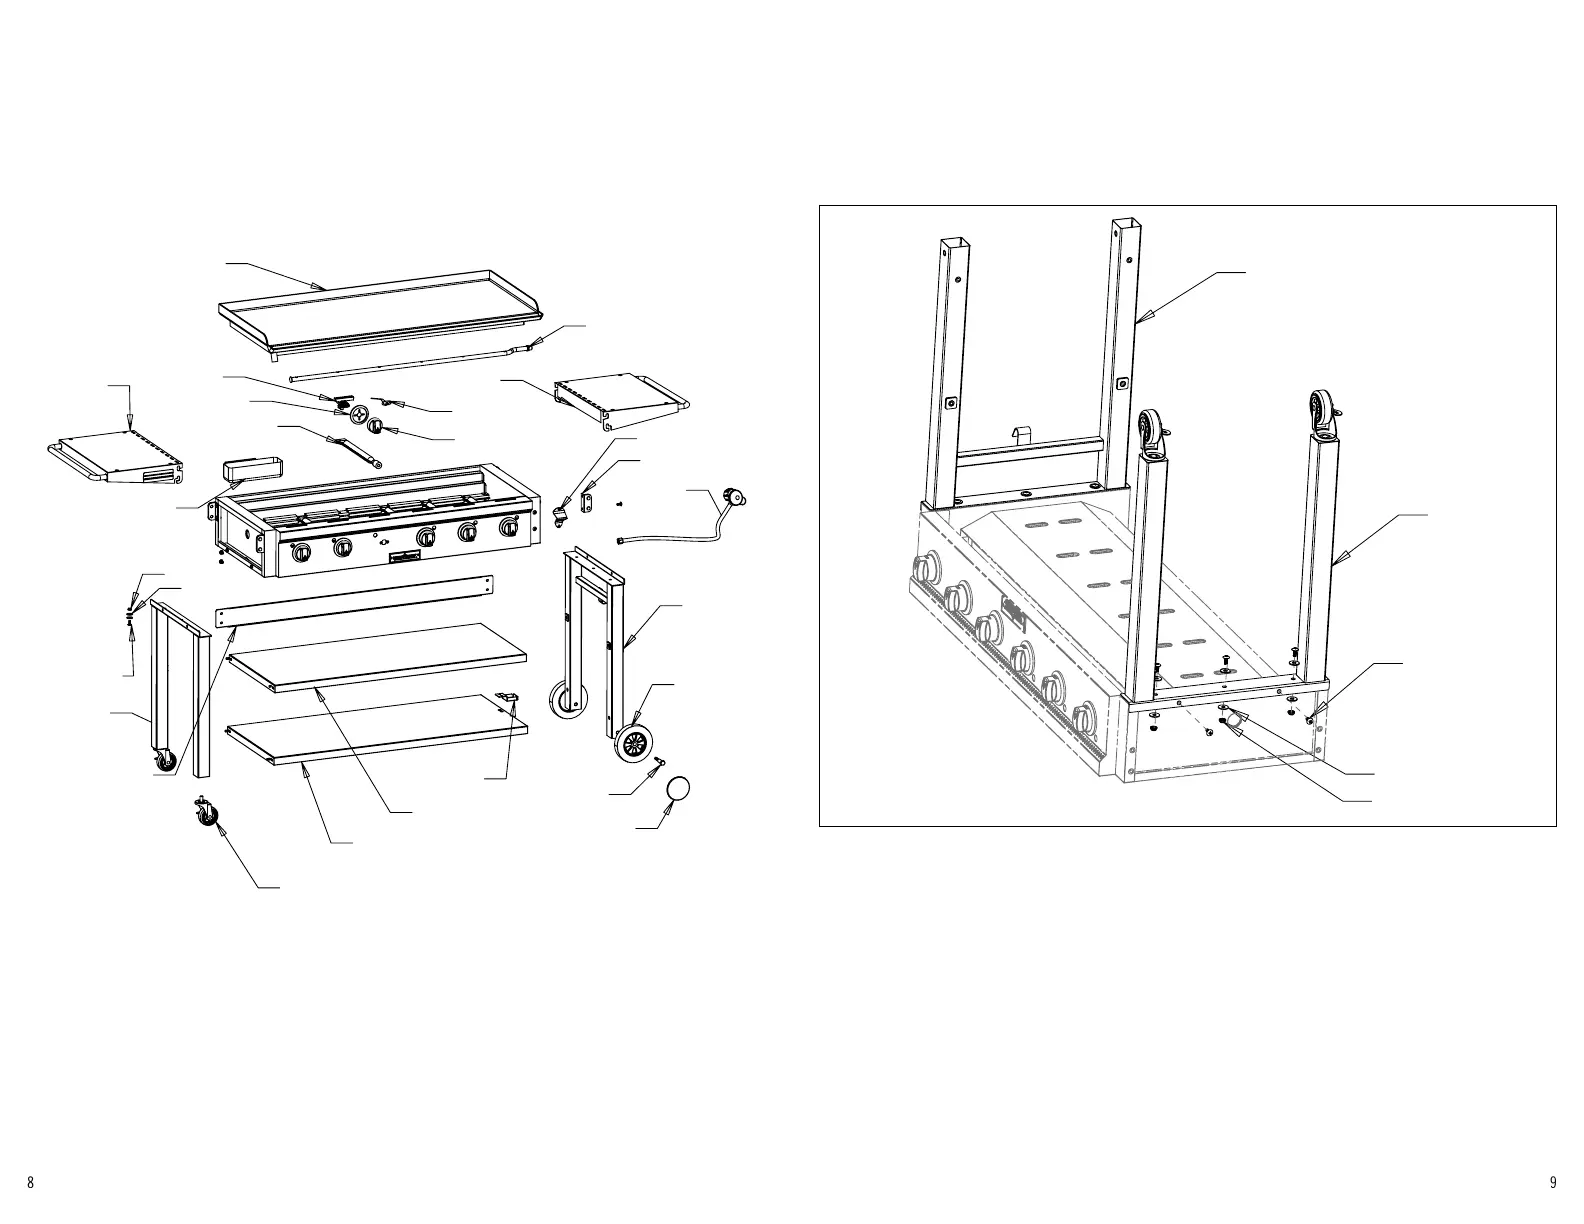
4. Assemble the legs to the bottom of the grill as shown using the hardware indicated in Figure 1. Tighten all hardware. (Note:
Make sure to install the leg with the tank hook on the same side as the regulator hose)
FIG 1
LEG LEFT (1)
FTG900-1
LEG RIGHT (1)
FTG600-28
M6 X 16 BOLT (10)
M6 WASHER (12)
M6 NUT (6)