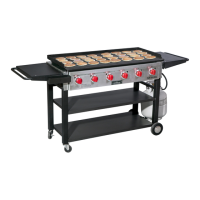
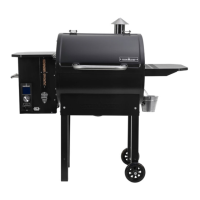
5. Install the upper shelf as shown in Figure 2. Tighten all hardware.
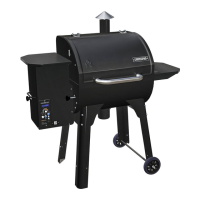
TANK BRACKET (1)
FTG600-23
M6 X 16 BOLT (10)
LOWER SHELF (1)
FTG900-4
UPPER SHELF (1)
FTG900-3
FIG 2
6. Install the lower shelf as shown in Figure 2. Tighten all hardware. Note: Lower shelf has extra holes for the tank bracket. Shelf
must be oriented so that the tank bracket is on the side of the stove with the regulator hose.
7. Install the tank bracket as shown in Figure 2. Tighten all hardware.
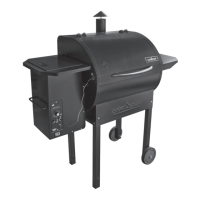
8. Install the wheels as shown in Figure 3. Tighten the axle bolt.
CART WHEEL (2)
CCH-25
CART WHEEL CAP (2)
CCH-27
AXLE BOLT (2)
FTG600-20
FIG 3
9. Install the wheel cap as shown in Figure 3.
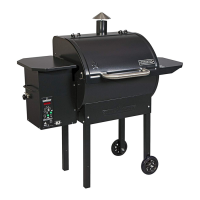
10. Stand the grill upright.
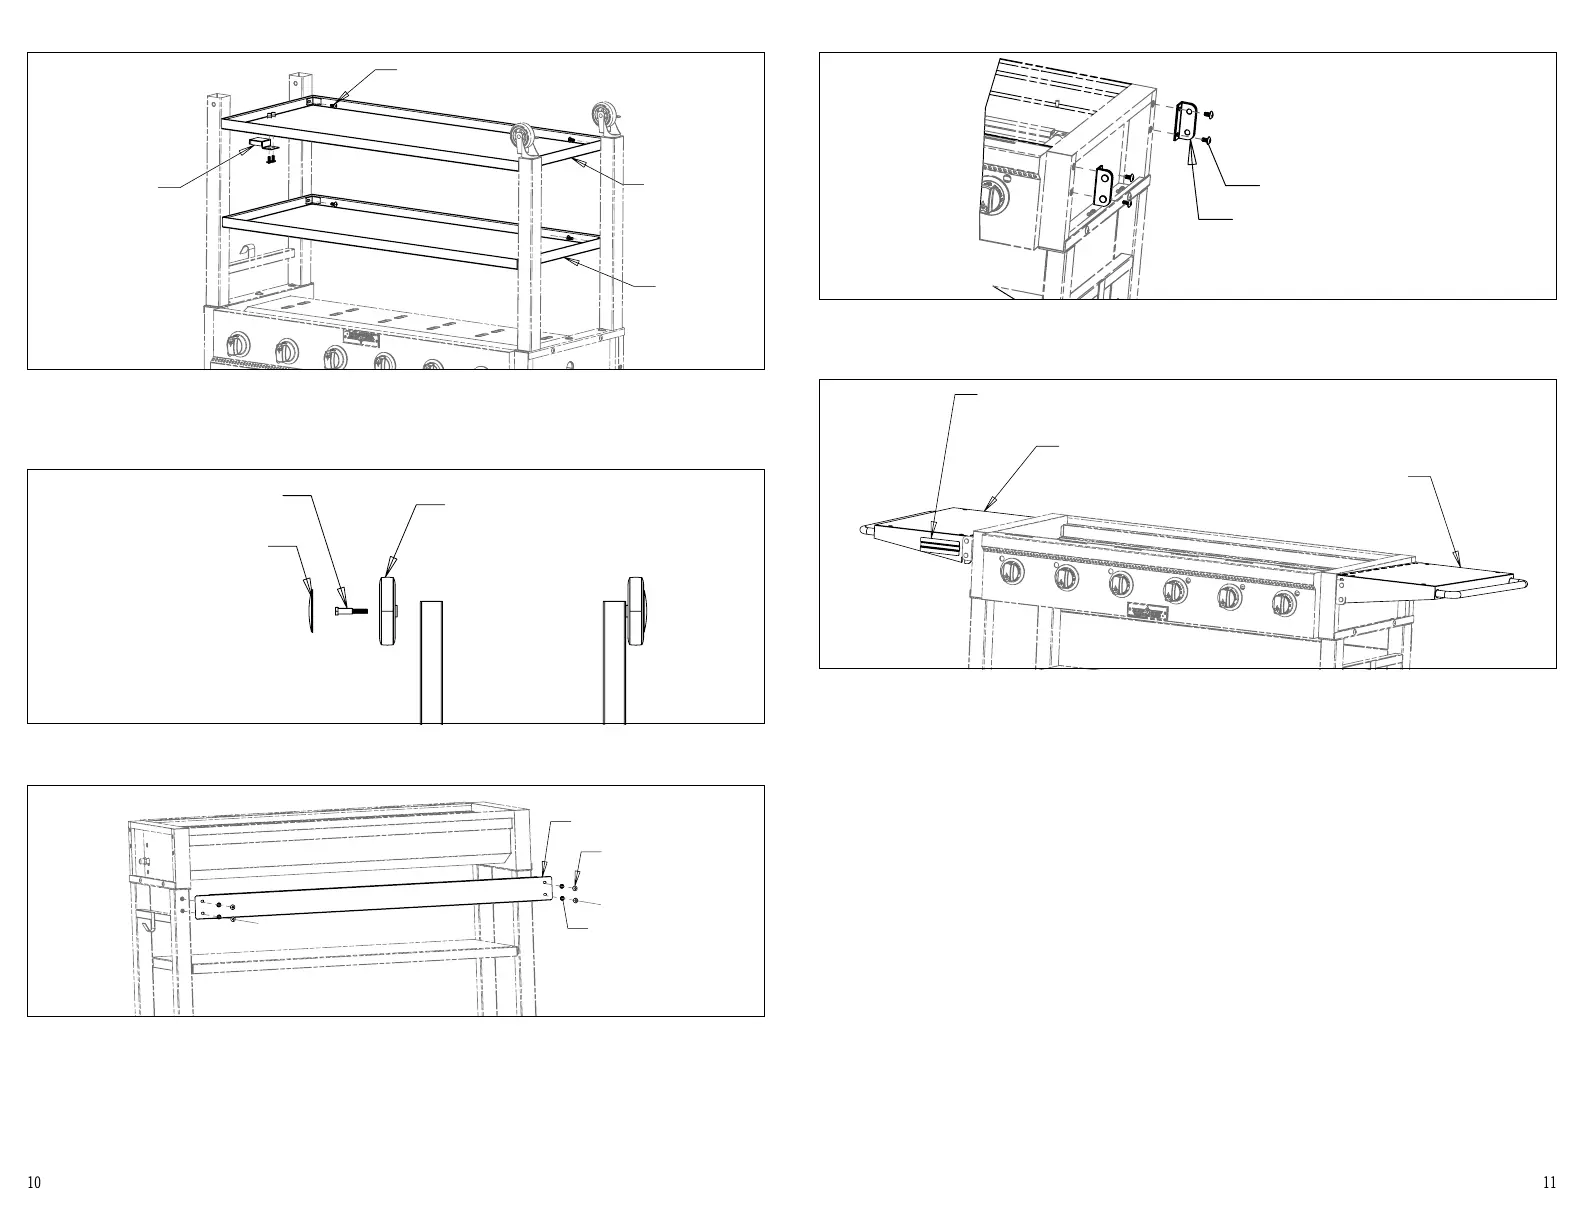
11. Install rear leg bracket as shown in Figure 4.
REAR LEG BRACKET (1)
FTG900-2
M6 FLAT WASHER (4)
M6 X 16 BOLT (4)
FIG 4
12. Install the 4 shelf brackets as shown in Figure 5. (Note: Leave the bolts a little loose until the shelves are installed.
SHELF BRACKET (4)
CCH-6
M6 X 16 BOLT (8)
FIG 5
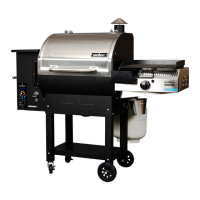
13. Install handles to shelves as shown
14. Install the side shelves by inserting hook over the bottom rod on the brackets. Lift shelf up and rotate into upper rod. Press
shelf down to lock into position. See Figure 6.(Note: The shelf with the grease cup bracket on the side must be installed on the
left side of the grill.)
SHELF LEFT (1)
FTG600-3
GREASE CUP BRACKET
SHELF RIGHT (1)
FTG600-4
FIG 6
15. Tighten the shelf bracket screws installed in Step 13.