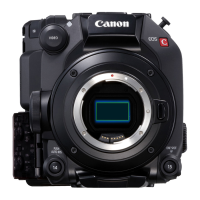
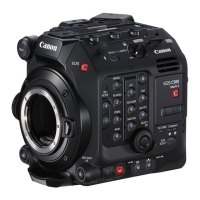
ADDED FUNCTIONALITY AND LENS COMPATIBILITY
26
EN
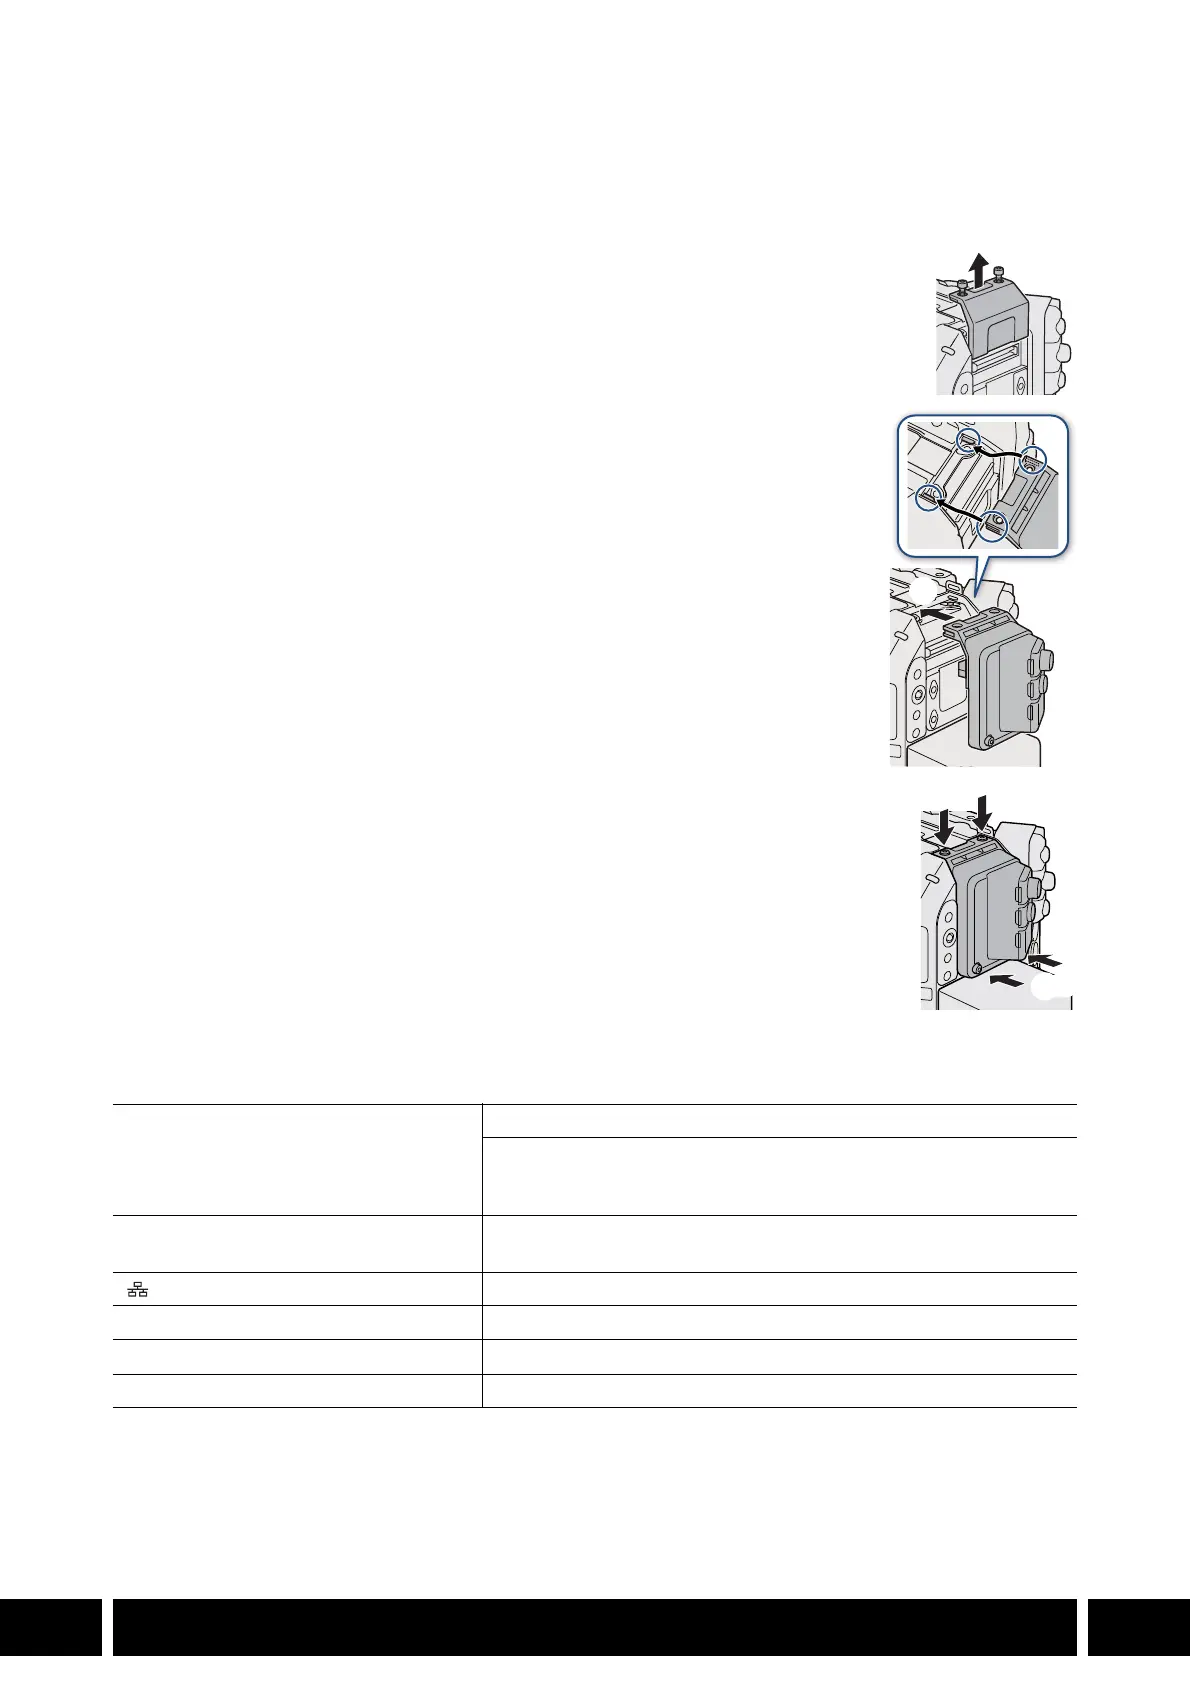
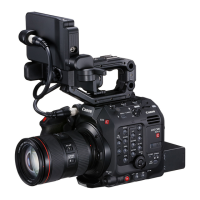
Attaching the Expansion Unit to the Camera
1. Turn off the camera.
• The accessory will not work if it is attached while the camera is turned on.
2. Remove the camera’s expansion unit cover.
• Remove the 2 bolts in the illustration using the hex wrench for M4 bolts.
3. Attach the expansion unit.
• Remove the expansion unit’s connector cover. Align the ridges on the
expansion unit with the protruding tabs on the camera and push the
expansion unit straight, all the way forward.
4. Secure the expansion unit in place.
• First, fasten the 2 fixation bolts you removed in step 2 to the top (햵-1).
Then, fasten the 2 supplied M4 fixation bolts to the rear (햵-2).
Specifications
* All dimensions and weights are approximate.
G-LOCK/SYNC OUT terminal BNC jack, 1.0 Vp-p / 75 Ω
G-LOCK (Genlock) setting: input only
SYNC OUT setting: output only, tri-level HD signal
The terminal’s function can be changed using the camera’s menu.
REMOTE B terminal Circular 8-pin jack (for the optional RC-V100 Remote Controller,
RS-422 interface)
(Ethernet) terminal Ethernet, 1000BASE-T compatible
Operating temperature 0 °C – 40 °C (32 °F – 104 °F)
Dimensions* (W x H x D) 62 x 92 x 69 mm (2.4 x 3.6 x 2.7 in.)
Weight* (without connector cover) 114 g (4.0 oz.)