63
Selecting Still Images for Printing
(Print Order)
Set the print orders before connecting
the USB cable to the camcorder.
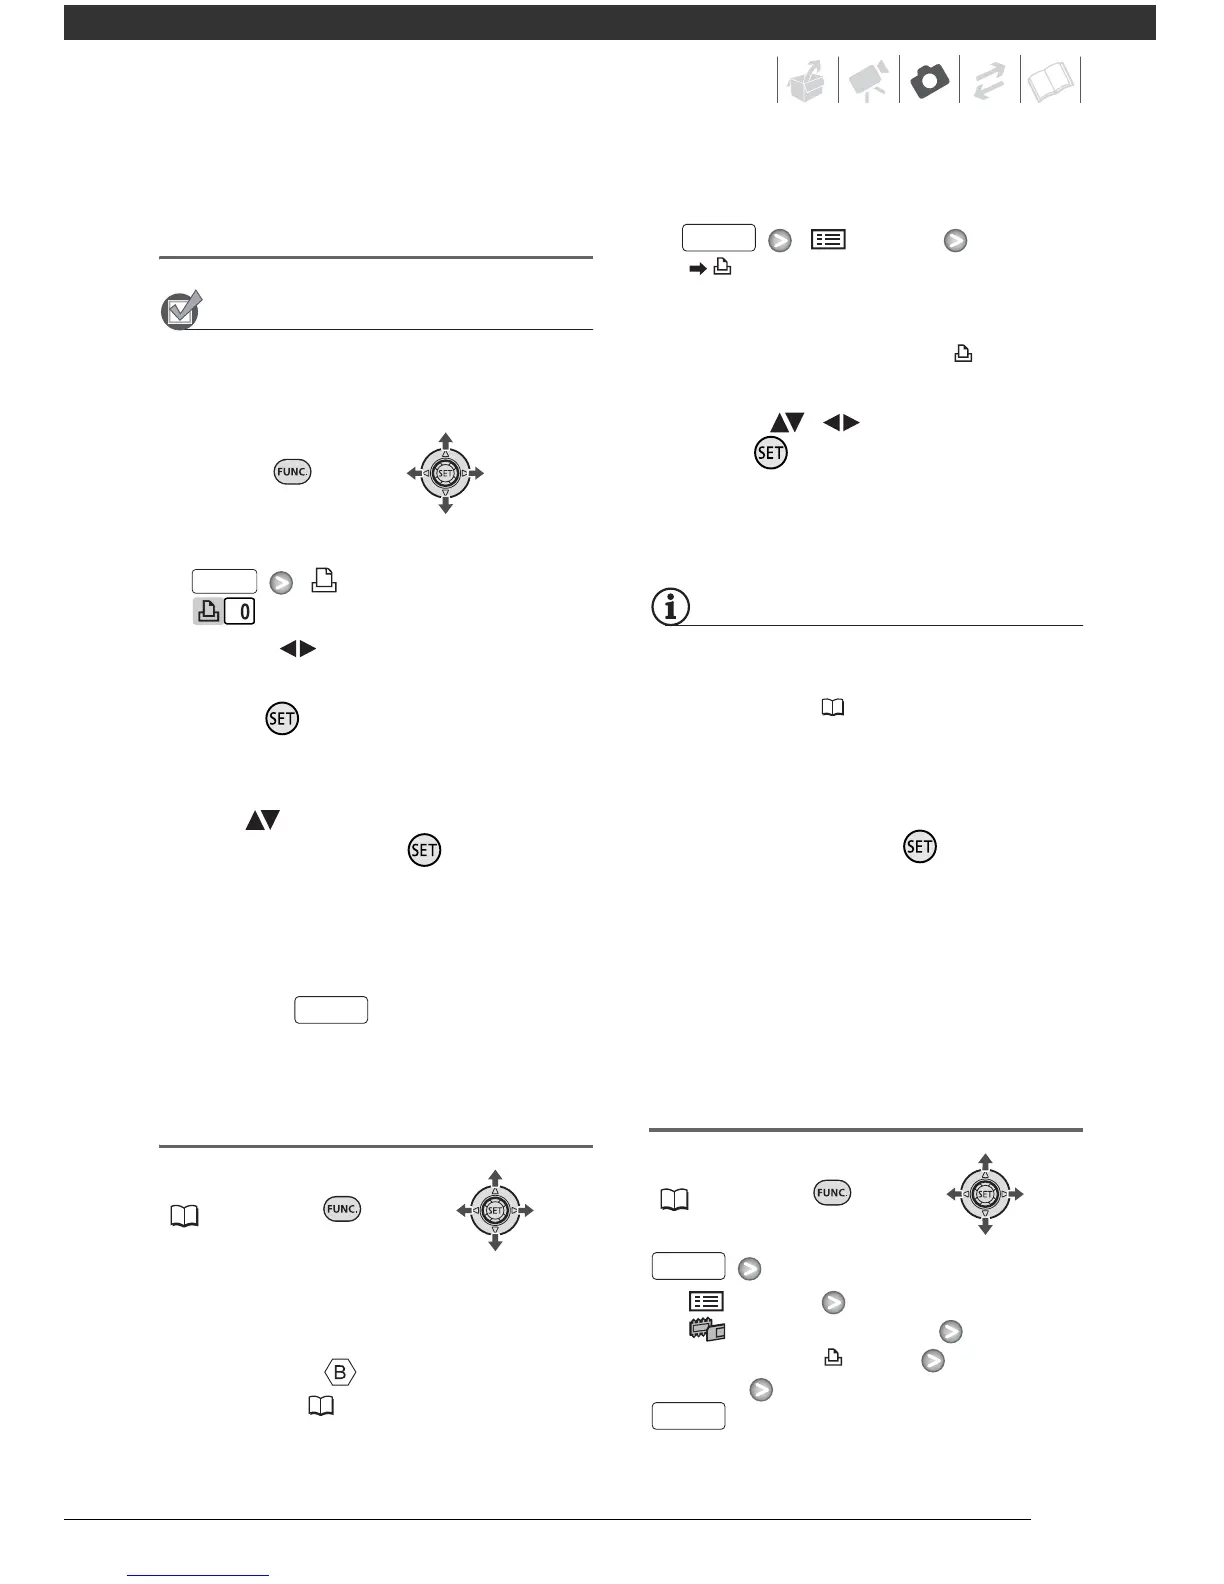
1 Open the image selection screen.
[ PRINT ORDER]
appears on the screen.
2 Select ( ) the still image you
want to mark with a print order.
3 Press to set the print order.
The number of copies appears in
orange.
4 Set ( ) the number of copies
desired and press .
To cancel the print order, set the
number of copies to 0.
5 Repeat steps 2-4 to mark
additional images with print orders
or press twice to close the
menu.
Printing the Still Images Marked with
Print Orders
1 Connect the camcorder to the
printer using the supplied USB
cable.
Connection . Refer to Connection
Diagrams ( 64).
2 Open the print settings menu.
[ MENU]
[ PRINT]
• The print settings menu appears.
• If there are no still images marked
with print orders, [SET PRINT
ORDER] appears.
3 Select ( , ) [PRINT] and
press .
Printing starts. The print settings
menu disappears when the printing
is completed.
• Depending on the connected printer,
you can change some print settings
before step 3 ( 60).
• To cancel the printing, refer to page 61.
• Restarting Printing: Open the print
settings menu as explained in step 2. In
the print settings menu, select
[RESUME]* and press . The
remaining images will be printed.
Printing cannot be restarted when the
print order settings have been changed
or if you deleted a still image with print
order settings.
* In case the print order was interrupted
after the first still image, this menu option
will appear as [PRINT] instead.
Erasing All Print Orders
[ MENU]
[ MEMORY OPER.]
[ERASE ALL ORD]
[YES]
 Loading...