8
ENG
“heaterSteam” +0300075EN - rel. 1.2 - 29.09.2015
W
X
Y
Z
..2*.. - ..13*..
..20*.. - ..40*..
X
Z
W
..53*.. - ..80*..
J
K
piano di foratura
drilling template
X
X
Y
Z
Y
Fig. 1.c
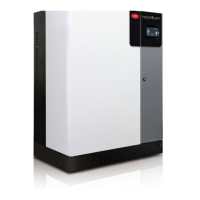
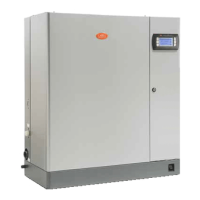
Seize mm (in) UR002-13 UR020-40 UR053-80
X 220 (8.7) 445 (17.5) 286 (11.3)
Y 591 (23.3) 728 (28.7) 731 (28.8)
Z 82 (3.2) 22.5 (0.9) 137 (5.4)
W - 400 (15.7) 416 (16.4)
J - - 235 (9.3)
K - - 201 (7.9)
Tab. 1.c
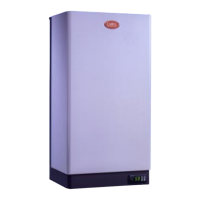
1.6 Removing the front panel
Models UR002…UR013:
1
2
3
4
5
Fig. 1.d
1. turn the oval plate with the CAREL logo until the ground screw head
can be seen;
2. loosen the screw with a screwdriver;
3. grab the sides of the panel, lift it about 20 mm (0.79 in), and detach it
from the protruding edges of the humidi er;
4. remove the panel by pulling it forward;
5. remove the protective lm.
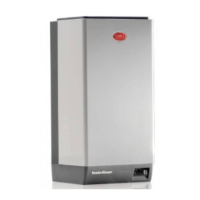
Models UR020...UR080:
1
3
2
4
5
Fig. 1.e
1. remove the screws on the top of the humidi er using a screwdriver;
2. grab the panel by lifting it from the top about 20 mm (0.79 in);
3. remove the panel by pulling it forward;
4. remove the protective lm (on all external surfaces of the humidi er).
1.7 Mounting the front panel
Models UR002…UR013:
1
3
4
2
Fig. 1.f
1. turn the red oval plate with the CAREL logo so that the fastening hole
below is visible;
2. slide the panel on the frame (keeping it slightly raised and tilted) until
it stops on the rear edges;
3. fasten the ground screw using a screwdriver, ensuring its tightening;
4. turn the red oval plate with the CAREL logo so that the fastening hole
below is no longer visible;
Models UR020...UR080:
1
2
Fig. 1.g
1. slide the panel on the base, keeping it slightly tilted;
2. put it in vertical position and tighten the screws on the top cover
with a screwdriver.
 Loading...