11
ENG
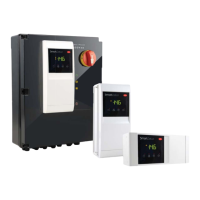
“SmartCella 3PH” +0500119IE - rel. 1.3 - 21.11.2019
1.7 Technical speci cations
Speci cations
WP00E11A1*0
WP00E21A1*0
WP00E31A1*0
WP00E41A1*0
WP00E51A1*0
WP00E42A2*0
WP00E62A2*0
WP00E72A2*0
WP00E73B3*0
Main Three-phase up to 4 HP Three-phase up to 7.5 HP Three-phase up to 10 HP
Electronic valve driver Included in models with *= U (e.g. WP00E11A1U0); not included in models with *= 0 (e.g. WP00E11A100)
Dimensions 460x380x127 mm
Ingress protection IP56
Power supply 400 Vac
Protection
functions
Main disconnect switch 40 A
Compressor (motor
protector)
1.6 to 2.5 A 2.5 to 4 A 4 to 6.3 A 6.3 to 10 A 8 to 12 A 6.3 to 10 A 10 to 16 A 16 to 20 A 16 to 20 A
Evaporator, condenser,
defrost (circuit breaker)
10 A
Auxiliary circuit (circuit
breaker)
6 A
Inputs Total (electronic controller) 4
Analogue (type) 2 (NTC/NTC*HT)
Digital (type) 2 (confi gurable)
Other inputs available
(contact)
Safety thermostat (defrost); thermal protector (evaporator fans); Kriwan (compressor);
High/low pressure switch, pump down
Outputs Fan speed control pressure
switch
- yes
Compressor 1.6 to
2.5 A
2.5 to 4 A 4 to 6.3 A 6.3 to 10 A 8 to 12 A 6.3 to 10 A 10 to 16 A 16 to 20 A 16 to 20 A
Defrost 9000 W - 3ph 9000 W - 3ph 12000 W - 3ph
Evaporator fan 1000 W - 1ph / 1500 - 3ph 2000 W - 1ph / 3000 W - 3ph 3500 W - 3ph
Condenser fan 900 W - 1ph 2000 W - 3ph 2000 W + 2000 W 3ph
Light 800 W
Other outputs AUX confi gurable; solenoid valve output; compressor crankcase heater; power supply Kriwan
Other
specifi cations
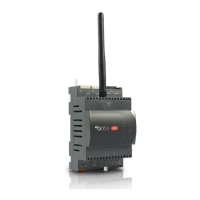
RS485 (serial) connectivity Optional (with IROPZSER30 card)
Tab. 1.d
1.8 Option part numbers
P/N Description
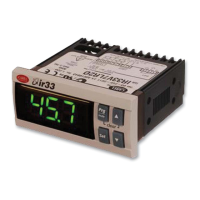
IROPZDSP00 remote display interface
IR00XGD000 remote repeater display
IROPZ485S0 RS485 serial card with automatic polarity recognition (+/-)
IROPZKEY00 parameter program. key with extended memory, 12 V batteries
PSTCON0*B0 repeater display conn. cables (*: 1= 1.5 m; 3= 3 m; 5= 5m)
EVDIS00EN0 display for EVD evolution
Tab. 1.e
1.9 Assembly and connections
1. With reference to the drilling template, drill the four fastening holes
in the wall:
• Unscrew the six fastening screws on the front panel
• Remove the front panel
• Fix the panel to the wall using screws of suitable length, based on
the thickness of the wall
2. Connect the power cables, the load power cables, the probes and
the remaining inputs/outputs to the terminal block on the panel, as
shown in the wiring diagram (see page 10/11)
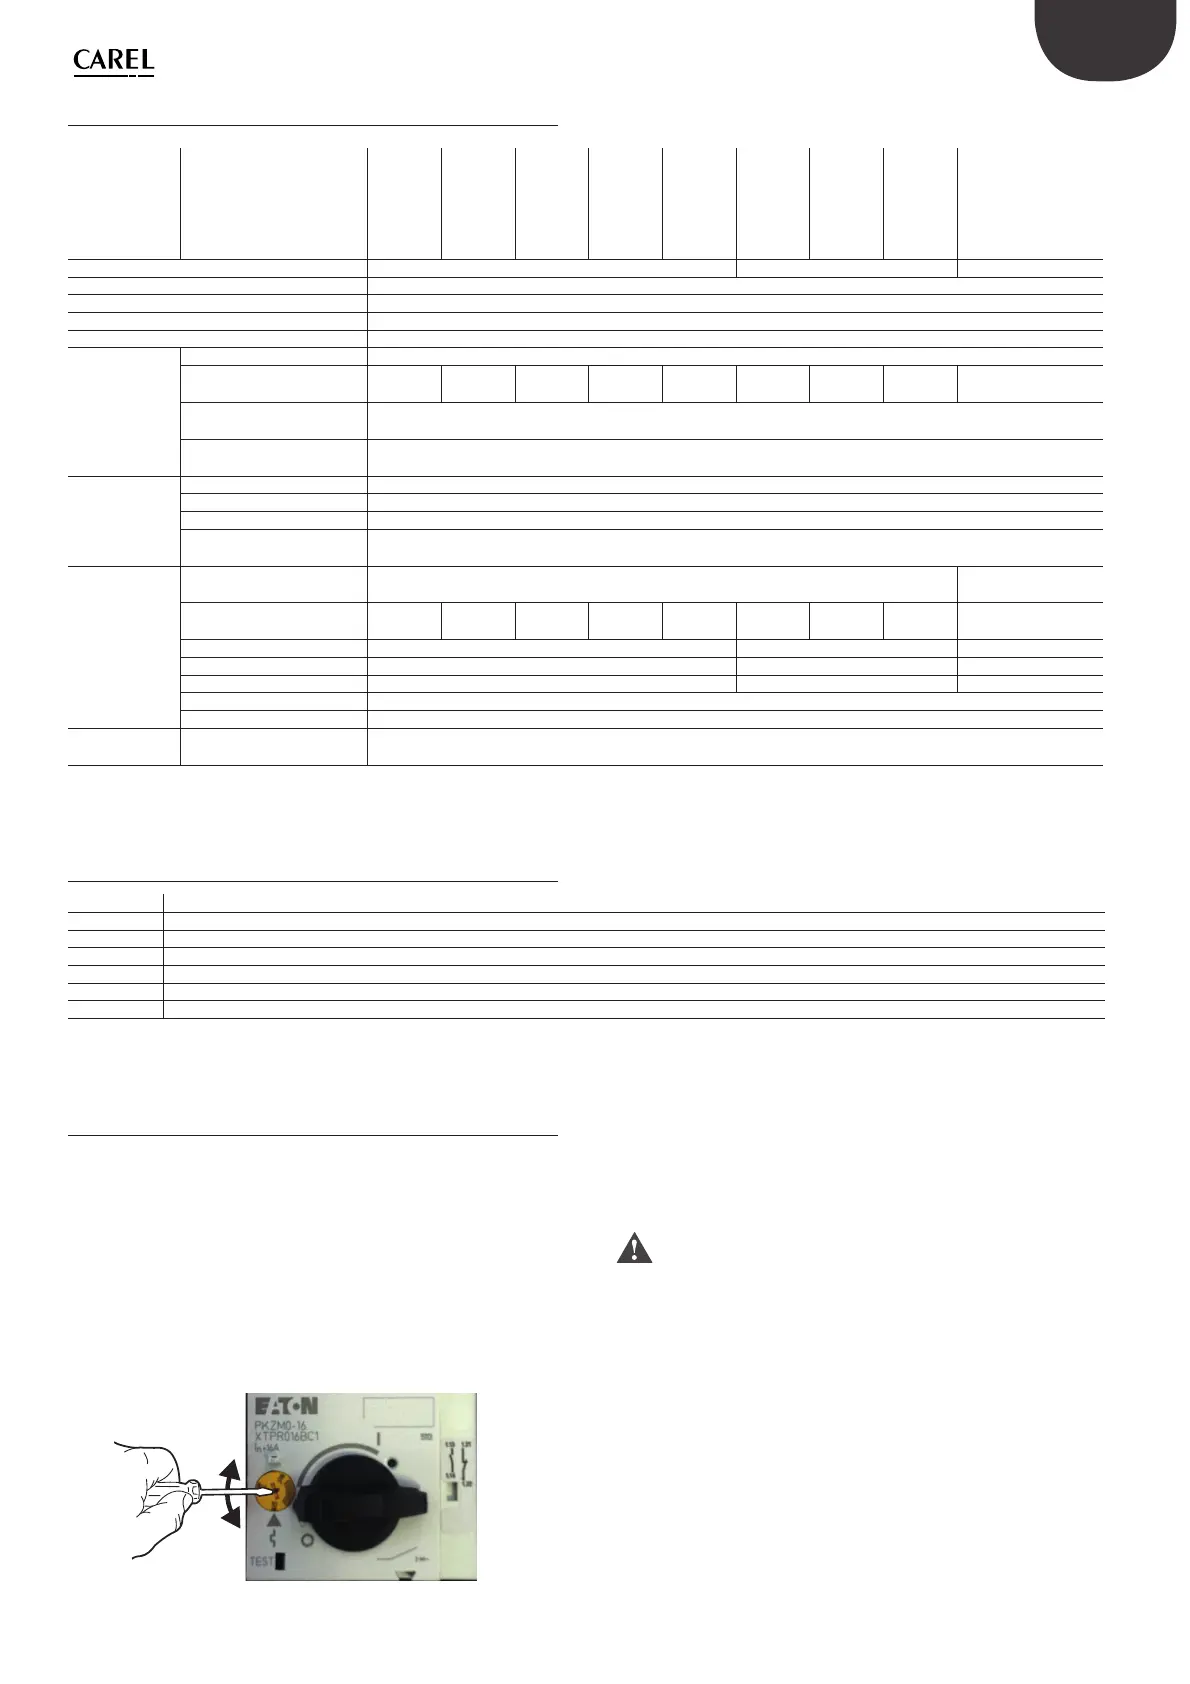
3. Before starting installation, the motor protector should be calibrated
based on eff ective compressor power consumption, with reference
to the compressor’s rated data
4. Arm the circuit breakers and the motor protector
5. Close the front panel using the six screws
6. Power the panel on
7. Arm the main switch (yellow/red)
Warning
• separate the power cables (power supply, loads) from the signal cables
(probes, digital inputs) and the serial cable
• use cables that are suitably sized for the current they carry
• connect the terminal marked PE to the mains power supply earth
• after having powered the three-phase expansion, check correct
current draw of the various loads
 Loading...