35
The mounting plate should be installed on a wall which can
support the weight of the indoor unit.
(1.) Temporarily secure the mounting plate to the wall,
make sure that the panel is completely level, and
mark the boring points on the wall.
(2.) Secure the mounting plate to the wall with screws.
6screws
Casing
Fig. 71 --- Floor Installation
6screws
Molding
7.7in (195mm)
-
Fig. 72 --- Wall Installation
(3.) Once refrigerant piping and drain piping
connections are complete, fill in the gap of the
through hole with putty. A gap can lead to
condensation on the refrigerant pipe, and drain
pipe, and the entry of insects into the pipes.
(4.) Attach the front panel and front grille in their original
positions once all c onnec t ions are comple t e.
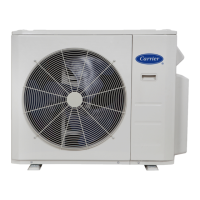
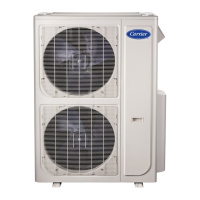
OUTDOOR UNIT INSTALLATION
1. Use a rigid base to support unit in a level position.
2. Locate outdoor unit and connect piping and wiring.
CAUTION
!
EQUIPMENT DAMAGE HAZARD
Failure to follow this caution may result in equipment
damage or improper operation.
Excessive torque can break flare nut depending on
installation conditions.
NOTE: I nstall the outdoor unit on a ri gi d base t o re duce noise levels
and vibration. Determine the optimal air outlet direction to prevent
discharged air f rom being bloc ked. I f t he inst allati on s ite is e xposed to
strong wi nds suc h a s a coa stal ar eas, ensure the fan’s prope r ope ration
by installing the unit lengthwise along the wall or use dust or shield
plates . If the unit needs to be sus pended, the installation bracket should
comply with the suspension requirements in the installation bracket
diagram. The ins t alla tion wall shoul d be solid brick, concrete or the
same int ensity c onstruction, or take s teps to reinforce a nd da m pen the
support. The connection between the bracket and the wall as we ll as
the bra cke t and the air condi tioner shoul d be fi r m , st able a nd relia ble .
Ensure there is no obstacle which may block the radiating air .
Strong
wind
A07350
Fig. 73 --- High Wind Installation
Piping Connections to Outdoor
Unit
IMPORTANT: Use refrigeration grade tubing only. No other
tubing type may be used. Use of other tubing types will void the
manufacturer’s warranty. Ensure there is enough piping to cover
the required length between the outdoor and indoor unit. Only use
piping suitable for high side pressure for both high and low side
connections.
 Loading...