– 5 –
2
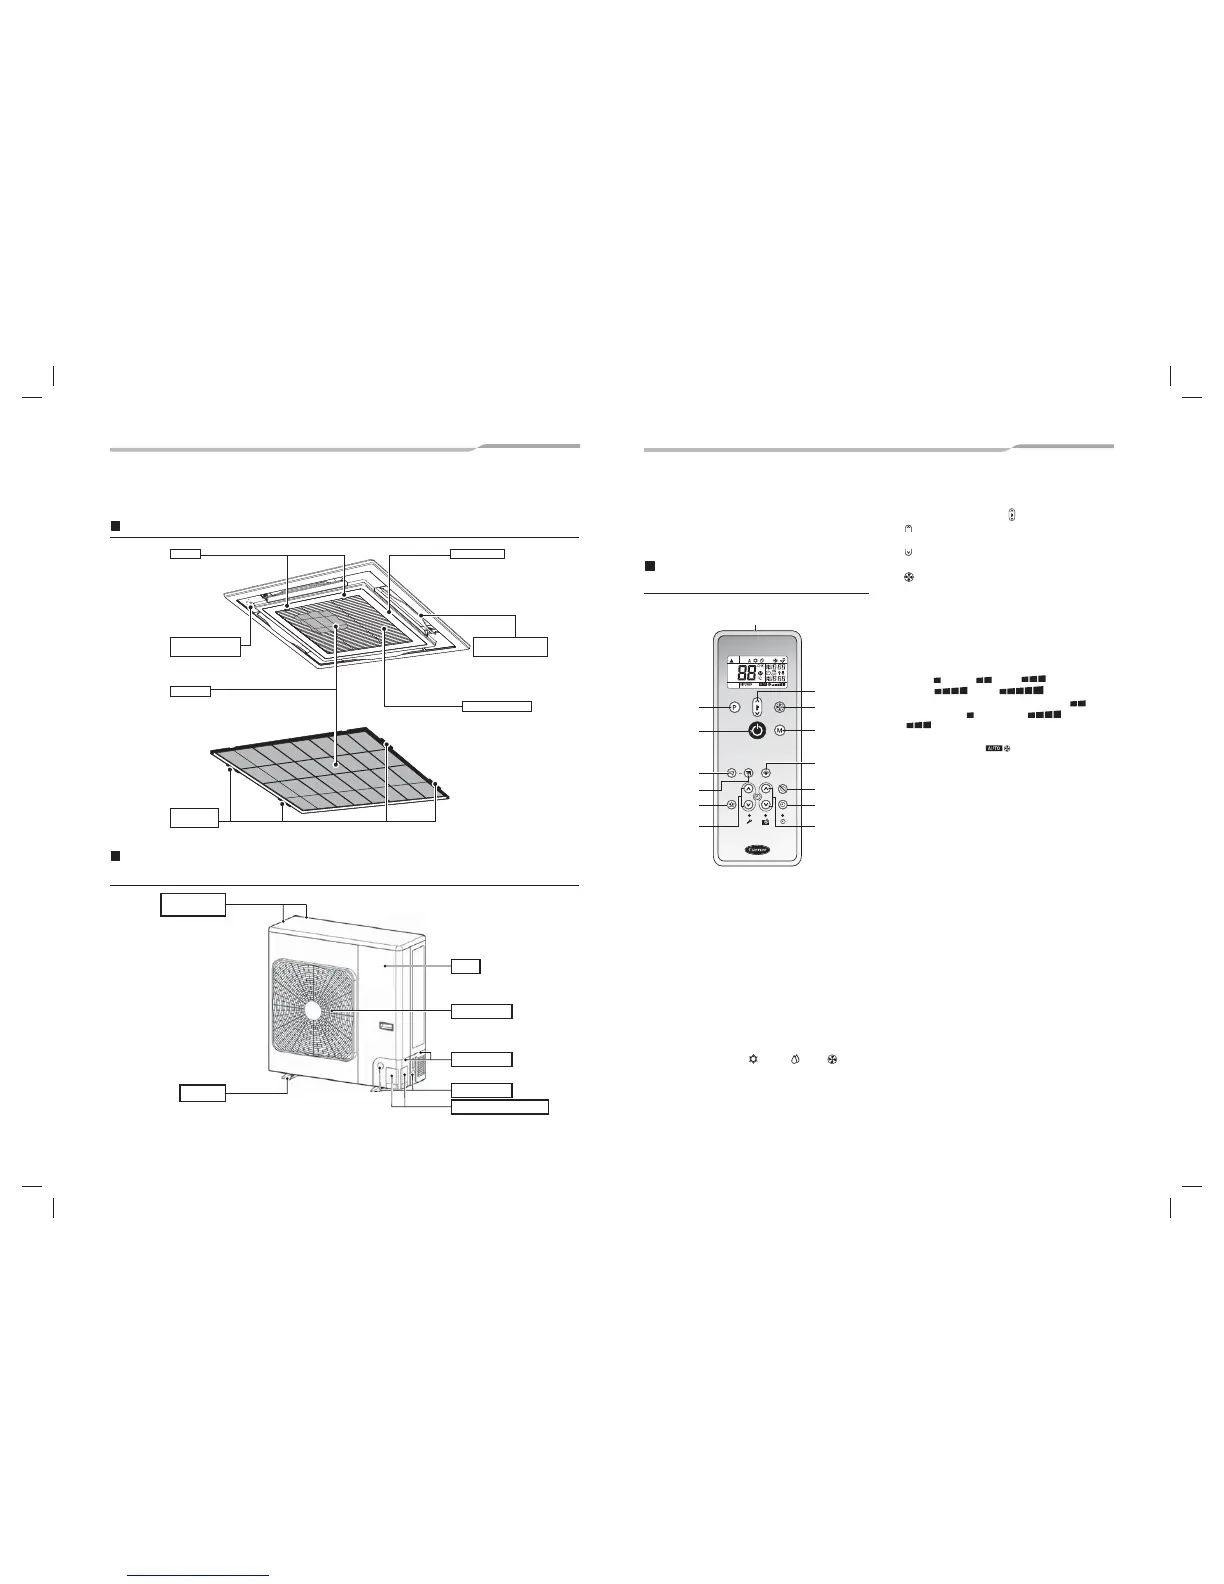
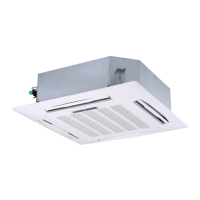
Part names
Indoor unit
Outdoor unit (The design varies depending on the outdoor unit.
The following illustration shows an example.)
Knob
Knob to open/close the
suction port.
Provided in the electric control box.
Earth screw
Air filter
Removes dust or trash.
(Provided on the suction port.)
Change the direction of the air
to be discharged according to
cool mode.
Discharge louver
of discharge port
The air in the room is sucked in
from this port.
Suction air port
Projection
of air filter
Signal receiving
unit
Air intake
(Side and rear)
Panel
There is an earth screw, valves,
and electric parts inside.
Air discharge
Piping panel
Wiring hole
Refrigerant pipe outlet
Fixing leg
3
Wireless remote controller
3-1. Parts name of remote
controller
Wireless remote controller
and its functions
1 Infrared signal emitter
Transmits a signal to the indoor unit.
2 START/STOP button
Press the button to start operation.
(A receiving beep is heard.)
Press the button again to stop operation.
(A receiving beep is heard.)
If no receiving sound is heard from the indoor unit,
press the button twice.
3 Mode select button (MODE)
Press this button to select a mode.
Each time you press the button, a mode is
selected in a sequence that goes from A: Auto
changeover control, : Cool, : Dry, : Fan
only, and back to A. (A receiving beep is heard.)
4
Temperature button ( )
5 Fan speed button (FAN)
Press this button to select fan speed. When you
select AUTO, the fan speed is automatically
adjusted according to the room temperature.
You can also manually select the desired fan
speed from among five settings.
(LOW , LOW
+
, MED ,
MED
+
, HIGH )
Five patterns are displayed, but LOW+ is
equal to LOW , and MED+ to MED
.
When you select Dry, fan speed is automatically
changed to AUTO and it is not manually
adjustable.
(A receiving beep is heard.)
6 Auto louver button (SWING)
Press this button to swing the louver.
(A receiving beep is heard.)
Press the SWING button to stop the louver
swinging.
(A receiving beep is heard.)
7 Set louver button (FIX)
Press this button to adjust the airflow direction.
(A r
eceiving beep is heard.)
It cannot be operated by holding down the button.
Push the button with some interval.
8
Off timer button (OFF)
Press this button to set the OFF timer.
9 On timer button (ON)
Press this button to set the ON timer.
10
Reserve button (SET)
Press this button to reserve time settings.
(A receiving beep is heard.)
11
Cancel button (CLR)
Press this button to cancel ON timer and OFF
timer. (A receiving beep is heard.)
12
High power button (Hi-POWER)
Press this button to start the high power operation.
Only available during Auto changeover control or
Cool operation.
This function is not operated group control.
...... The set temperature is increased up to
30 °C.
...... The set temperature is dropped down to
17 °C. (A receiving beep is heard.)
...... The temperature is not displayed during
Fan only operation.
ON OFF
13
14
9
6
2
7
5
4
3
12
11
8
10
1
10-EN9-EN